Posted on 6 Comments

Kraftin’ Kimmie Hop for March

WOOHOO!Today we are celebrating all thenew PARTY TIME goodies that will be available on Sunday morning at noon est from our MARCH Release at Kraftin’ Kimmie Stamps!

All THREE new clear stamp sets will be available over at the Krafty Shop, along with our scrumptious new MORNING MARIGOLD ink, TWO new Krafty Stencils and our new Party Time Krafty Dots! Yaaaay!So let’s have a fun hop around the Krafty Team’s blogs and check everything out in action! Grab a nice hot (or cold) beverage, sit back and relax while you enjoy this kreative tour! First up we have a gorgeous new set from artist, Melissa Baker-Nguyen called….PARTY TIME SENTIMENTS!

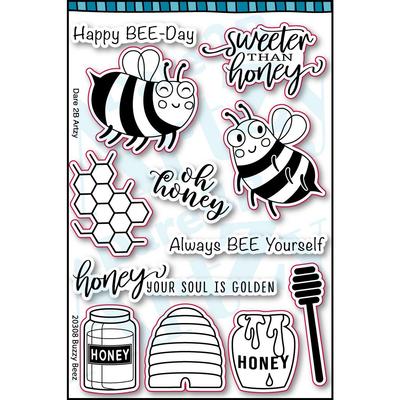
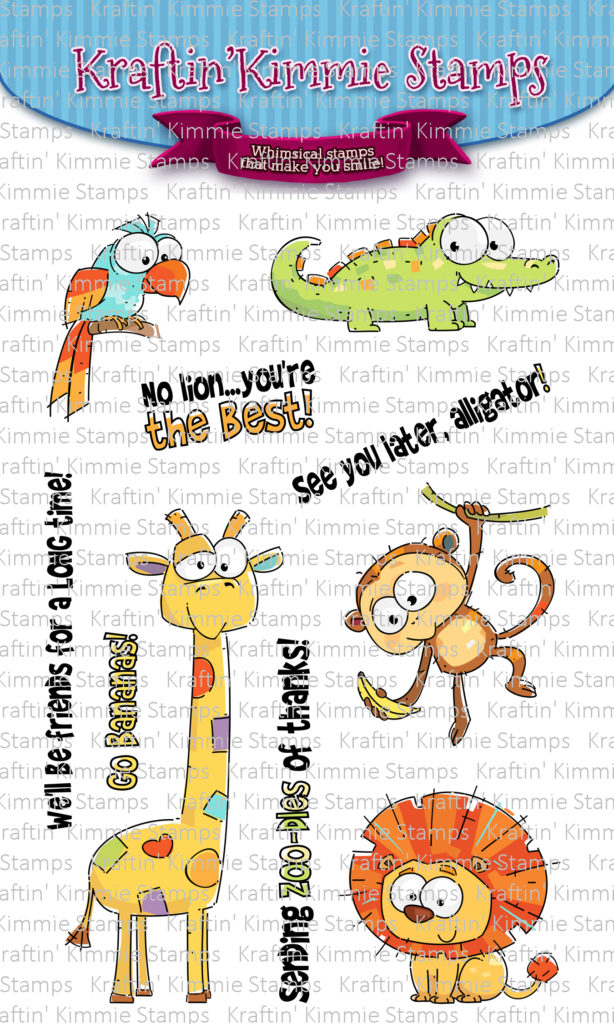
The second set of party animals is by artist Sabrina VanVloten and it’s just so darn cute! It’s called…..PARTY PIGGIES! And our last stamp set of WILD creatures is by artist Neda Sadreddin called….ZOODLES! Available today will be our brand new Hybrid Ink colour in the large ink pad, mini cube and ink refill and it’s called….MORNING MARIGOLD! We have two new stencils that are perfect for all your new celebration creations called….CONFETTI and PARTY TIME BANNERS!

And lastly we’ve got a vibrant and coordinating new set of Krafty Dots for you called…PARTY TIME DOTS! Everything will be available today (Sunday, March 15th) at NOON est in the krafty shop! And if you HAVE to have it ALL be sure to grab our Gimme Kimmies Kit for this month! You’ll get one of each product in the bundle and at a discount but only while supplies last!! And don’t forget to grab the INK OF THE MONTH!This month all in stock products in the GOBLIN GREEN colour are on SALE 15% OFF while supplies last!

Happy hoppin’ and happy shoppin’!

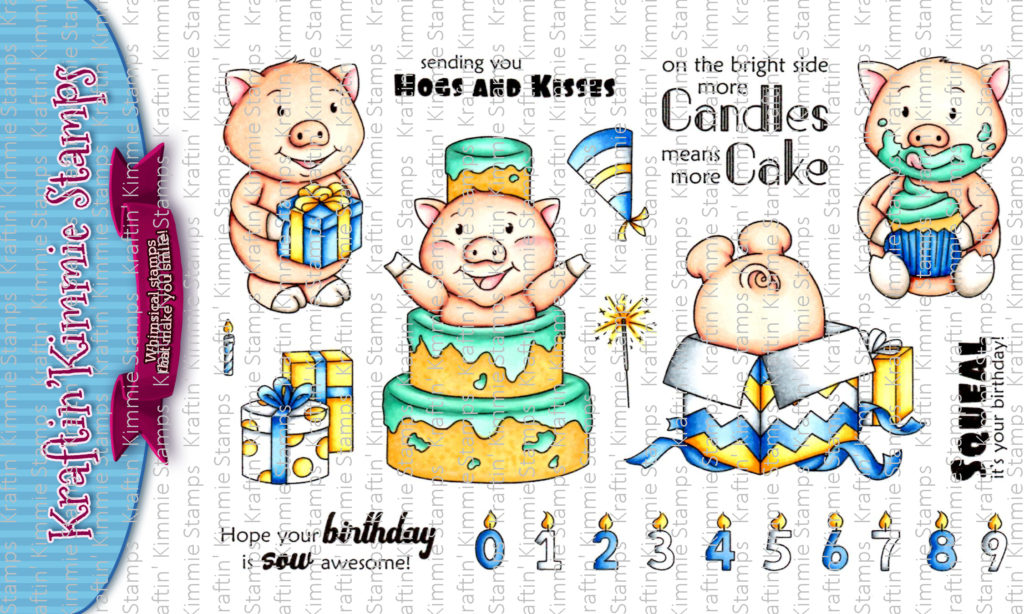
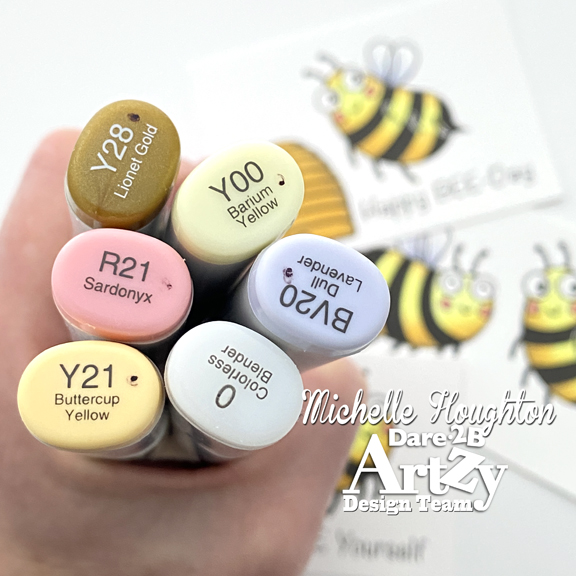
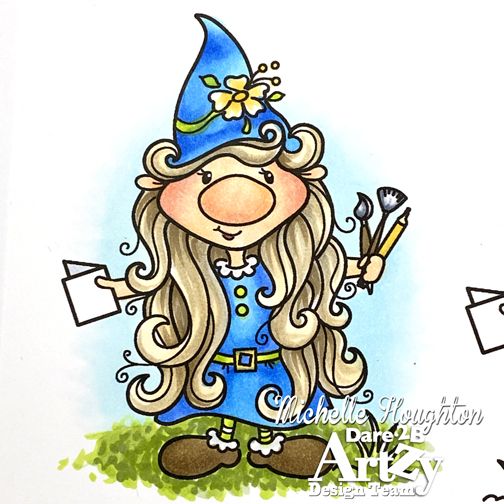
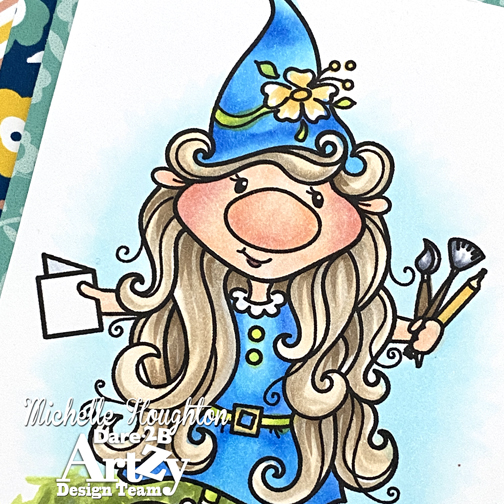
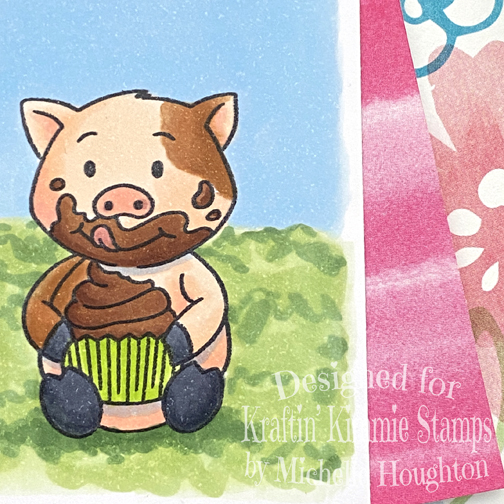
So what did you create Michelle, you ask? Well I colored up a card for you today with the Party Piggies! Started with my Copics of course!

Here is a look at the coloring, the E2’s are used on the chocolate while the E3’s are used on the piggy’s spots. I think the rest is pretty self explanatory.

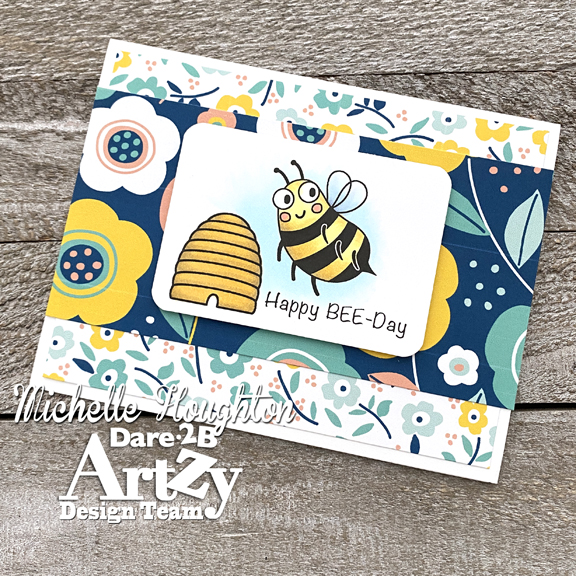
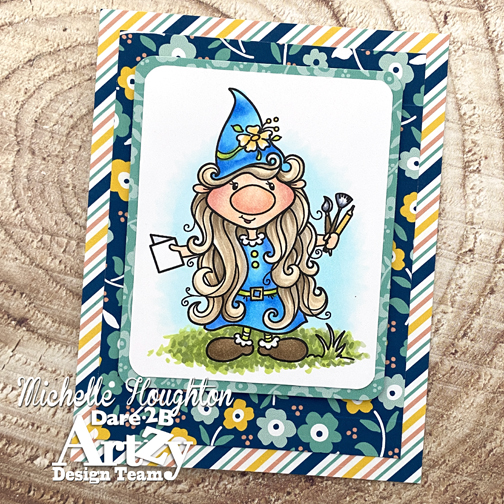
Next was getting this little piggy onto a card. With this month all about Birthdays at Kraftin’ Kimmie it was a must to pick bright cheery colors!

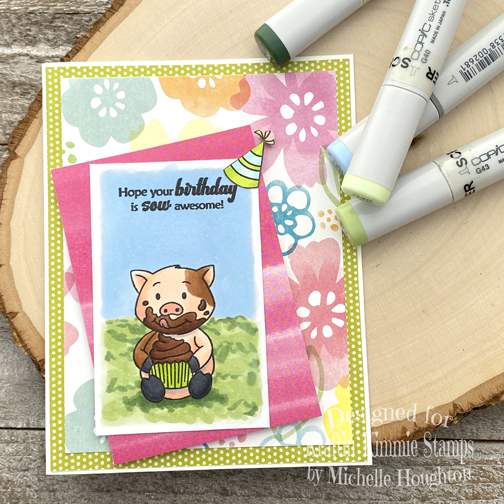
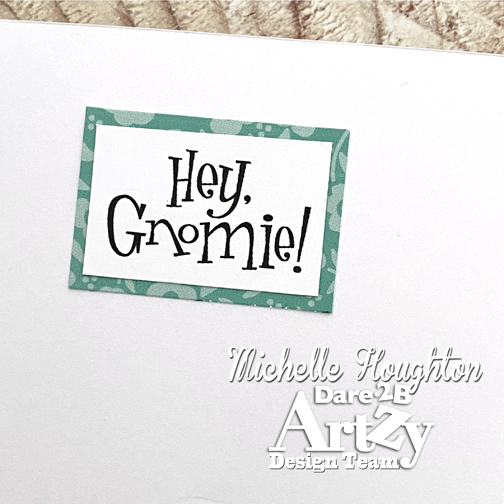
I wanted to get close to one of the details I added on the card. I have shared this trick before, but for those who have not seen it. I added a little party hat from the new stamp set onto the upper corner of the image above the sentiment and popped it up. Cutting this out was a bit of a challenge. Not only did I cut the hassles off entirely I worried if I tried to cut in between the tassels I would never manage to get them re aligned. SO I used a Copic marker to match the patterned paper below the tassels to fill in the area in between. Then used a very tiny piece of foam tape to pop them up right next to the hat.

It is a detail I would not see necessarily when just looking at the card, but it is a quick fix to a tricky spot.

Thanks so much for stopping by and hopping along through the hop hope you have discovered something along the way that you “need”!

Have a Happy Colorful Day!

You are invited to the Inlinkz link party!

Click here to enter


Posted on

Copic Coloring Darker Skin Tones Part 3

Good morning creative friends! Today I have for you the third installment of looking at darker skin tones with Rubbernecker Stamps. If you missed the first two I have been looking at coloring darker skin tones on a series of new stamps released by Rubbernecker. I have been trying to share a variety of tones so that you can see some variation. For this third installment I added another challenge, no-line coloring. Now I will admit of the three I have shared this one has some areas I need to do again. So I am challenging myself to tackle one or more of these images a second, third and possibly more times with no-line coloring. I know it would be a great challenge to push my skills! I will point out a few areas I want to improve on as I walk you through the steps.

  • After stamping in a light Memento pink ink use a Copic Multiliner .1 or smaller to add back in eyelash, pupil and eyebrow detail ** this is one spot I would do differently, I would use a smaller Multiliner, I would also wait and do the eyebrow and nostril with Copic
  • Base the skin in a light Earth Tone E21
  • Use 2 more Earth tones to add shape to the face E35, E33
  • Blend these areas smooth working back and forth between the 3 colors ** I will often work in one section at a time with no-line coloring like the face, then the neck lastly the shoulder and chest, this allows me to hold onto the edges as the lines disappear getting covered in ink
  • Add deeper shades with E04 into the shadow areas
  • Use E93 to add a slight blush to the cheek bones and fill the lips
  • Edge the lips with E09
  • Fill the lips with E04 blending the edge of the E09 as you go
  • Use squiggles and small flicks of E43 to base the hair
  • Using 3 more colors repeat the process, as you get darker use less and less ink with few strokes focusing into darker areas E44, E47, E49
  • Using a series of BG’s color the bow, I worked darkest to lightest so I could see all the detail in the folds BG54, BG52, BG000
  • Finish coloring with a light background of BG000 fading to white
  • Stamp “Life Is Good” on a strip of white cardstock
  • Color the strip with the series of BG’s BG54, BG52, BG000
  • Use rectangle nesting dies to cut the image, and two patterned papers
  • Adhere the largest patterned paper to the card base
  • Adhere the image onto the smaller patterned paper and use foam tape to adhere both to the card
  • Use foam tape to adhere the sentiment to the card

Thanks for stopping in today, if you have questions make sure to ask! And keep practicing, I know I need to keep working and challenging myself. Below you will find links to all the Rubbernecker products I used to create this card.

Have a Happy Colorful Day!

Posted on

Buzzing By with Easy Copic Coloring

Hello friends! I am buzzing by with some super easy Copic Coloring! I colored up not one, but three card fronts in about 10 minutes and then put them all together in another 5. Gotta love quick and easy cards especially when they turn out so colorful and cute!

I used the cute new Buzzy Beez stamp set from Dare 2B Artzy and created 3 card fronts then I colored them up. I used a total of 7 Copic Markers for all three cards. Who says you need a whole lot of markers?!

The marker not shown is a BG000 for a little background color!

Then I used the fabulous new D2BA papers to create 3 quick easy cards!

If you would like to take a peek at how fast these really were to color up, I recorded the coloring portion and will have that video up and live on the Dare 2B Artzy YouTube channel tomorrow, Wednesday the 4th.

Have a Happy Colorful Day!

Thanks for stopping by today! And make sure to check out some of the products I’ve used here in the D2BA store!

Posted on

Copic Coloring Darker Skin Tones Part 2

Good morning all, I have my second installment featuring darker skin tones on another beautiful image by Rubbernecker Stamps. This image is considerably darker than the first. I am OK with how the skin turned out, I have used this combo before with better results, but I LOVE how her hair turned out so I am sharing!

  • Base the entire skin area with E21
  • Using a series of three more Earth Tones add shape to the face, E23, E25, E27
  • Blend the colors together going in reverse, E25, E23
  • After blending the edge of the E25 with the E23 slightly wash over the rest of the skin with E23
  • If needed bring back highlights with the E21
  • Use E04 and E09 to add fullness to the lips
  • Use YR24 and E23 to add a golden color to the pupils
  • Use a series of Copics in long squiggly lines to emphasize the direction and shape of the hair, this will also warm up and separate the solid black from the stamp E43, E47, E49, C9

Here is a closer look at the hair:

  • Stamp the background image in a light gray ink
  • Color the rock wall with a variety of Copic natural tones adding texture as you go
  • Use a sentiment die cut to create 2 layers of a simple greeting
  • Use square nesting die cuts to frame the face and one size larger on patterned paper
  • Use rectangle nesting die cuts to cut the rock wall paper and a second patterned paper
  • Attach the largest patterned paper to a card base
  • Use foam tape to pop up the rock wall paper onto the base
  • Attach both the square patterned paper and image onto the base
  • Using a liquid glue attach the 2 sentiments together off setting them just a bit
  • Use liquid glue to attach the sentiment to the card

Thank you for stopping by for today’s post! I have at least one more in this series and then I hope to get a video done with darker skin tones as well. Below you will find links to the Rubbernecker products used on today’s card.

Have a Happy Colorful Day!

Posted on

Crafty Gnome from Dare 2B Artzy!

Hello friends and family here to start your day with a little Dare 2B Artzy inspiration. I am super excited to share another of the new images created by Cindy today, the crafty gnome. She is too cute and so so fun to color up! I used Copic Markers of course 😉

Skin – E000, E01, E93, R81 Hair – E50, E43, E44 Dress – B00, B12, B24, YG01, YG03, C1, Y21, Colorless Blender Sky – BG000 Ground – YG61, YG63 Shoes – E43, E44 Art supplies – C1, C3, C5, E44, Y21

Here she is all colored up!

Next to get her on a card, new fun patterned papers to the rescue!

And a fun sentiment to tuck inside!

Yep the new collection is a keeper! I know these are images I will be reaching for again and these papers?! Yumm!

Stay tuned for continued inspiration from the new release. These product swill be available to ship March 15th.

Have a Happy Colorful Day!

Thanks for stopping by today! And make sure to check out some of the products I’ve used here in the D2BA store!

D2BA products used in this creation: