Posted on

Tangled Kitty with Glowing Lights

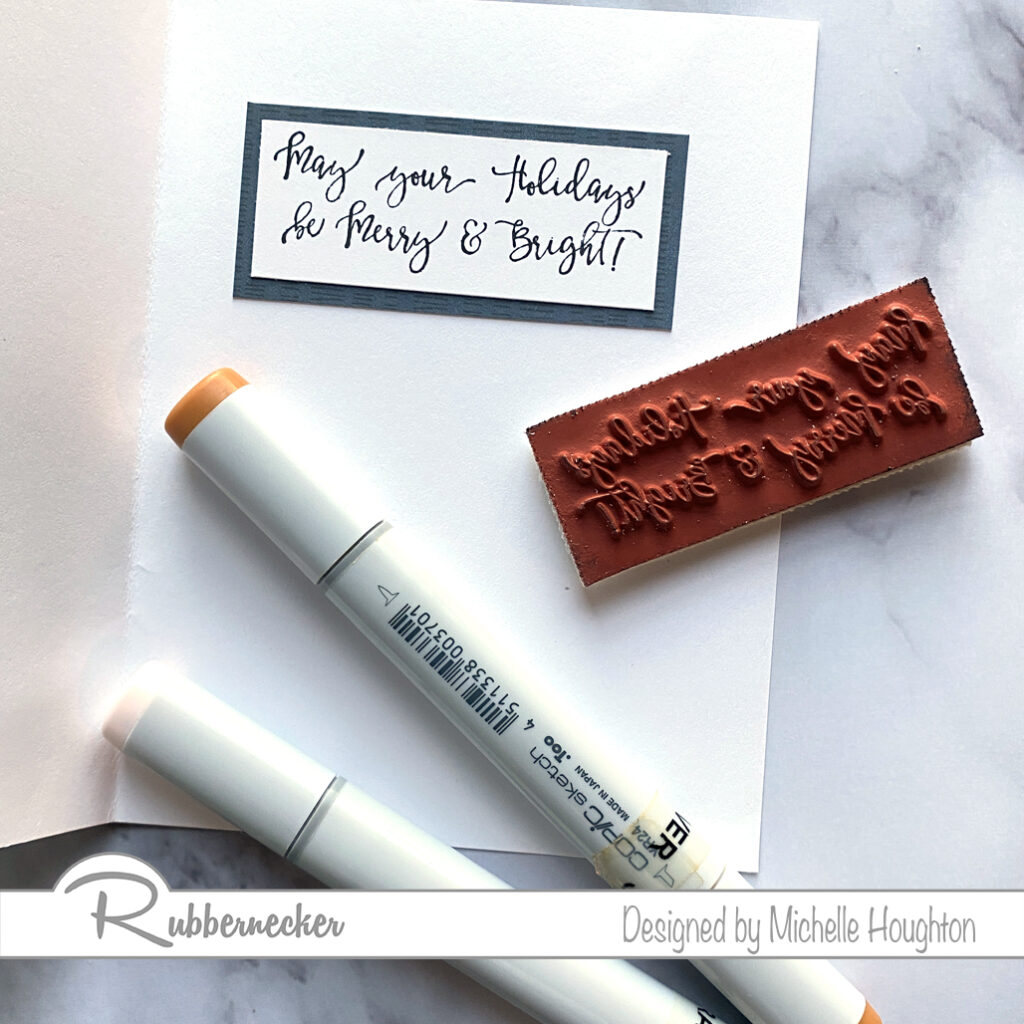
Ready for some holiday cheer? I have a quick holiday Copic coloring tutorial for you with a fun Rubbernecker Stamp. Tangled Kitty is an image that allows you to make the kitty your own and use colors that remind you of your favorite 4 legged friend. Here are the steps I took to create the look of glowing Christmas lights all tangles around this kitty.
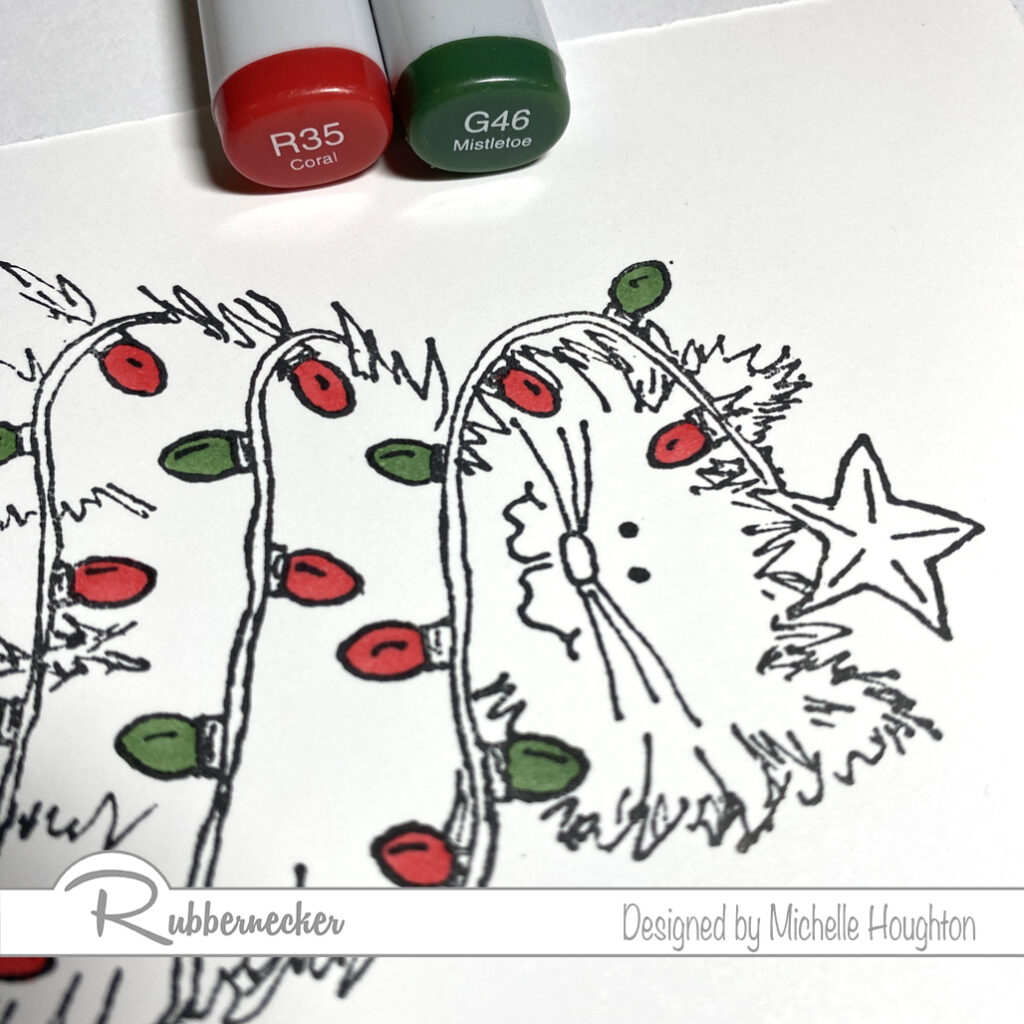
  • Color in the lights with bright saturated colors. (R35, G46)
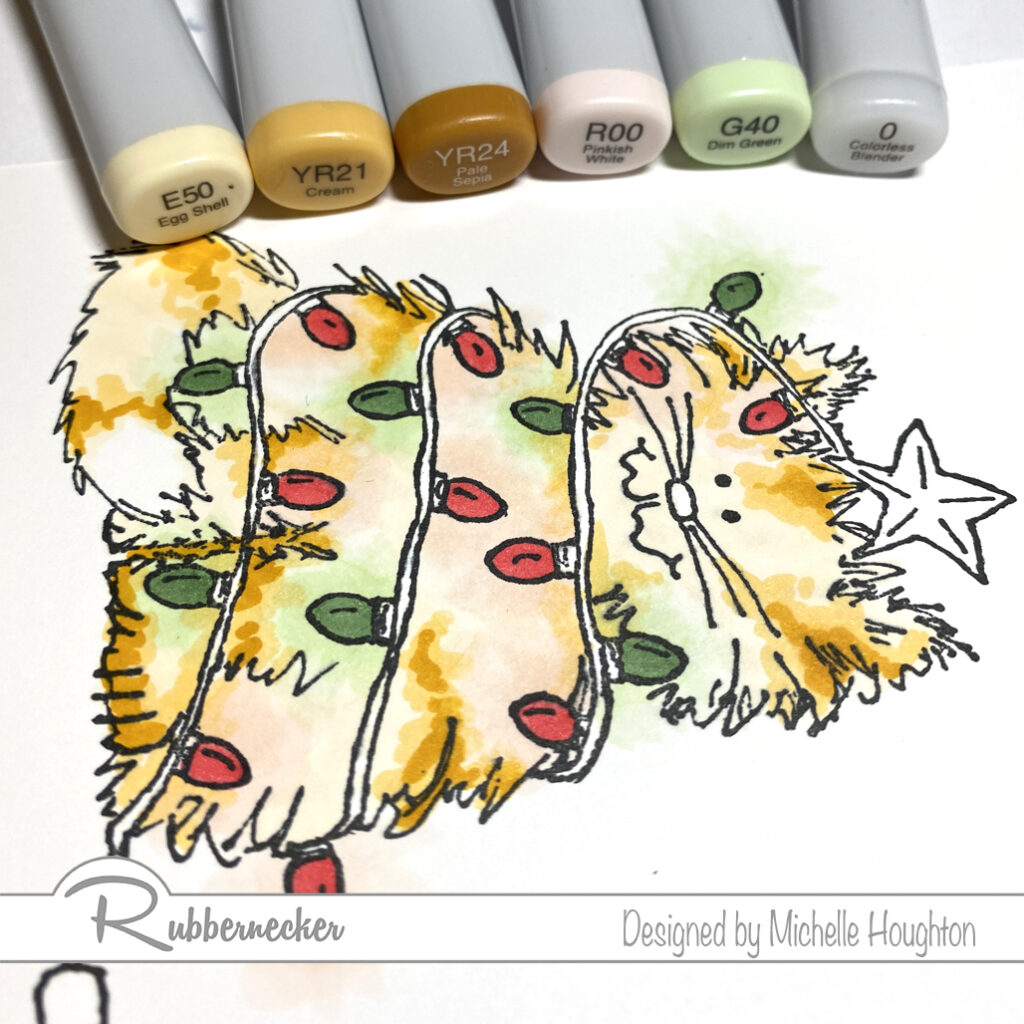
  • Use a lighter color of each of the lights to create a halo of color around each bulb. (R00, G40)
  • Use a series of colors to color the kitty. As you approach the light halos lighten the colors of the kitty. (Base color – E50 Tabby stripes – YR21, YR24)
  • Use the Colorless Blender to further lighten the halo around each bulb. (0)
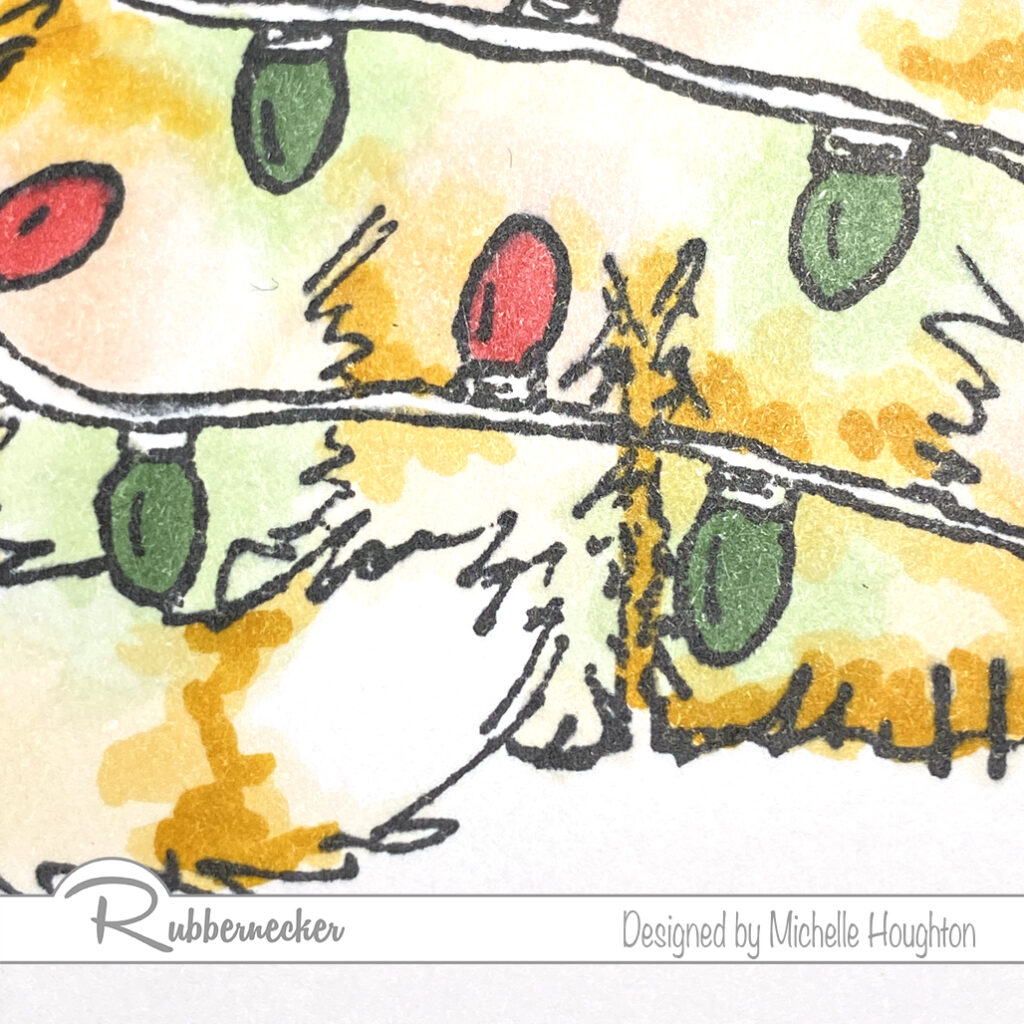
  • Work back and forth with the fur colors, halo color and colorless blender to get the desired effect. (E50, YR21, YR24, R00, G40, 0)
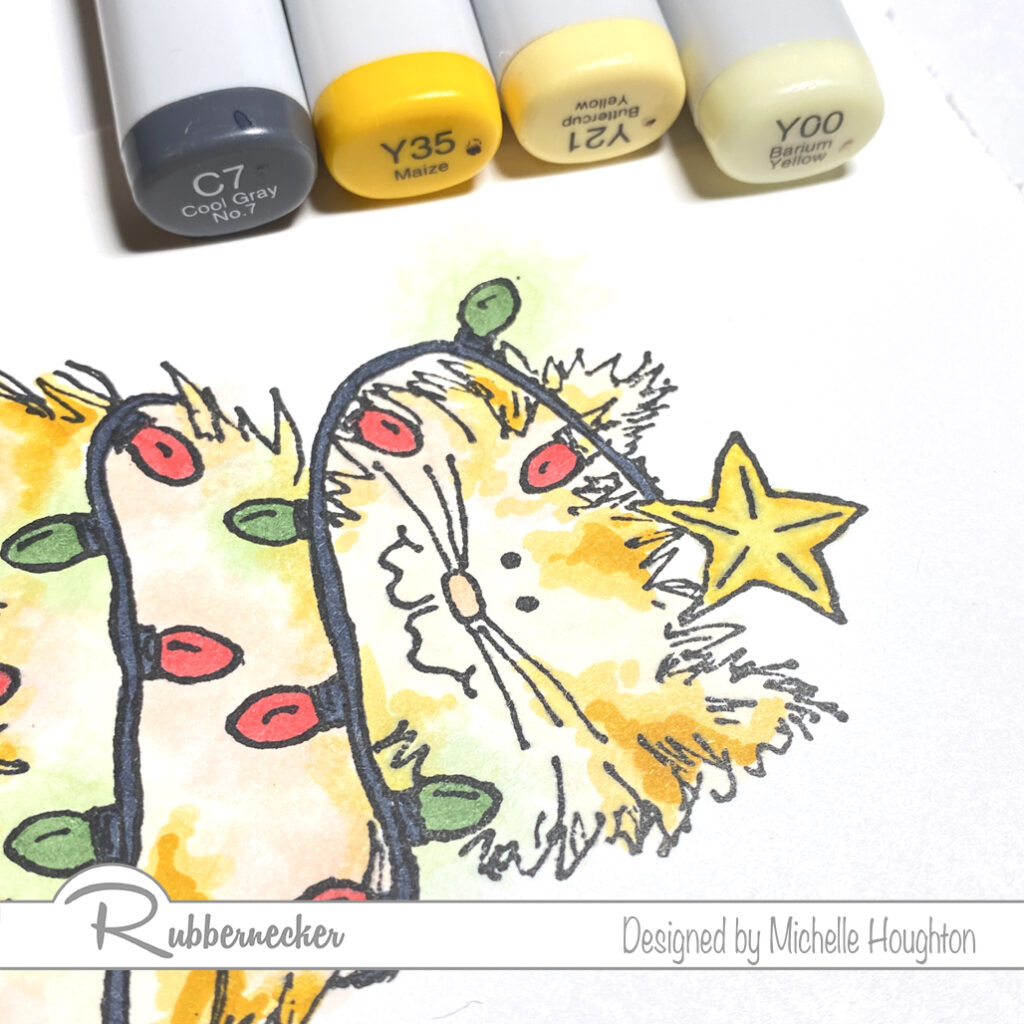
  • Fill the cord and bulb bases with a dark gray. (C7
  • Use a series of yellows to light up the star. (Y35, Y21, Y00)
  • Use the colorless blender in a small dot on each bulb base. (0)
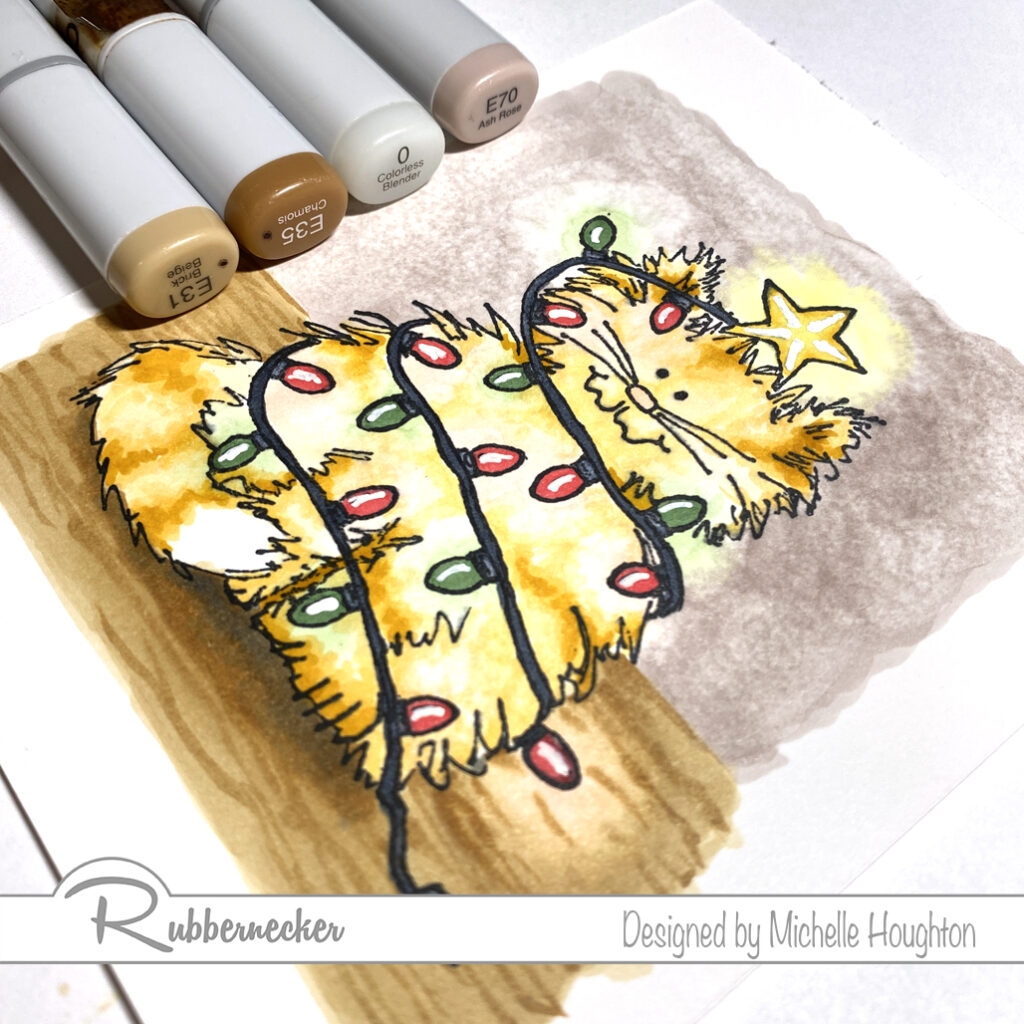
  • Base the floor in a light earth tone. (E31)
  • Use a darker earth tone to create wood grain texture. (E35)
  • Soften the wood grain with the lighter earth tone. Then use the Colorless Blender to lighten the area around the lower bulb. (E35, 0)
  • Color in the wall behind the kitty with a light earth tone. (E70)
  • Use the Colorless Blender to lighten the wall color further and create a glow around the upper bulb and star. (0)
  • Use an opaque white pen to add small highlights on the bulbs and star.
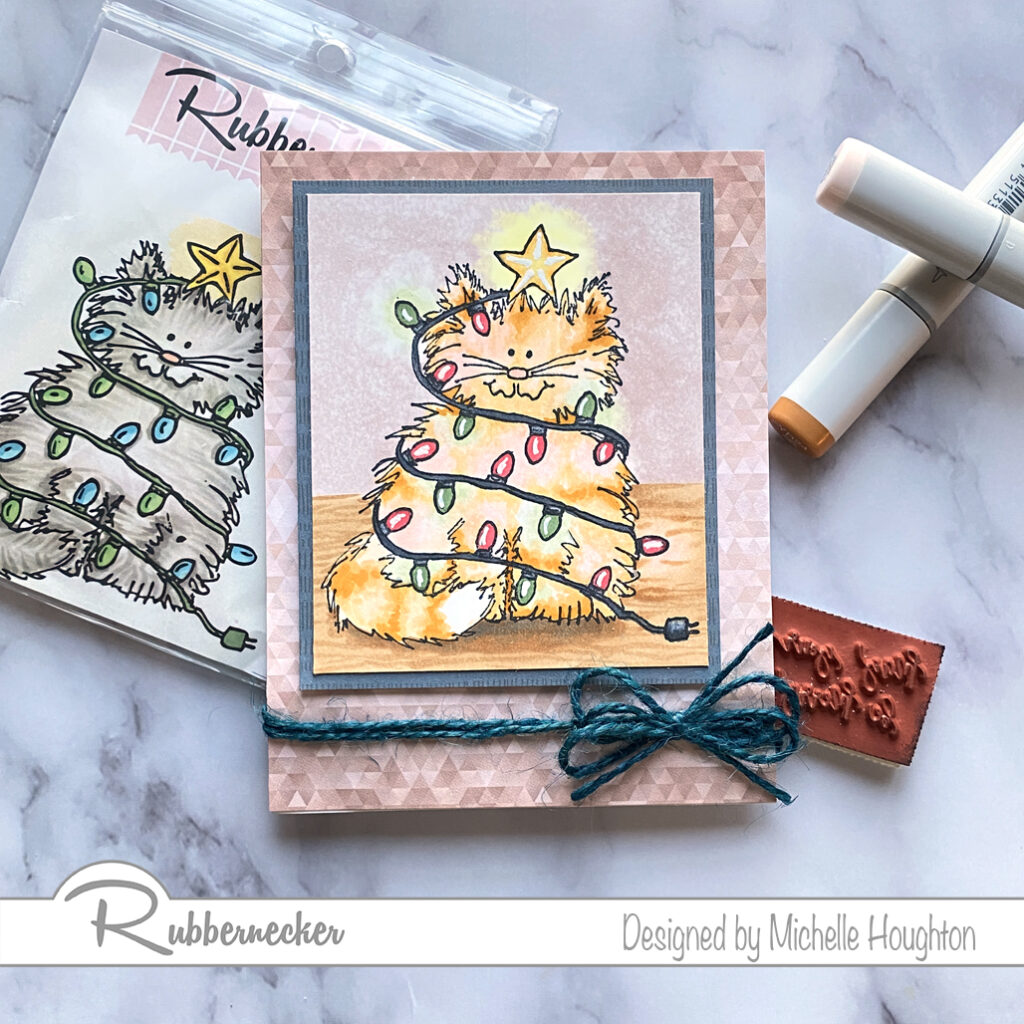
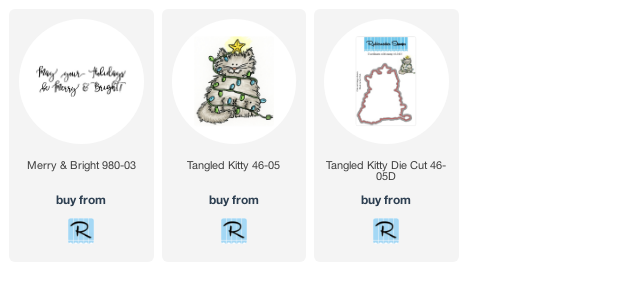
Thank you as always for stopping by. You will see links to the Rubbernecker Stamp products below. I am so looking forward to the holidays this year! It feels good to be headed that way!

Have a Happy Colorful Day!


Posted on

Week Three With Ann Corbiere-Scott Designs

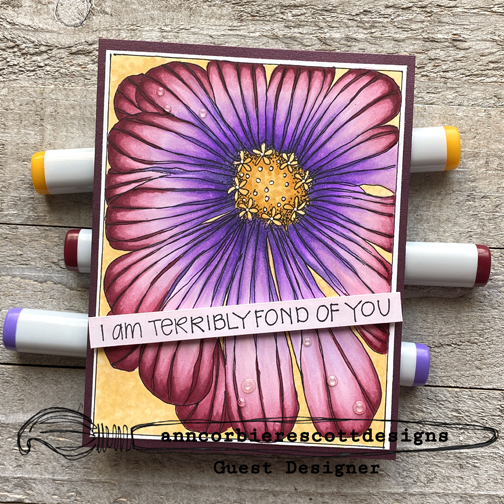
Hello again. I am back with a third week guest designing for Ann Corbiere-Scott Designs. This week I am using one of Ann’s newer images, Aunt Mur. Copics are the star of the show again and I decided on a BOLD color combination for the petals.

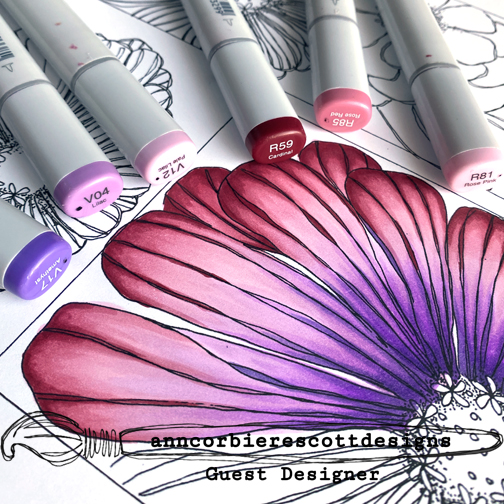
From the center out are V17, V04 and V12, then from the edges inward are R59, R85 and R81. When coloring these I did about a quarter of the petals at a time in order to keep the ink fluid and blending easily.

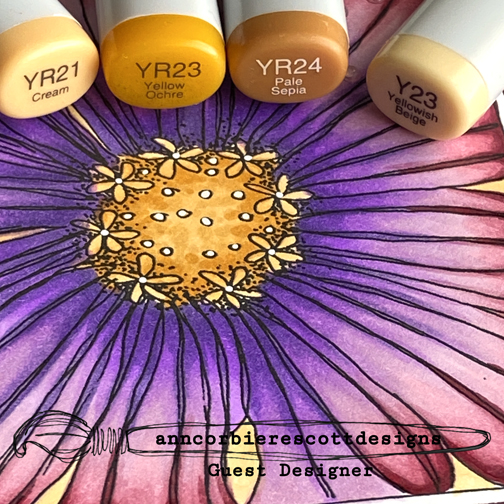
Once I had the petals complete I added golden yellows to the center and on the background as well. The center is colored with YR21, YR23 and YR24 and the background is colored with Y21. I first colored in the background and after it dries I added dots with the same color. Once again completing the card was as simple as trimming the image, adding is on a colored base and a card base. For this card I also used one of the sentiments that Ann includes with all of her sets. A few drops of glossy accents on the petals as a finishing touch!

Thank you for stopping bye today! I will have another post next week with more lovely art from Ann.

Have a Happy Colorful Day!

Posted on

Copic Coloring Video With Ann Corbiere-Scott

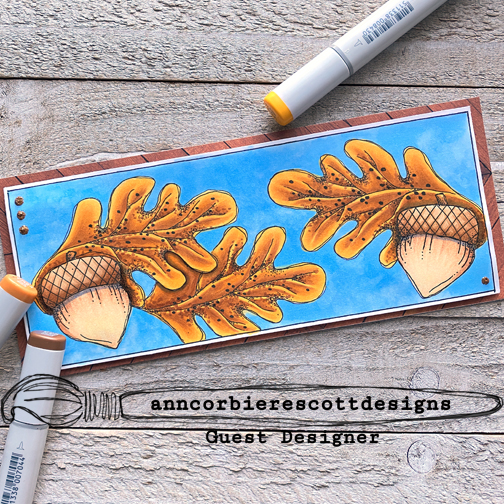
Hello my friends! This past Sunday I shared that I am Guest Designing for Ann Corbiere-Scott Designs this month. Today I am sharing the wonderful Patricia image. I have a Copic coloring tutorial that is going live today over on the Copic In The Craft Room YouTube channel.

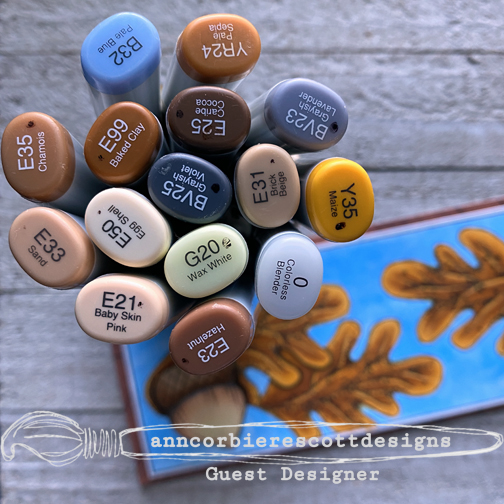
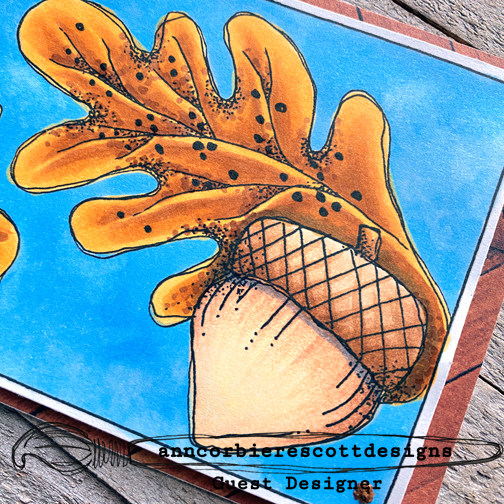
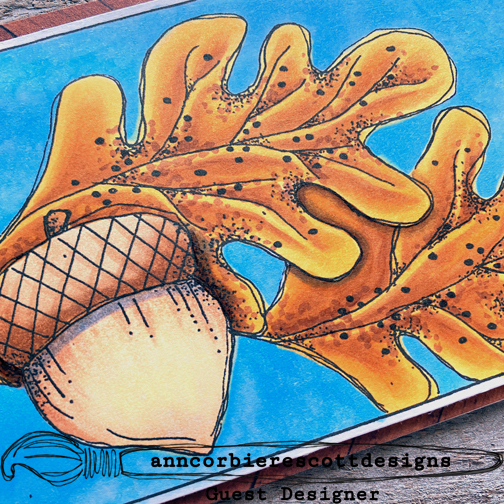
These beautiful acorns and leaves are just screaming for fall colors! Here is a list of the colors I used: Acorn G20, E50, E31, E33, E35 – Tops E21, E23, E25 – Leaves Y35, YR24, E99 – Cast Shadows BV23, BV25 – Sky B32, Colorless Blender. Close Ups…

Because Ann has these sized perfectly for card fronts all I did was add a patterned paper that peeks around the edges and a card base beneath the image.

Thank you so much for stopping by today! Make sure to also stop over at the Copic In The Craft Room YouTube channel to check out the new Copic coloring video.

Have A Happy Colorful Day!

Posted on

Krafty Komeback!

It’s a very exciting day at Kraftin’ Kimmie Stamps!
Not only is it challenge day but it’s also time for a….
Krafty Komeback!!
 
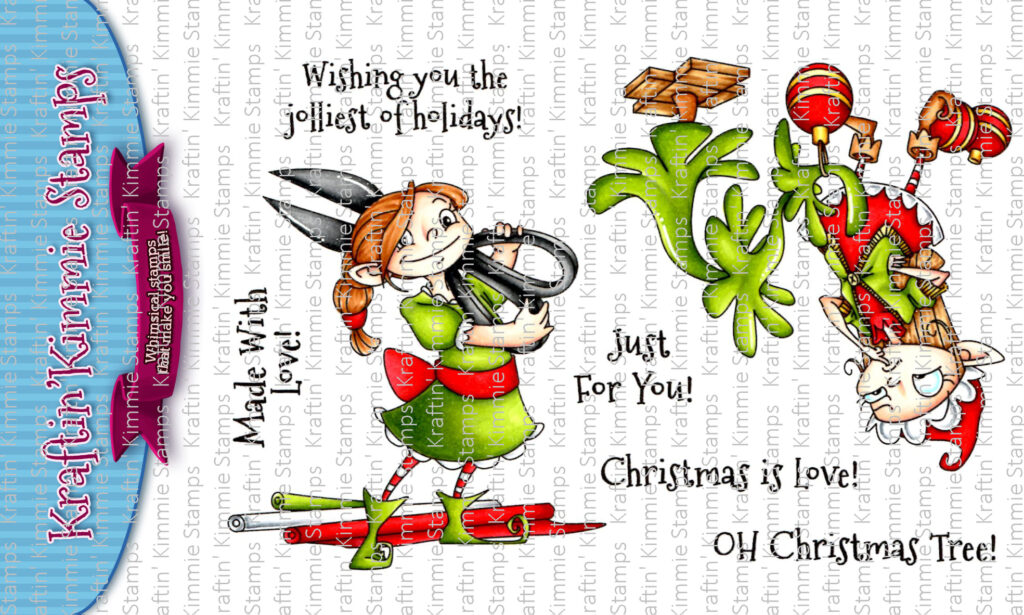
In case you are new to Kraftin’ Kimmie Stamps, we have been creating whimsical krafty stamp sets for almost ELEVEN YEARS! So we have lots of incredible designs that have long retired and once in a while we bring one back for you!
Today we are bringing back two holiday images that were originally released in 2012!! It’s just in time for those Christmas creations! These images were only ever released in rubber and NOW you can get them as a set in clear photopolymer!!
It’s called…..
CHRISTMAS IS LOVE!
 
PLUS we’ve got a new challenge for you and it’s GIRLY AND SPARKLY!
 
Each and every Saturday we post a brand new challenge for the week and you are welcome to enter as many times as you like.
These must be new creations and you are welcome to use any stamp, however, using Kraftin’ Kimmie Stamps and products will earn you double entries!
The monthly prize is a $25 voucher to the Krafty shop!!!
Woohoo! There are two ways to enter: you can link up your creation on the Kraftin’ Kimmie blog page and
you can upload your photo to the album in our
 
Don’t forget to check out this weekend’s
WORLD CARDMAKING DAY SPECIALS!
We are celebrating by putting a large selection of Fall, Halloween and Christmas stamp sets, stencils and krafty dots on SPECIAL this weekend! Enjoy up to 30% OFF these goodies but only for the weekend and ONLY while supplies last!
Happy shoppin’!!

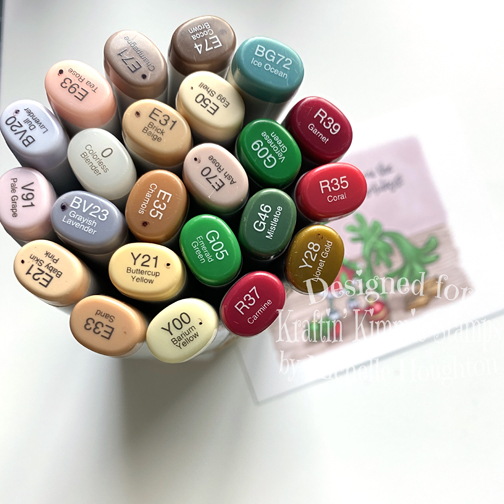
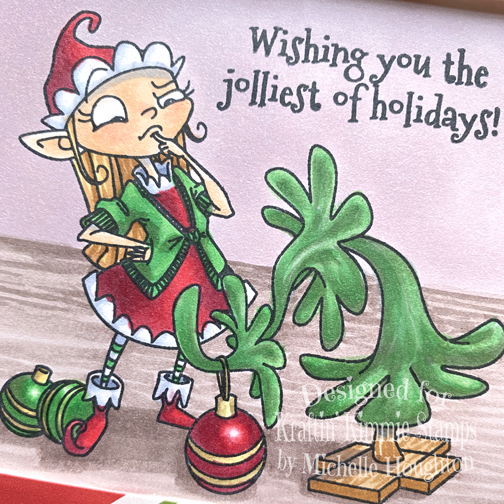
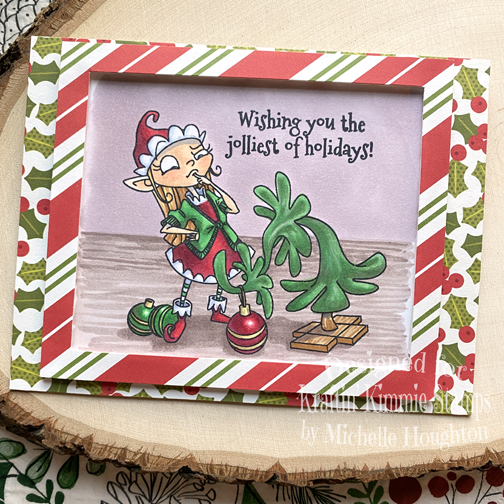
I decided to play with the elf and her little tree. Just couldn’t resist. I colored her up with Copics:

Here is a look at the image:

And with such a cute scene it took a couple bright papers and wa la a card!

Thank you so much for stopping by today! Hope you are getting a little crafty time today!

Have a Happy Colorful Day!
You are invited to the Inlinkz link party!

Click here to enter
Posted on

Coffee Lovers Hop

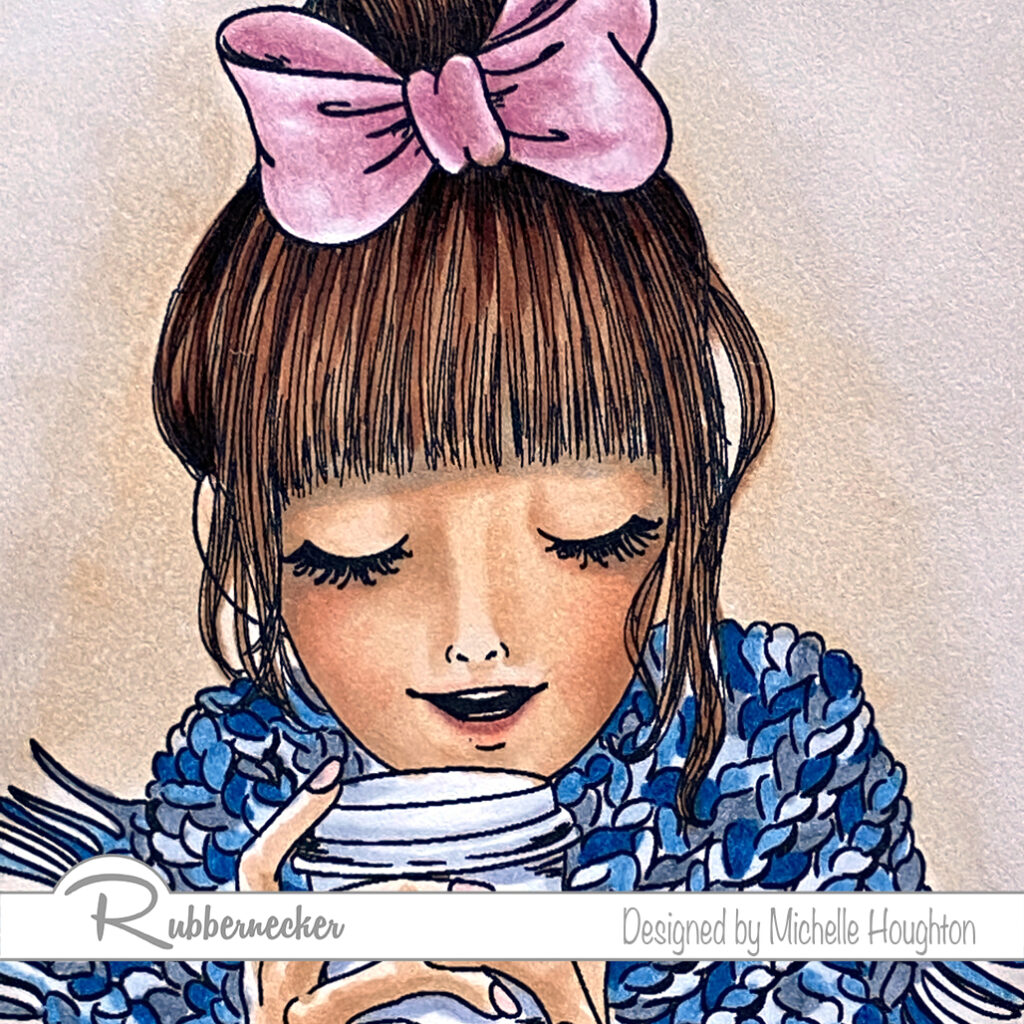
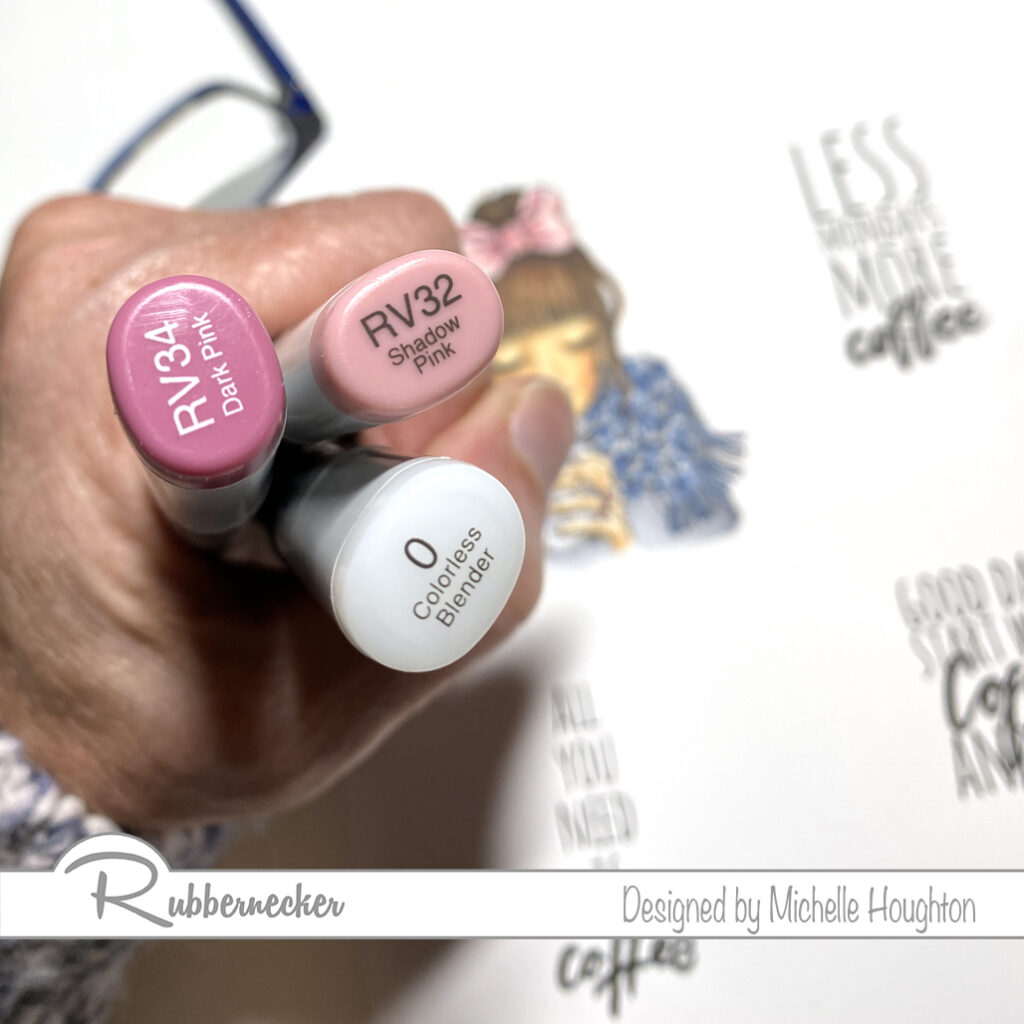
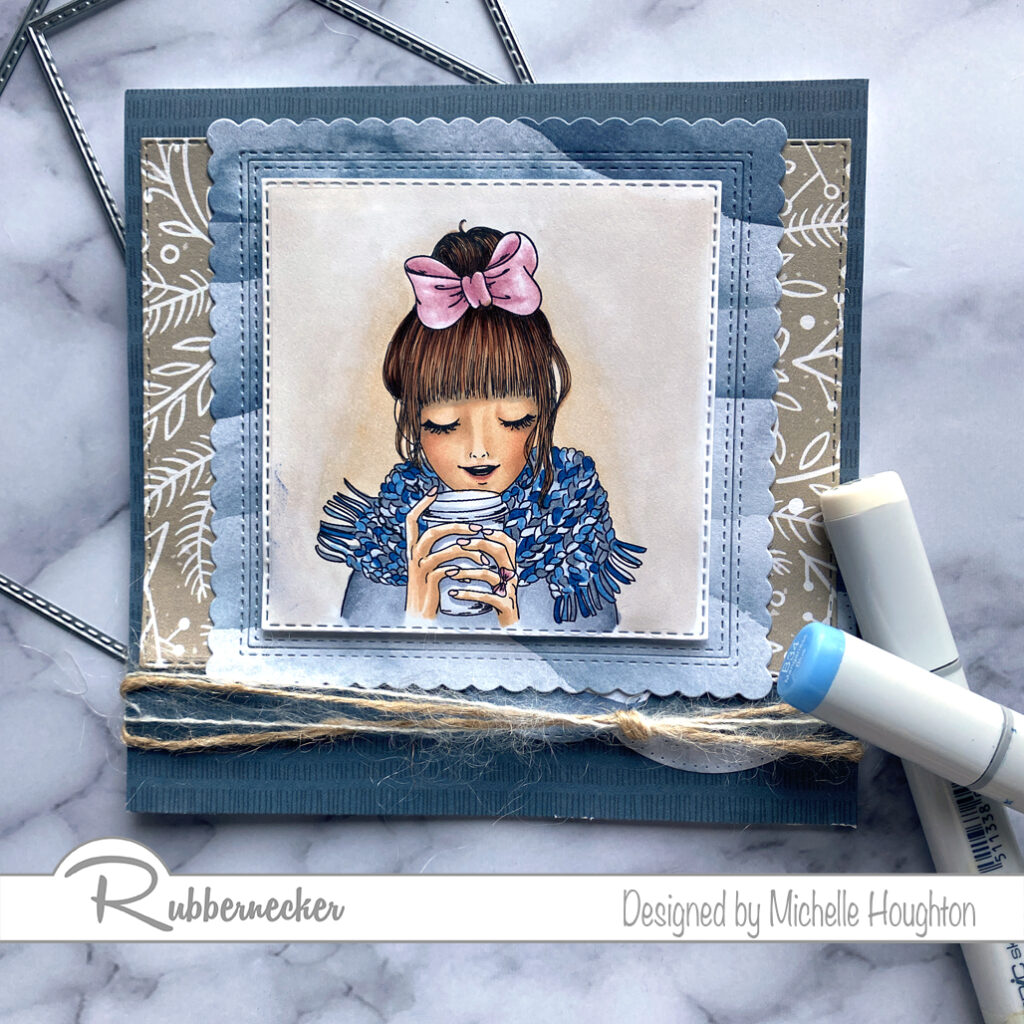
Hey Crafty friends. I am hopping along with Rubbernecker Stamps for the Coffee Lovers Blog Hop today. I am a little late getting my post up so I will miss a few that hopped through early, but will catch a few of you later in the day and into the week 😉. I am sharing a new image from Rubbernecker stamps!

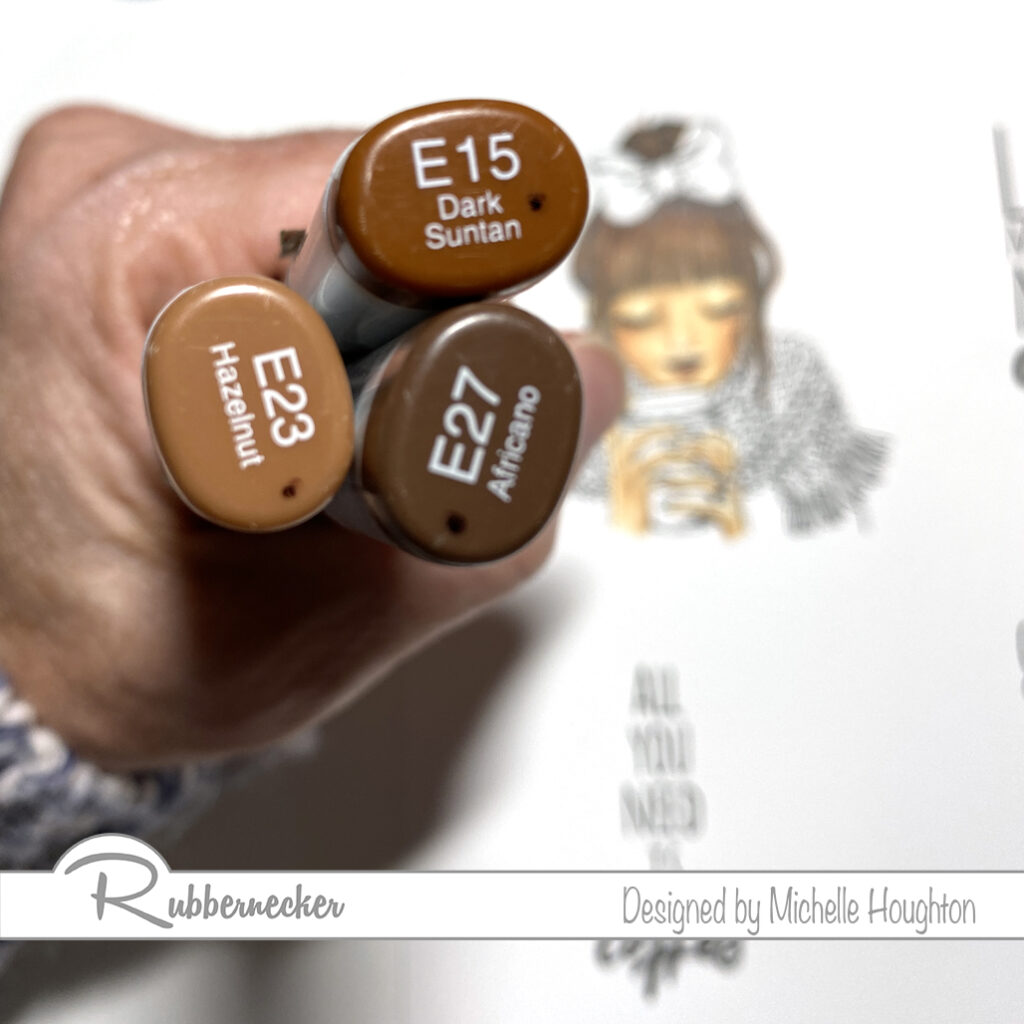
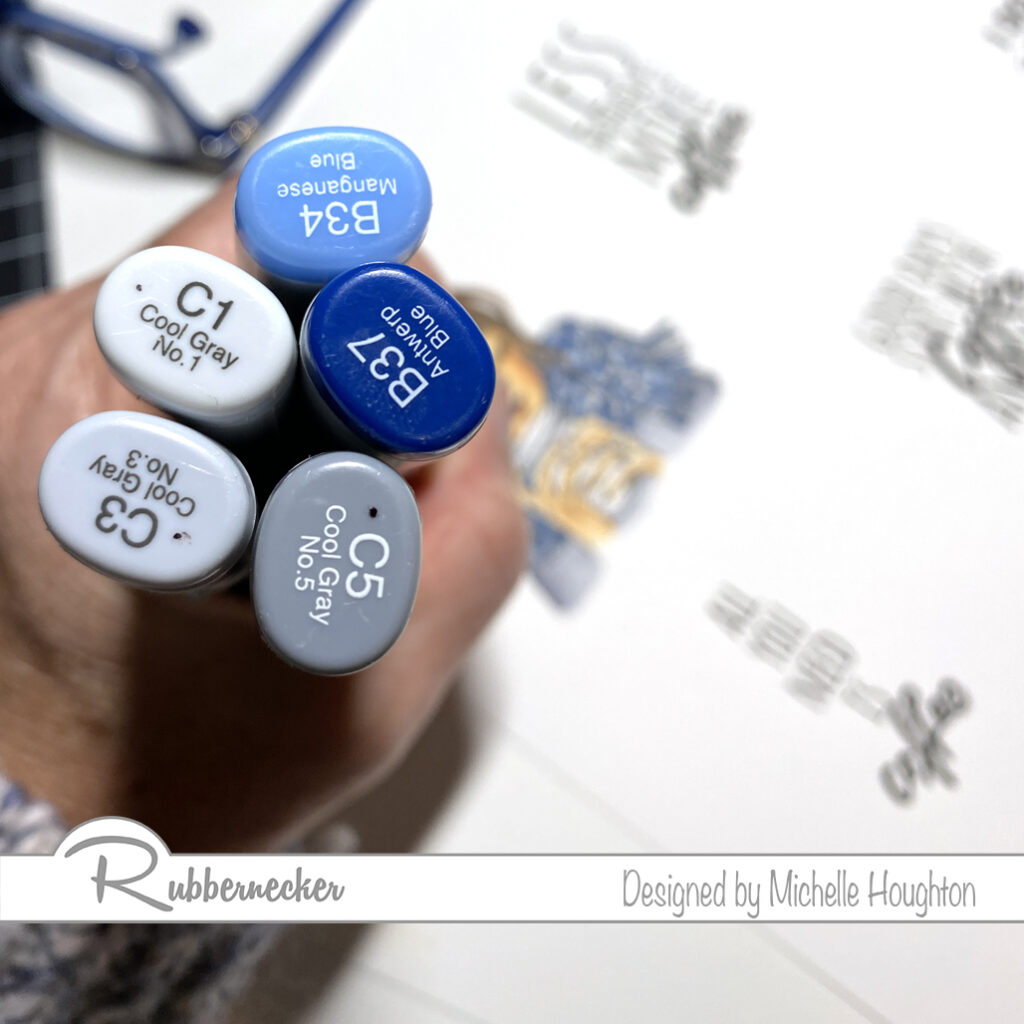
I have colored her up with Copics and below is a list of what I used and where.

Skin and Hair
Sweater and Scarf
Bow

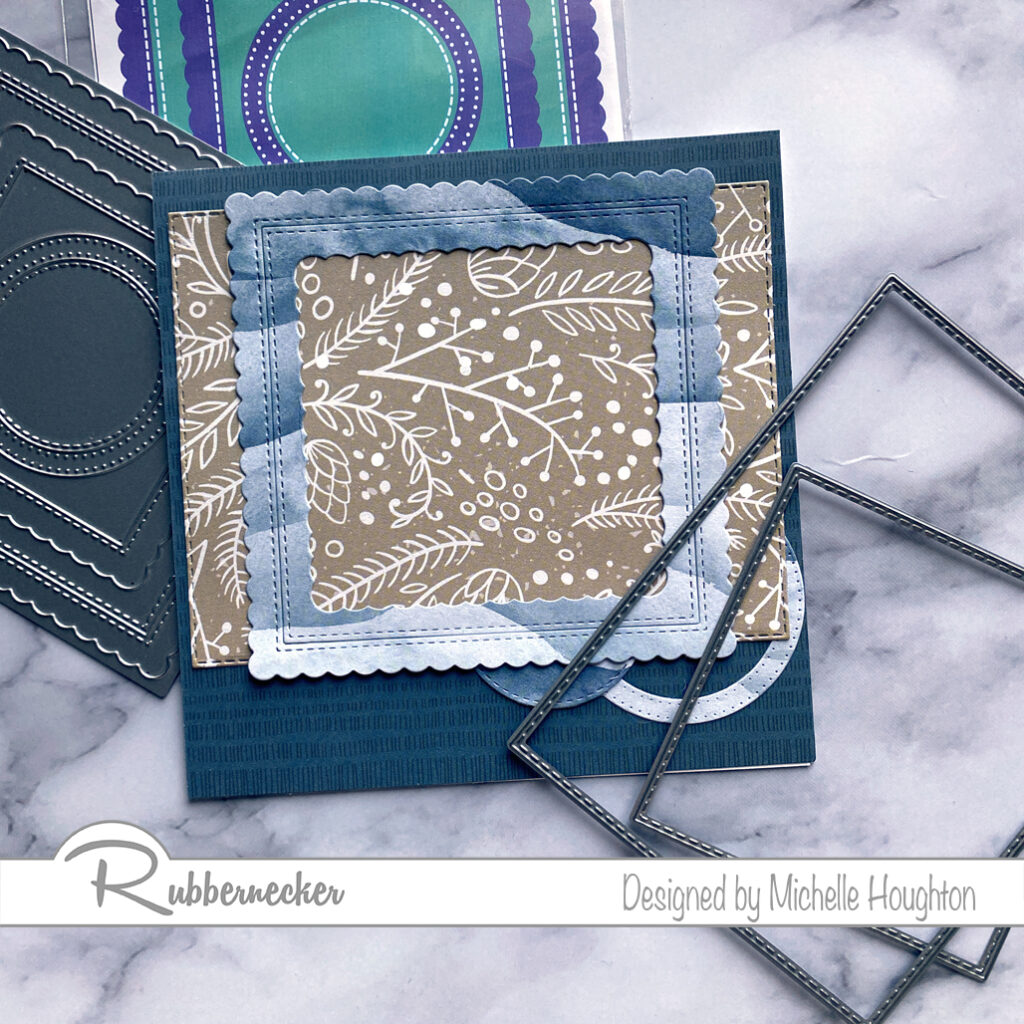
Then I created a few layers using patterned paper, cardstock and dies from Rubbernecker.

Putting it all together was just a matter of adhering all the layers.

  • 5.5 x 5.5 card base
  • Dark blue patterned paper card front
  • Light blue patterned paper circle and ring from stacked die set
  • Earth tone patterned paper rectangle nested die
  • Light blue square frame (or square) from stacked die set
  • Tie soft twine in one or two colors near the bottom on the light blue square
  • Lastly pop up the image with foam tape

Thank you so much for stopping by! Make sure to check out some of the other designers from Rubbernecker as well as the Design Teams from the many sponsors of the Coffee Lovers Hop!

Have a Happy Colorful Day!