Posted on

Copic Coloring Dark Skin Part 1

Coloring darker skin tones takes a little more time and patience than lighter variations, typically there are more layers of ink, they are heavier by nature not as much alcohol solution in the mix. So it takes a little more practice and a lot more mistakes to get images where you would like them to go. You know me I am always up for a good challenge! So when Rubbernecker asked if some of the design team members would help showcase the new images featuring women and men of color I said sure I’ll give it a go!

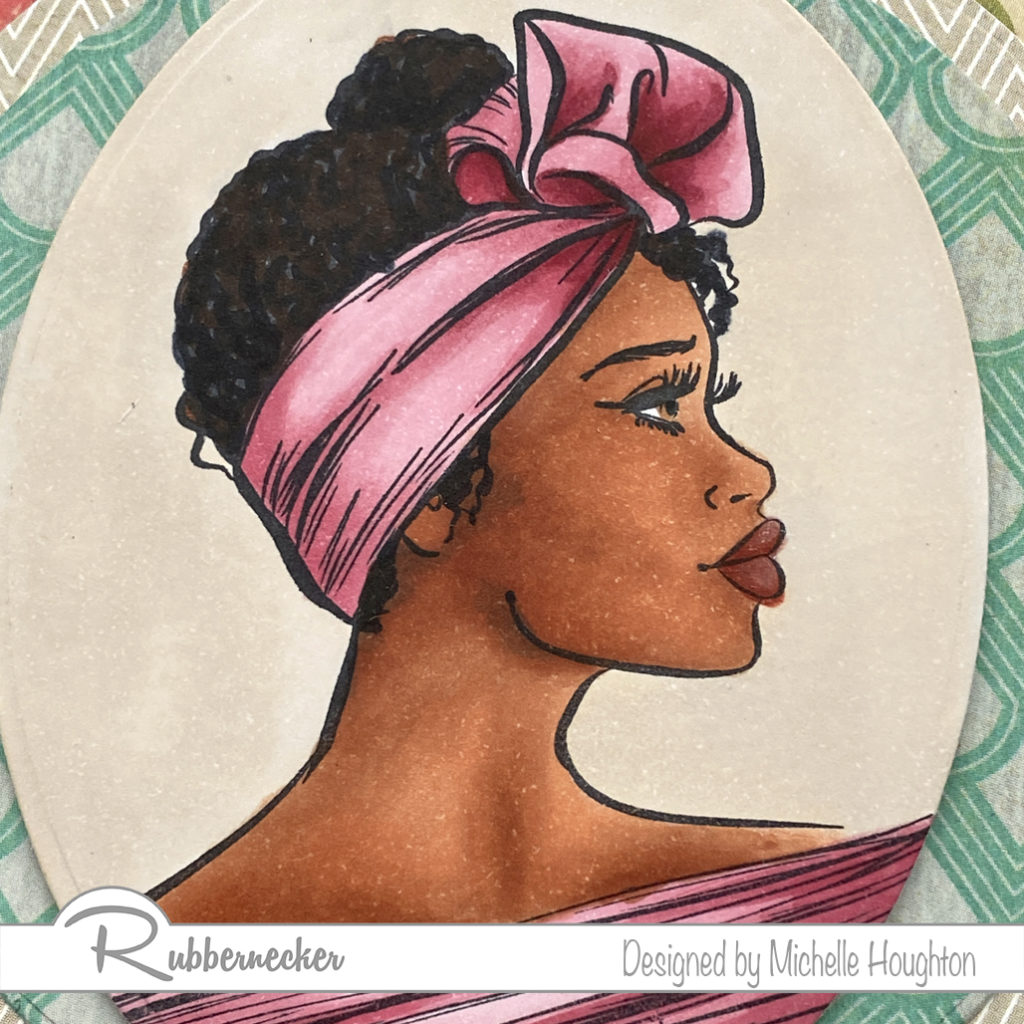
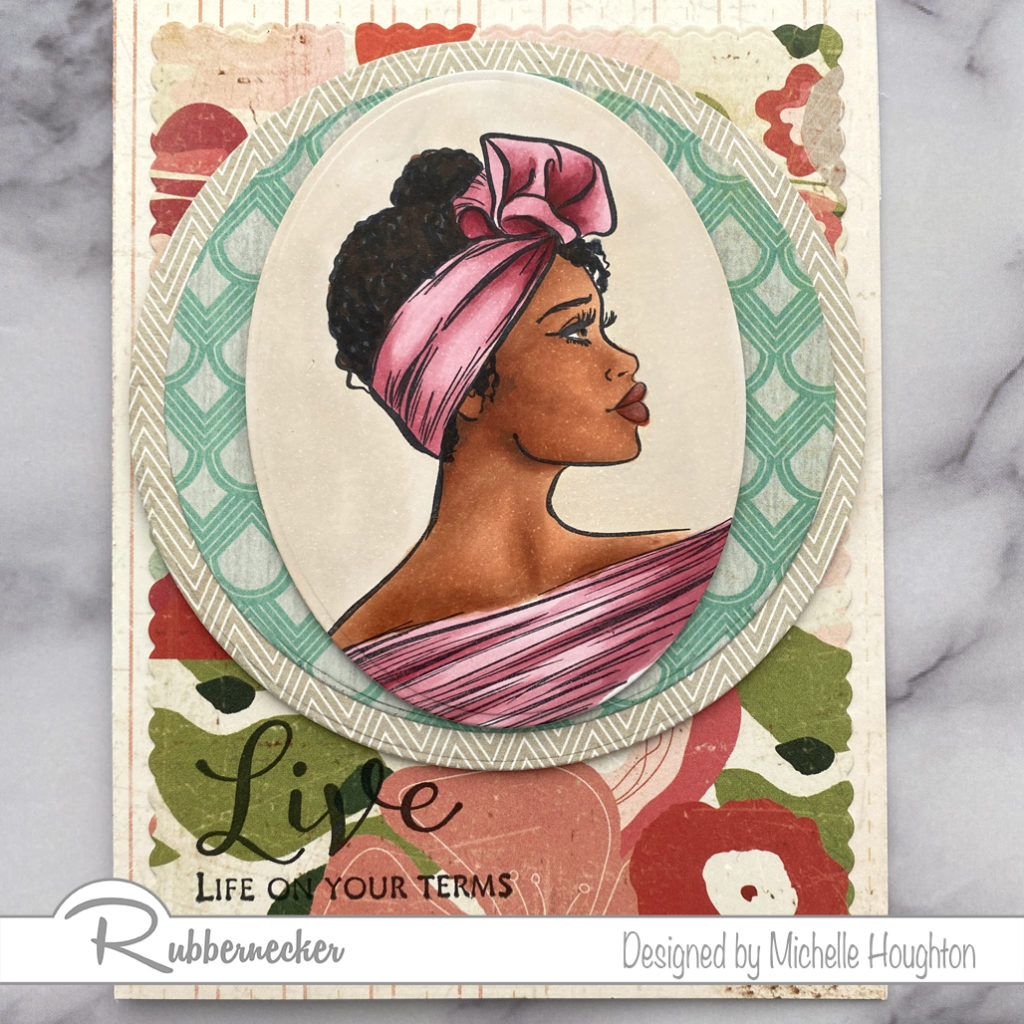
  • Base the skin in an Earth tone E11
  • Use a mid-tone and shadow to add shape and depth to the face E13 and E15
  • Blend the colors together going in reverse, E13 and E11
  • Add small touches of a blue violet into the deepest shadow areas BV23
  • Fill the lips with E04 and small touches of E09 for shape
  • Color the head wrap and top in a series of reds R81, R83, R85
  • Add squiggled lines over the hair area of the image with darker colors E47, E49, C9 * note you could leave the hair alone the stamp actually stamps the hair black, I always feel like it needs a little more texture and richness. It is very subtle but effective.
  • Fill the pupil of the eye with a warm Earth tone, E35
  • Use a layer of E50 to fill the background and then go over the entire area with W1, this helped match the background to the patterned papers I have chosen

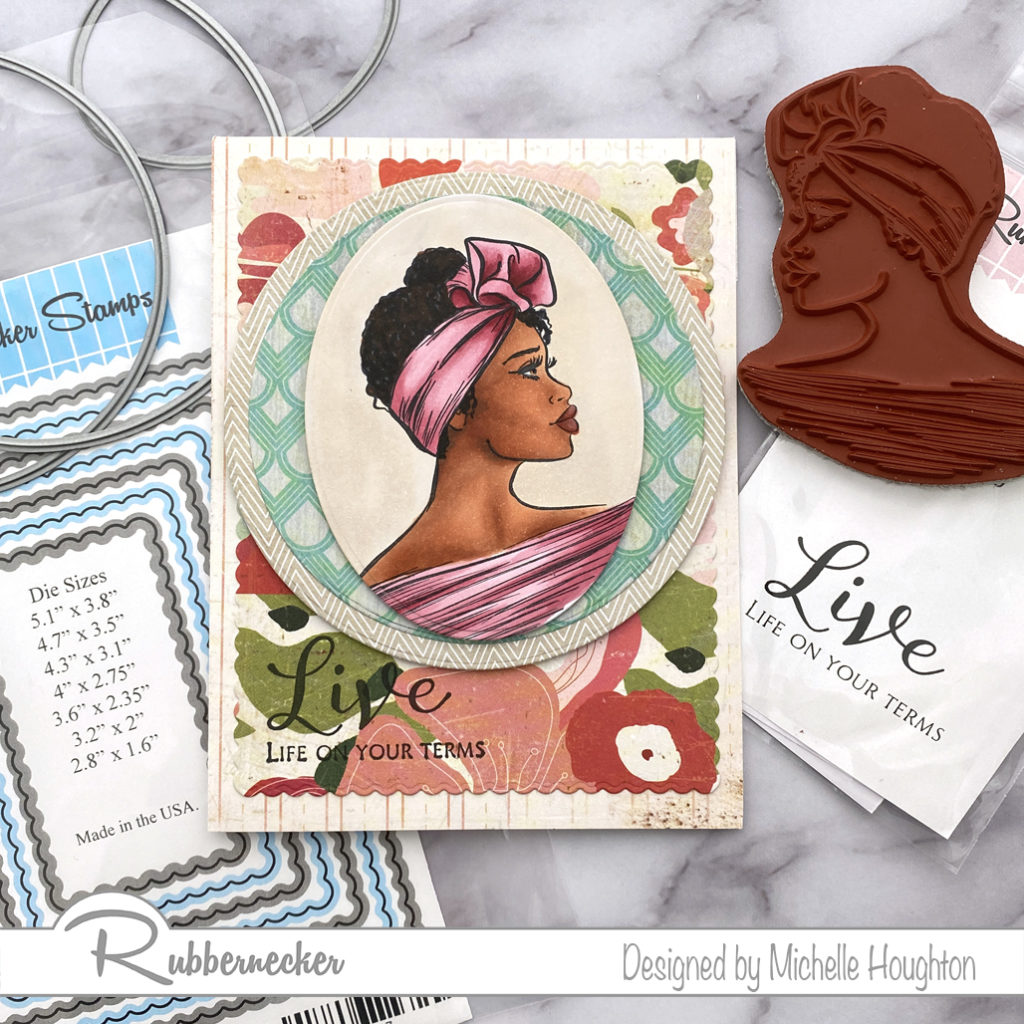
Here are the steps to create the card:

  • Trim a light piece of patterned paper to 4.25 x 5.5 and attach it to a card base
  • Use a scalloped rectangle die to cut a large rectangle from a blog patterned paper and stamp the lower corner with the “Live On Your Terms” sentiment stamp
  • Using the nesting circle dies cut two circles from coordinating patterned papers, attach these together and then use foam tape to pop them up on the card base
  • trim the image using an oval from the nesting die set and use foam tape to pop it up in the center of the circles

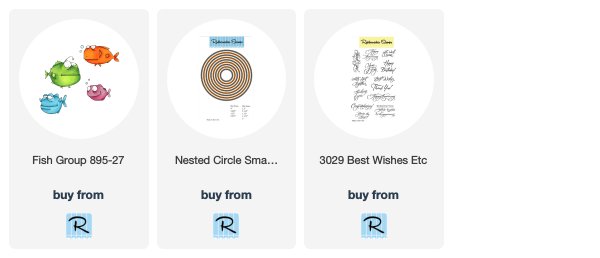
Thank you so much for stopping by today! below you will find links to all the Rubbernecker products I am using on this card.

Have a Happy Colorful Day!

Posted on

Here Fishy Fishy!

Hey friends! A little Rubbernecker inspiration to perk up your mid-week! I have all the steps broken down for the actual card making this time so see what you think!

  • I am starting with the stamp “Fish Group” from Rubbernecker Stamps and coloring them up with my Copic Markers
  • YG01, YG03, YG63 for upper right
  • YR18, R24 and R29 for lower right
  • V12 and V04 for lower left
  • Y35, YR14, YR18 for upper left
  • BG000, G20, B00, BG52, BV20 create a wash over the fish to create the water effect
  • Die cut fish and one bright contrasting patterned paper with circle nesting dies
  • Die cut 3 banners of patterned paper with varying prints and sizes
  • Adhere full card front sized patterned paper to card base
  • Adhere banners overlapping and falling off the top of card
  • Adhere circle patterned paper again falling off side and top of card
  • Trim extra banner and circle pieces off
  • Use a sentiment stamp on the lower right corner of the card and also the inside of card if desired
  • Use a dimensional paint like Nuvo drops to add simple dots around edge of image circle * let dry!*
  • Use foam tape to pop up the die cut image
  • Adhere a few acrylic dots, sequins or add more Nuvo drops for a few finishing details in your contrasting color

Really hoping this is helpful! Thank you so much for stopping by today! below you will find links to all the Rubbernecked product I used in this fun fishy creation. Gotta like a card that makes you smile😉

Have a Happy Colorful Day!

Posted on

Welcome to the New Year!

It is a new year! 2020 has arrived wether we are ready for it or not. I am starting the year getting creative with Rubbernecker Stamps. I love this adorable stamp! He “speaks” to me!

I colored the image with Copic Markers keeping the color scheme really simple!
Tiny group! dog – E70, E71, E74, E77 nose – N5, N9, N0 sky – BG10 ground YG41, YG45, YG00

Then there is a sentiment stamp and lots of layers cut with the nesting rectangle stitched dies. Take a look at an angle shot first to see all the layers.

So from the bottom up, there is a card base, rectangle of cardstock, rectangle of patterned paper, foam tape then another rectangle of cardstock and the image die cut with a final rectangle. These last two layers are popped up and set at an angle. Before I attached all the layers to the card base I added a bow of twine wrapping the layers all together.

Thank you as always for stopping by for a little creativity!

Have A Happy Colorful Day!

Posted on

Rubbernecker Fabulous Darling!

Hi all popping up this Friday morning to share a little Rubbernecker and Copic inspiration. RN has a whole series of these funny animals that are just too cute. They look a little frazzled which is completely appropriate for me most days! I started with this little bird and got him all colored:

You’ll notice I broke out a couple fluorescents for this one!
So fun and frazzled. An image like this is so quick to color. I could add more detail, but it just isn’t needed and keeps the craziness.
I used a sentiment that seemed appropriate 😉. Rubbernecker has a whole bunch of separate sentiment stamps for all sorts of occasions. Then used two different nesting die sets from RN and fun patterned paper and embellishments I have had in my stash for ages!

Simple and fun, great to send a quick note to a friend just because! Thanks as always for stopping by today! To find your way to the Rubbernecker store click the banner below and it will take you straight away!

Have a Happy Colorful Day!

Posted on

Elf Boots!

Hidey Ho! Happy Friday to you all! Have you seen all the new stamps from Rubbernecker for the Holiday season? I have been lucky enough to get a couple of them and I have two to share today! One of them was featured in a video Wednesday over at the Copic In The Craft Room YouTube channel.

For this release there are several sentiment stamps and I have been blown away watching what the Design Team is creating with them. They are so creative with ink and stencils and… I kept mine very simple and created a shaker.

I used the new stamp as well as a nesting oval die set from Rubbernecker.

Here is my second card featuring the Elf Boots. They are so stinkin’ cute! I tried a new ink with some no-line coloring it’s Called Ink one 3. Worked great and you can get a peek at it on the new video!

Here are the colors I used on the elf legs and boots. The Multiliner I used to add the small detail back into bell.
Here is a close up of the boots and legs. The new ink disappeared right away and even next to the white stripes of the socks my lines disappeared with the lightest touch of C1!
I created a large Santa sack for my little elf to fall into. I debated about a chimney or even the just the bottom of a tunic and decided on this. It makes me giggle 😁

And here is a link to the video of coloring the boots and socks!

To find the stamps and the dies I used to create the cards click the Rubbernecker below and head over to the store!

Have a Happy Colorful Day!