Posted on

Another Copic Dark Skin Combo with Rubbernecker

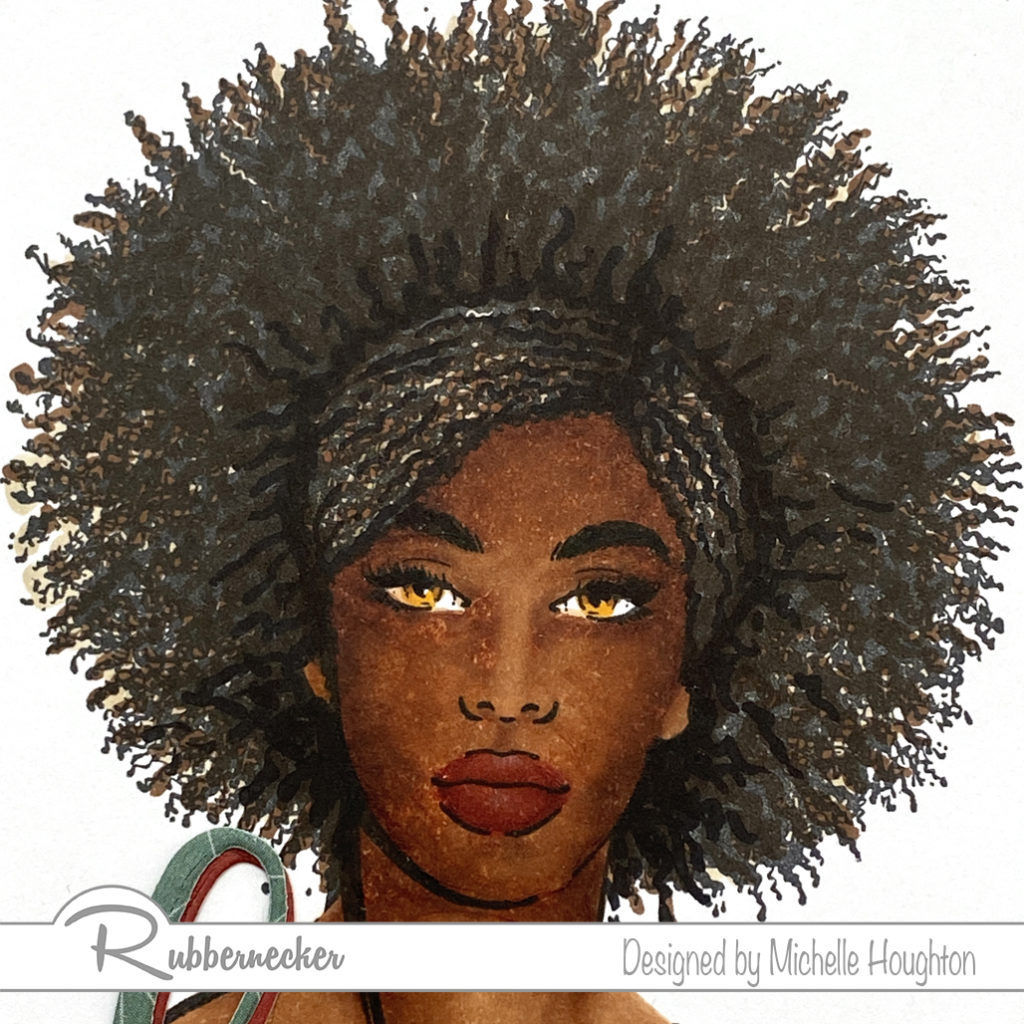
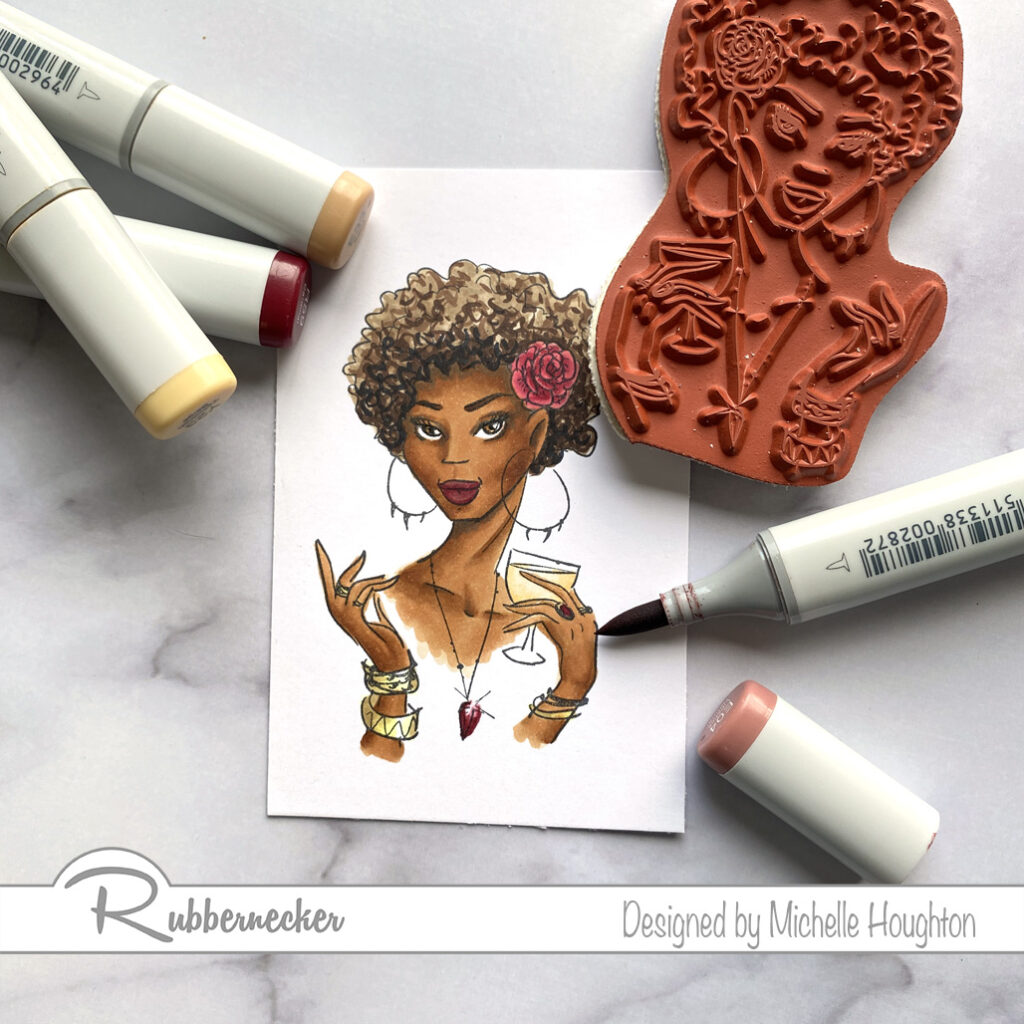
Another Copic dark skin combination. Sometimes you really can keep is simple and just run through a series of Earth tones. In this case I ran through the E30’s The trick is getting them smooth with the darker skin tones on smaller images. So pay special attention to the order of the colors used and the steps. If you would like to see the coloring in action I will be posting a video on Wednesday, June 24th with the start to finish Copic coloring.
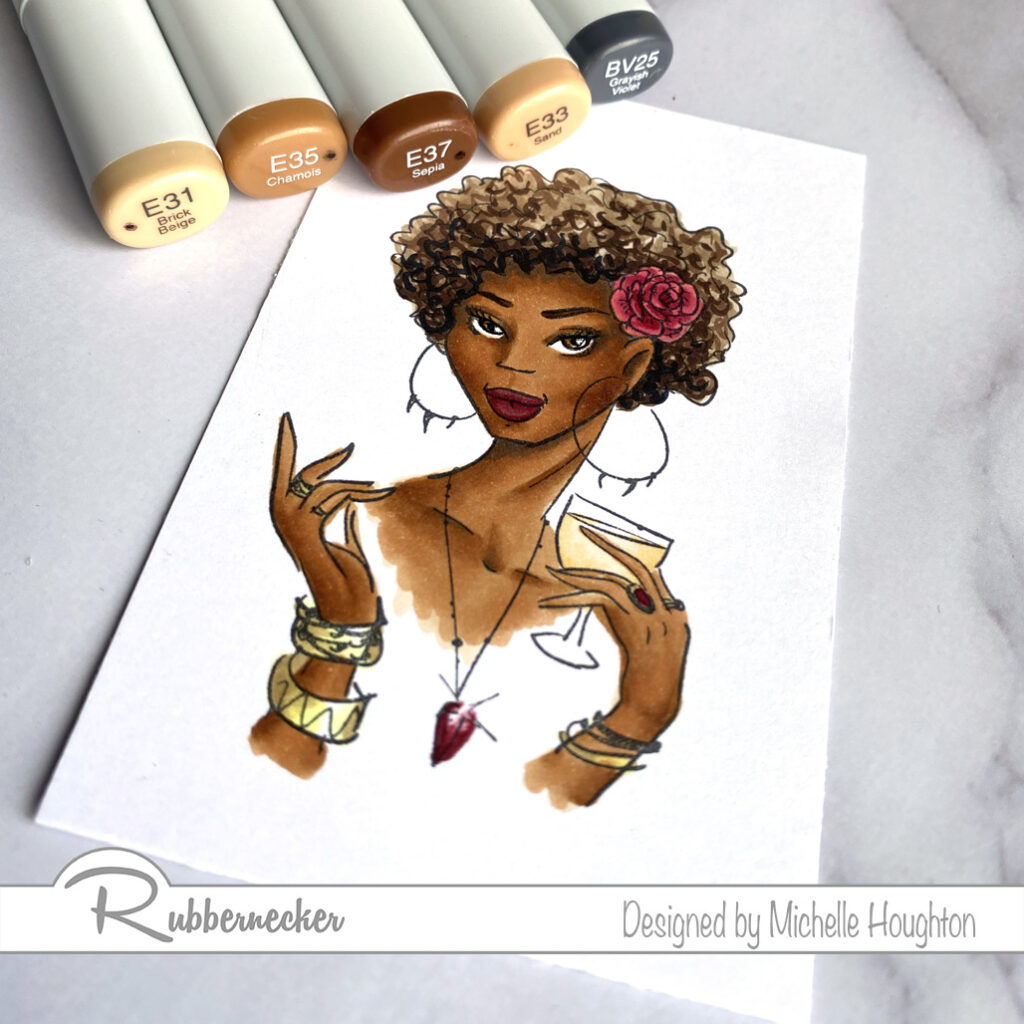
  • Start by basing all the skin in a lighter Earth tone. (E31)
  • Skip your second color and move to\o the third in your series. With this color map out the contours of the face. I used short flicks in most areas from the edges inward where possible. (E35)
  • Use the fourth Earth tone in your series and goo into all the same areas you mapped out just in less amounts, or shorter flicks. (E37)
  • Go back to the third in your series and blend the edges of this darker color smooth. This may pull into the light area a little Moore (E35)
  • Now go back to the color you skipped and first soften the edge of the darker tones. Next work all the way across the lighter skin. (E33)
  • As an optional step use a darker blue violet to create one more level of depth and some cast shadows.
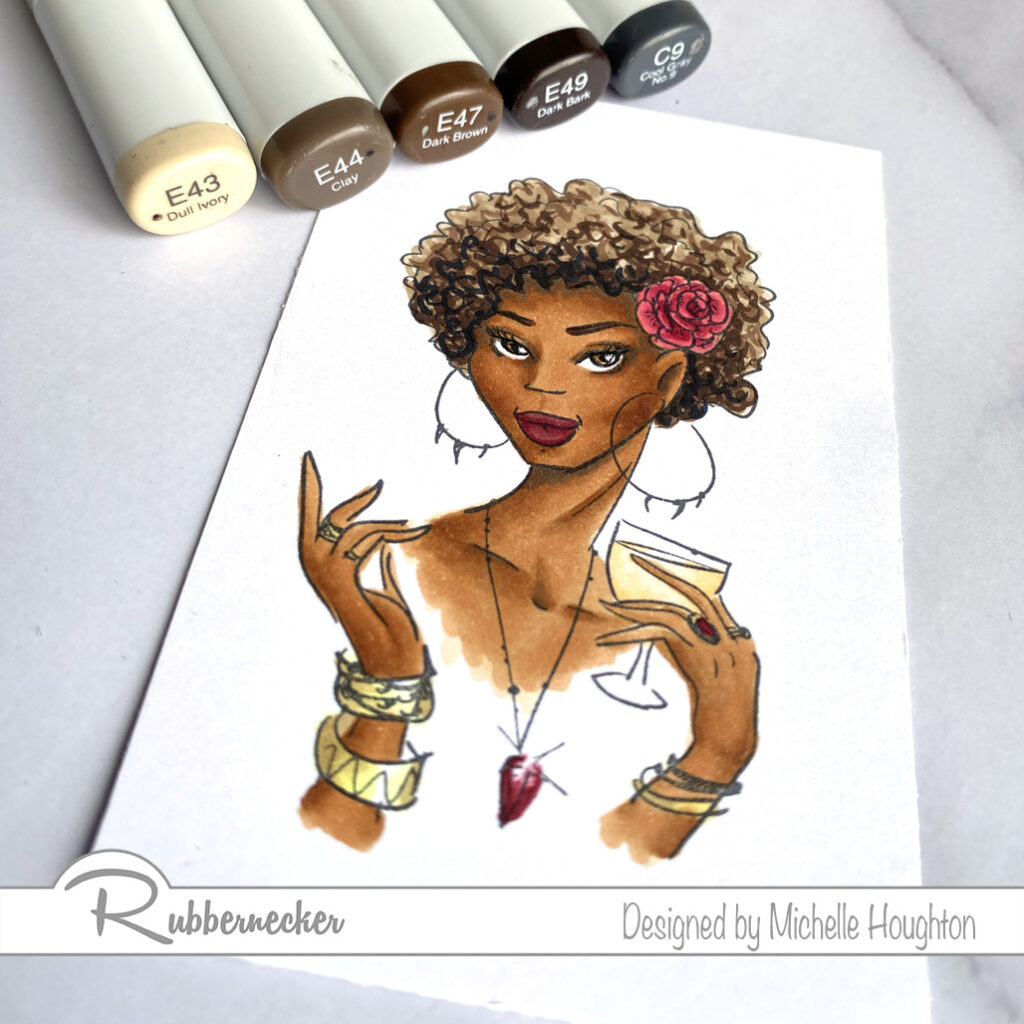
  • Base all of the hair in a mid-tone Earth tone. (E43)
  • Use the next Earth tone in the series and create very small squiggles all over the hair area. (E44)
  • Use a third and fourth Earth tone each in less amounts. With these two colors you will still be squiggling but focusing the color into areas to create shape. Also use one of these colors to fill in the brows on the face. (E47, E49)
  • Finish with a dark cool gray to push the depth and cool down the warm tones. (C9)
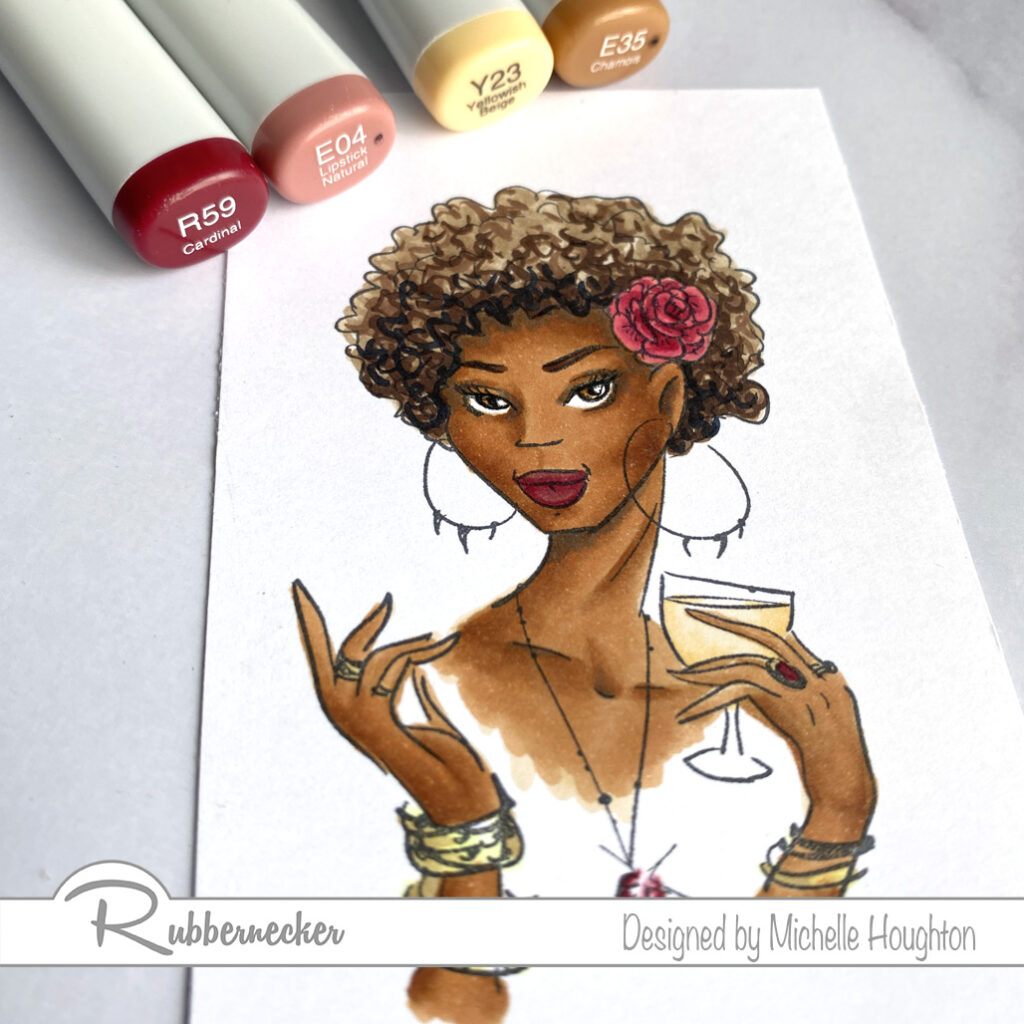
  • Finish the lips with an earth tone and a red. (E04, R59)
  • Finish the eyes with a yellow and Earth tone. (Y23, E35)
  • Use a Copic Multiliner to depend the black on the lash line and the pupil if needed. (.03)
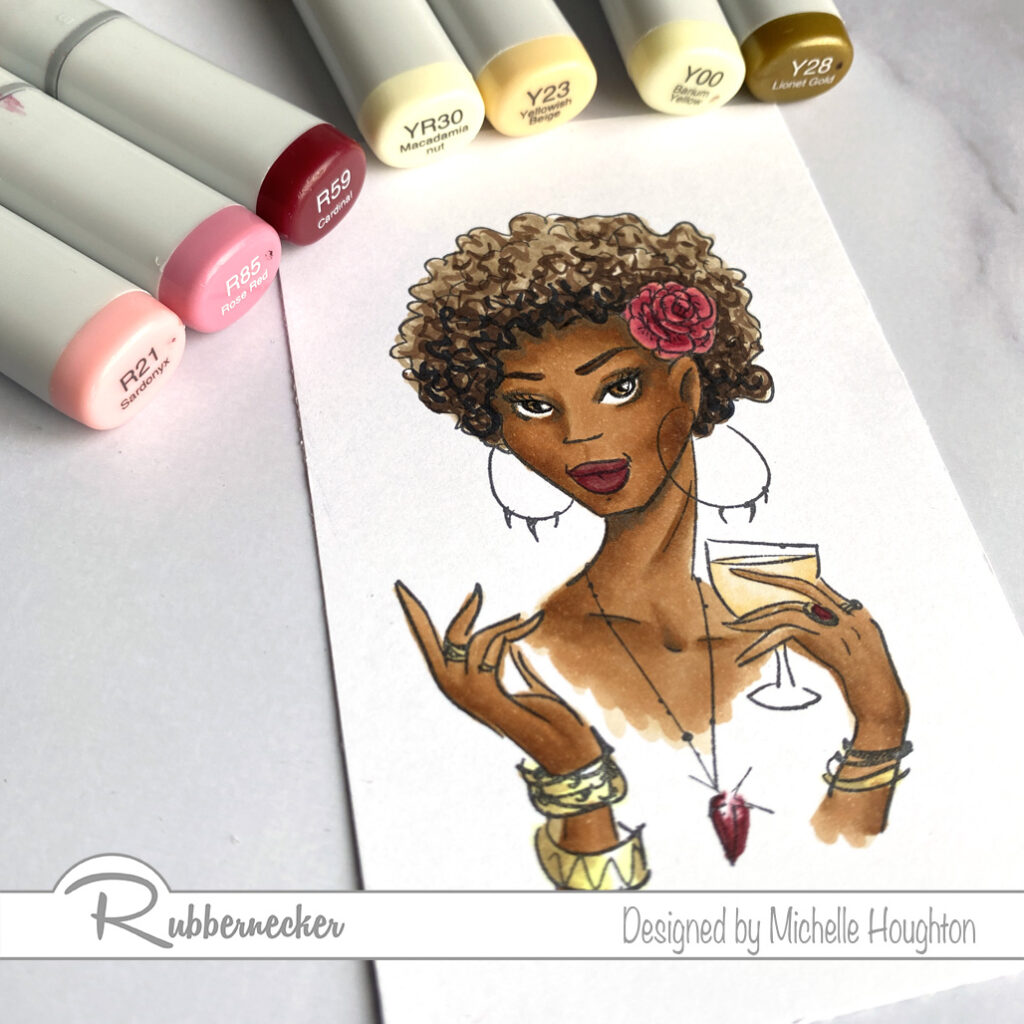
  • Color the rose and jewelry with a series of reds. (R21, R85, R59)
  • Color the bangles with two yellows (Y00, Y28)
  • My girl is drinking sparkling cider and I used a yellow red and yellow to color it. (YR30, Y23)
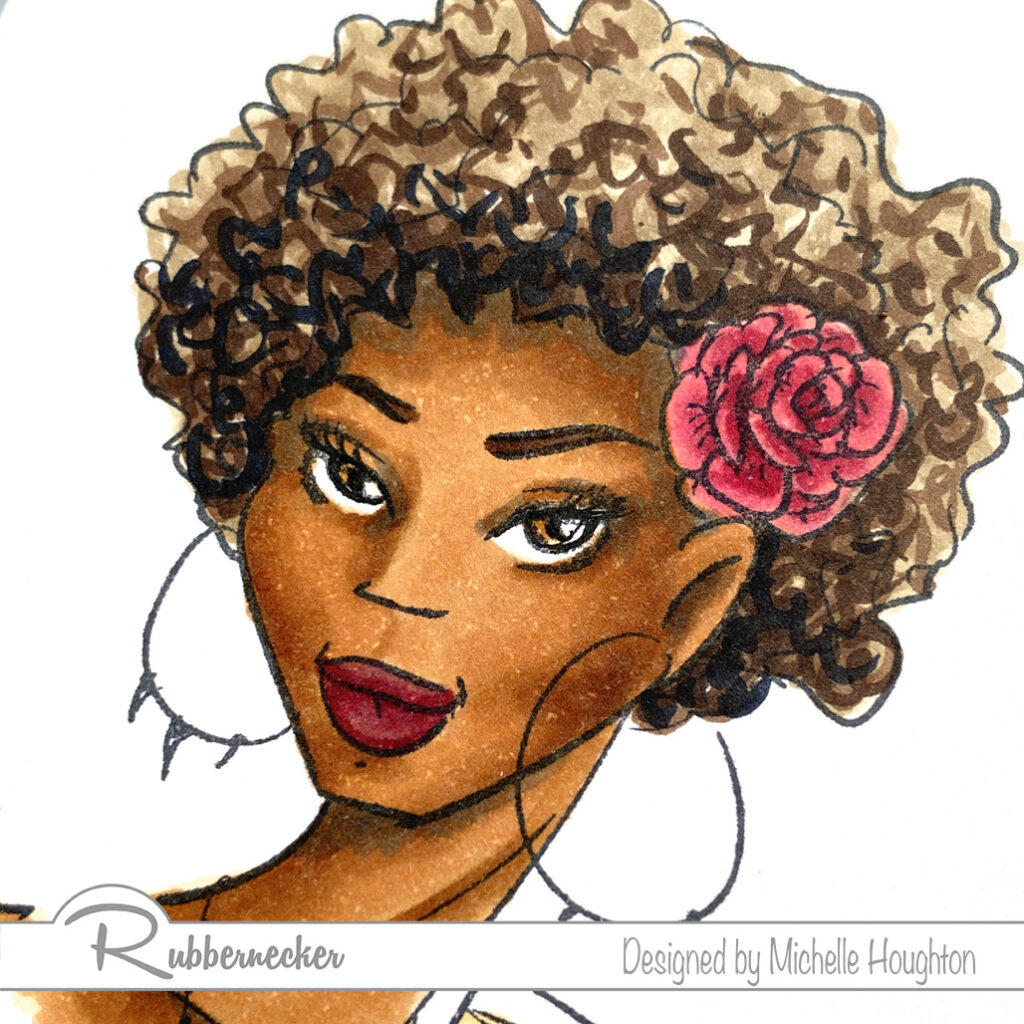
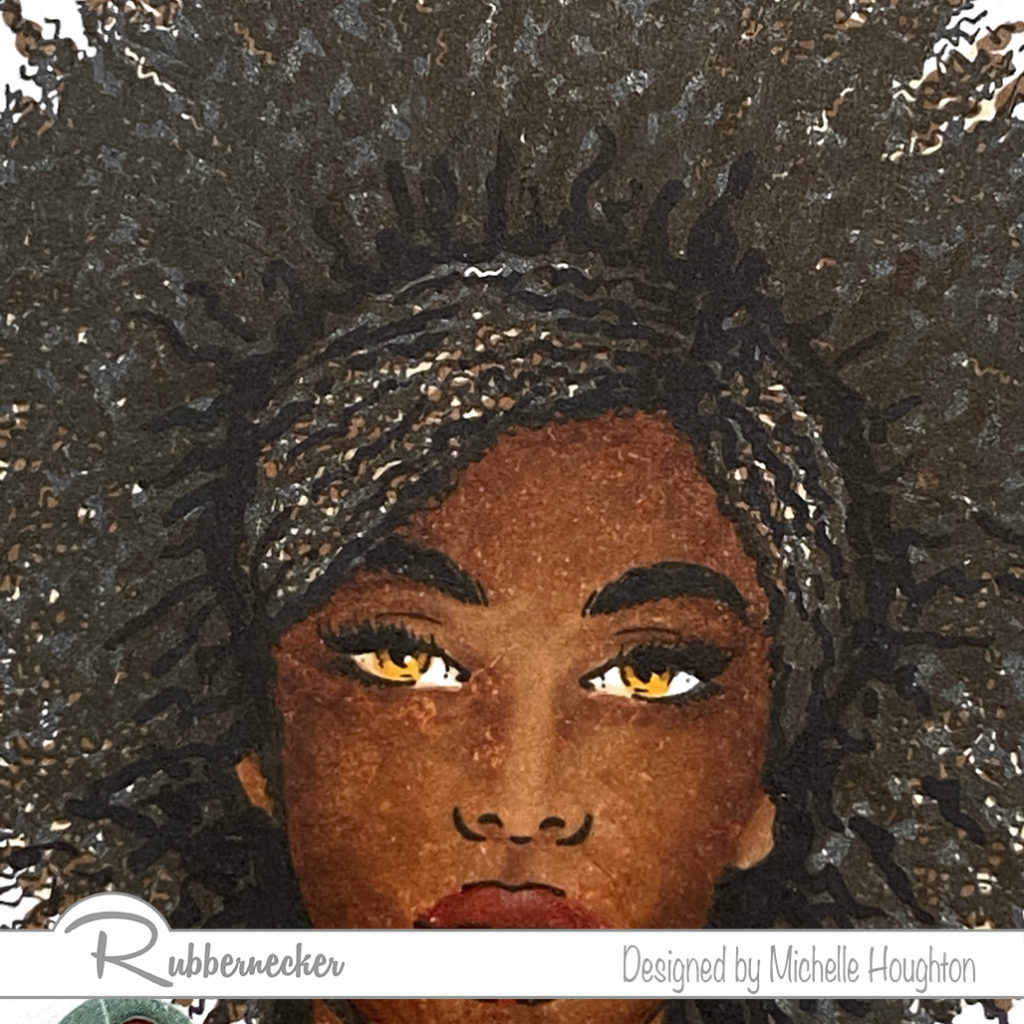
Here is a closer look at all the skin and hair. I hope this inspires you to get coloring and try some darker tones. So many of us settle into one set of two or three colors for every face and there are so many variations out there in this great big world! Try a few new combinations. Make sure to check the Copic In The Craft Room YouTube channel next week for the video tutorial and I will keep these coming 😉.

Have a Happy Colorful Day!

Posted on

Getting back to it!

I am finally getting back to doing some filming and Copic coloring! I know I will be on and off this summer but feels super good to be back on-line sharing even a little.

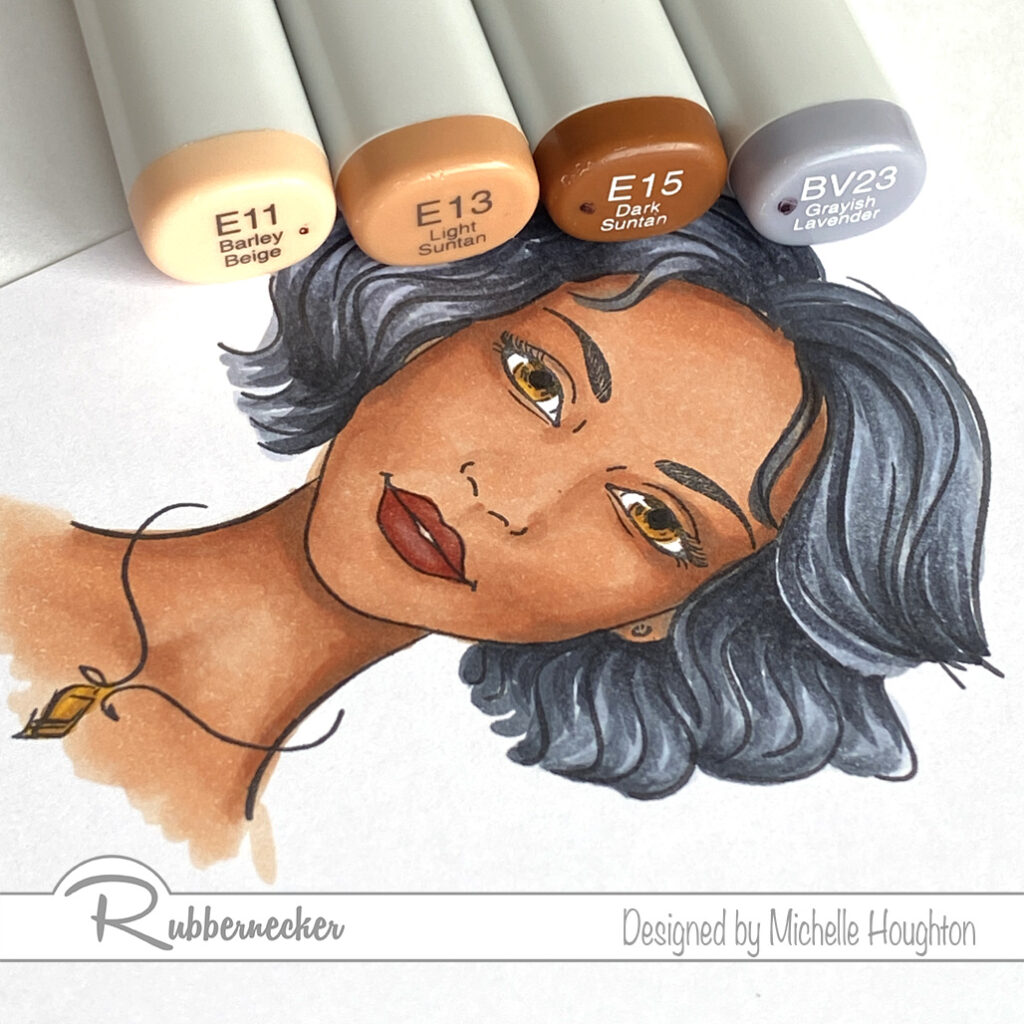
I am coloring up a wonderful image from Rubbernecker Stamps, Nala. The team at Rubbernecker asked if I would continue sharing some tips soon coloring darker skin tones so over the next few months I will share a few videos with medium to darker skin tones. If you have favorite color combinations I would love to hear those and I will share a few oof my go to combos.

I usually start with the skin on images, especially if I know I am going to go with darker tones because they tend to be a little trickier and if I mess up and need to start over I would rather not have spent oodles of time on other areas of the image first.

  • Base the skin in an Earth tone. (E11)
  • Use a mid-tone to map out the shape of the face creating the contours. (E13)
  • Use a shade darker in lesser amounts in all the same areas. (E15)
  • Work in reverse through your markers to blend the layers smooth. (E13, E11)
  • Use a blue violet to push the deepest shadow areas further back, in some cases I need to blend this color n a little in others it can sit right on top, in this case a LITTLE softening with 2 Earth tones was needed. (BV23, E15, E13)
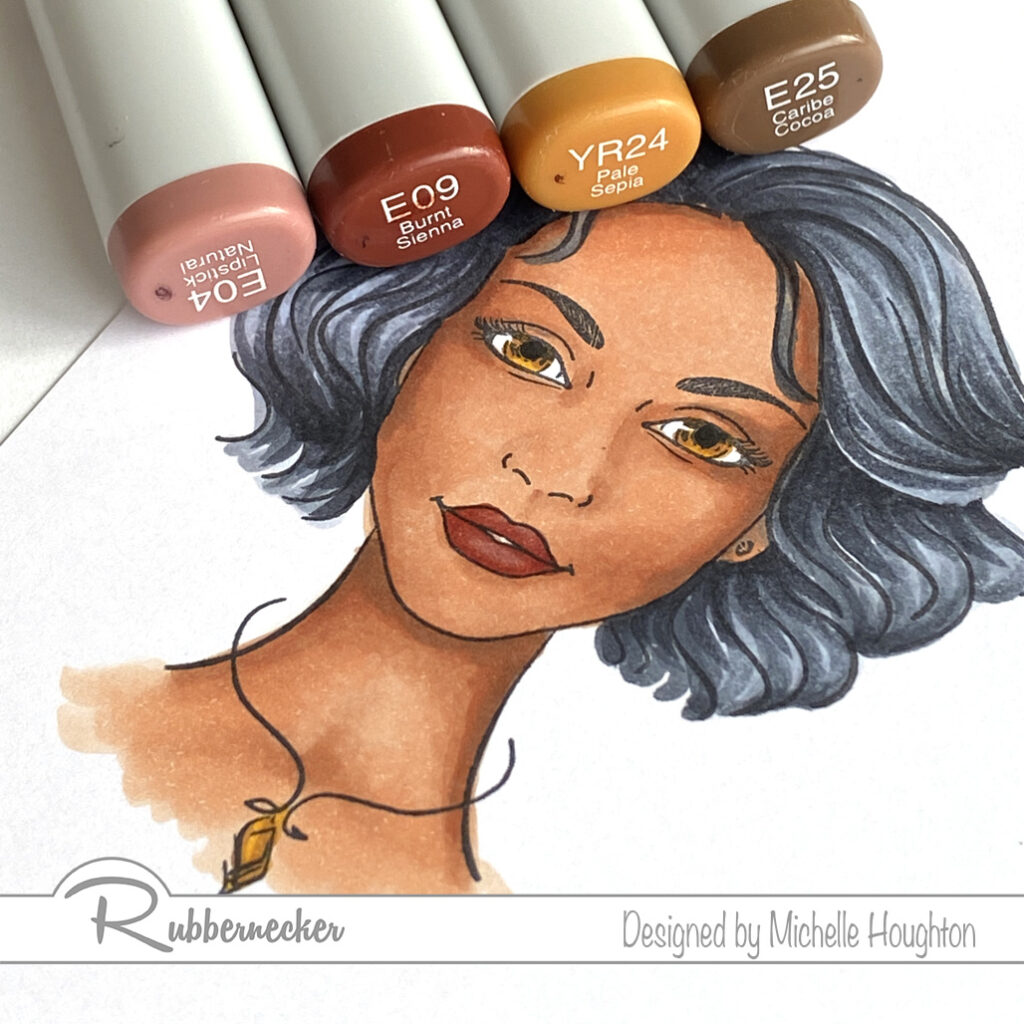
  • Finish up the lips with two Earth tones. (E04, E09)
  • Use two colors on the eyes. I used them on the necklace as well. (YR24, E25)
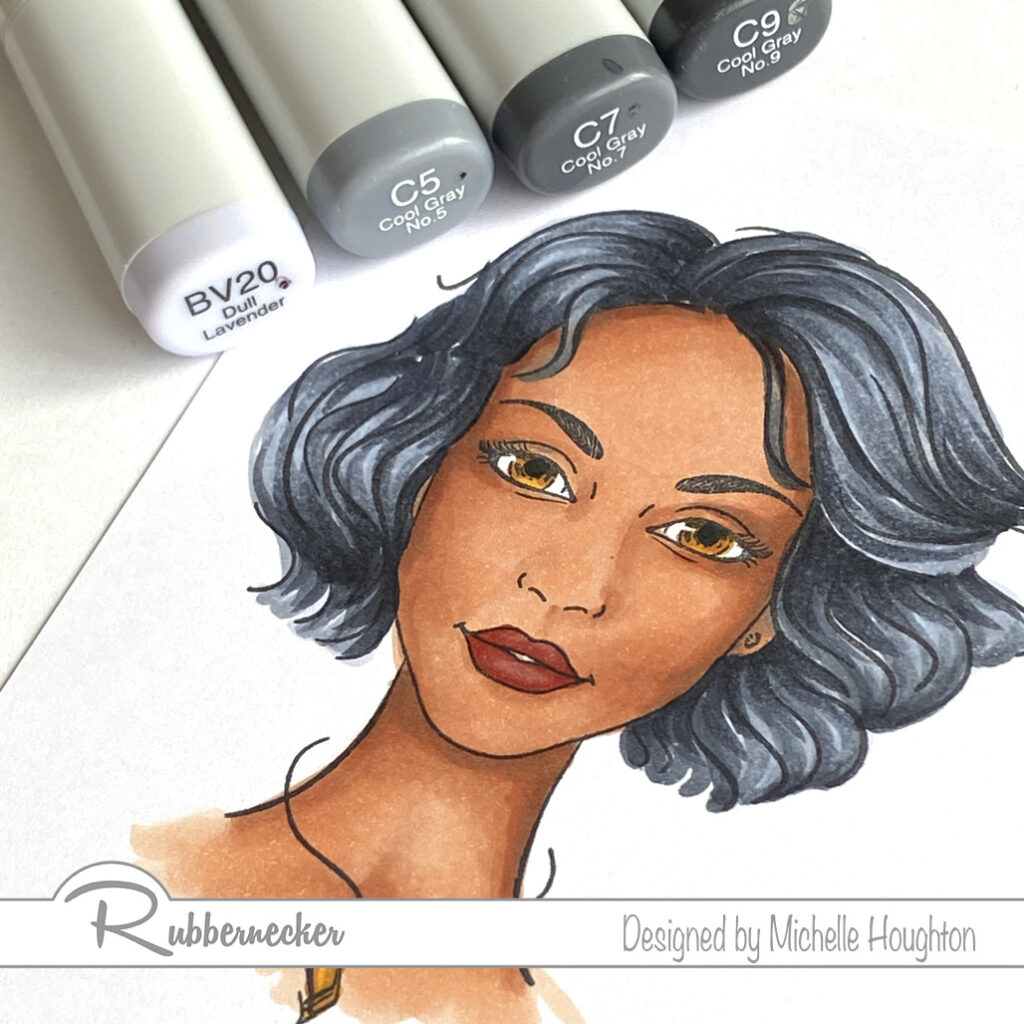
  • Finish the image off by coloring her hair. Put a light blue violet on the highlight areas. On waves hair look for the areas that wave out away from her head. (BV20)
  • Start with a dark cool gray and use varying lengths of flicks starting in the deepest areas and flicking out along the curves the artist has already on the image. (C9)
  • Use two more cool grays and flick more into the highlight areas vary the lengths of the flicks so you do not end up with bands of color. (C7, C5)
  • Go back and use any of the three gray tones to create the waves and texture that you like. Make sure to add in small amounts at a time and pause in-between layers to let the ink move and watch results. If you rush this step you can overwork the hair and end up with a muddled mess. (C9, C7, C5)
  • To finish the hair use the light blue violet to lightly work back into the highlight areas. (BV20)

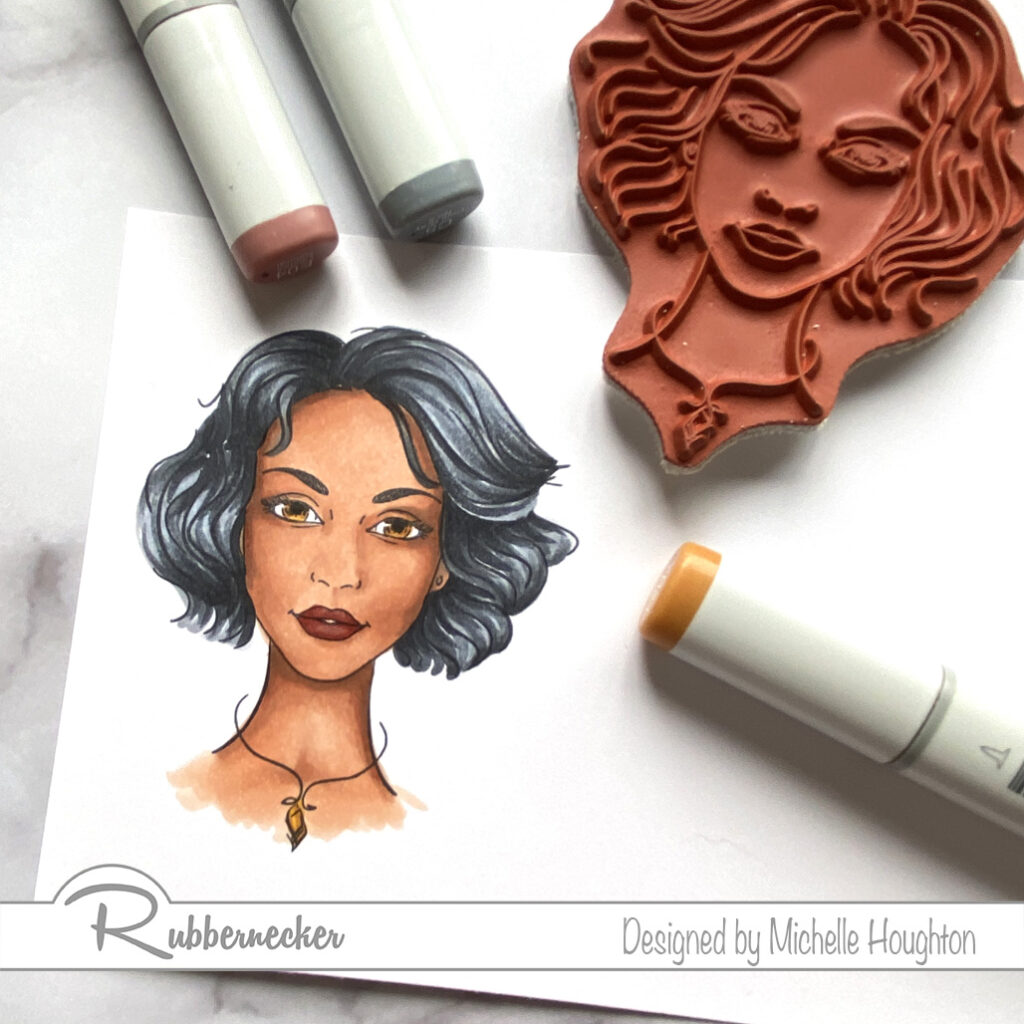
I also have a video recording of this process and the video is over at the Copic In The Craft Room YouTube channel.

Thank you for stopping by today! I will do my best to keep the coloring and creativity coming!

Have a Happy Colorful Day!

Posted on

Stamp Layering With Rubbernecker

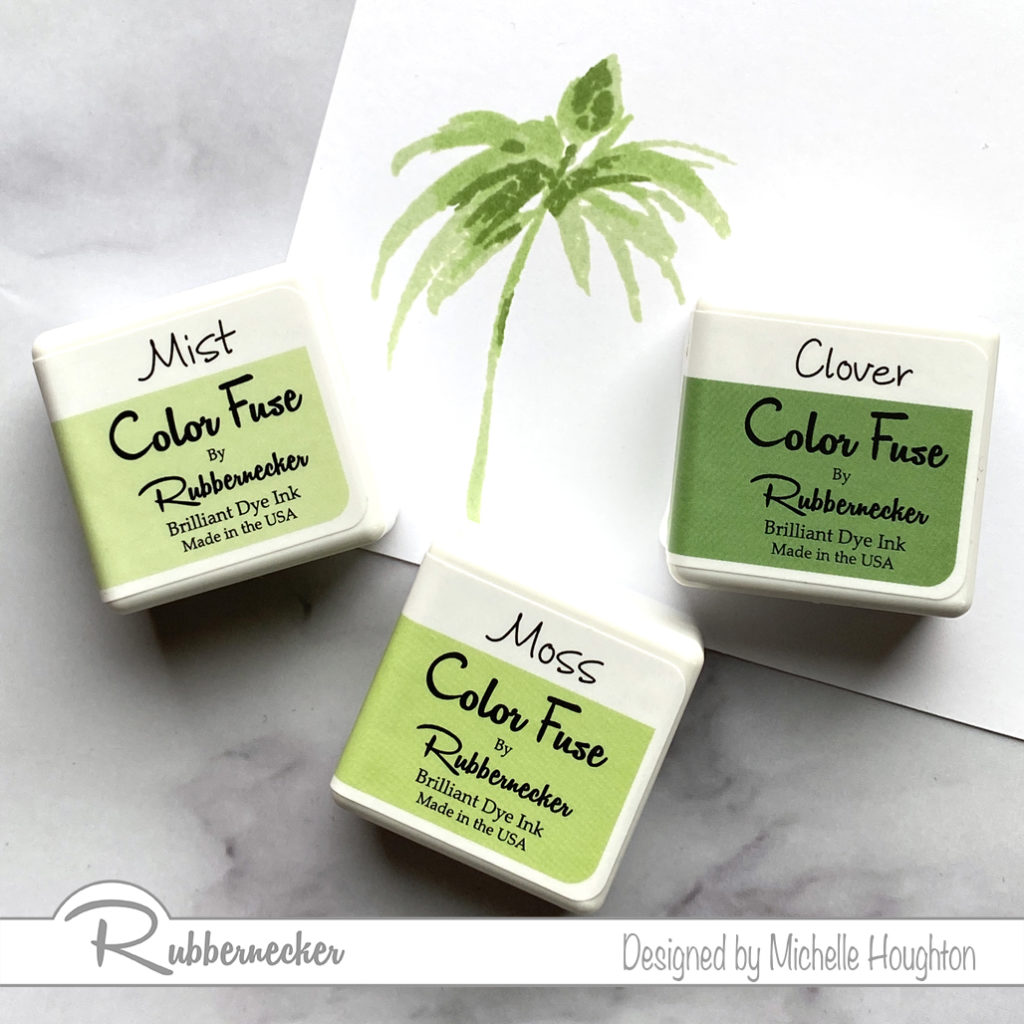
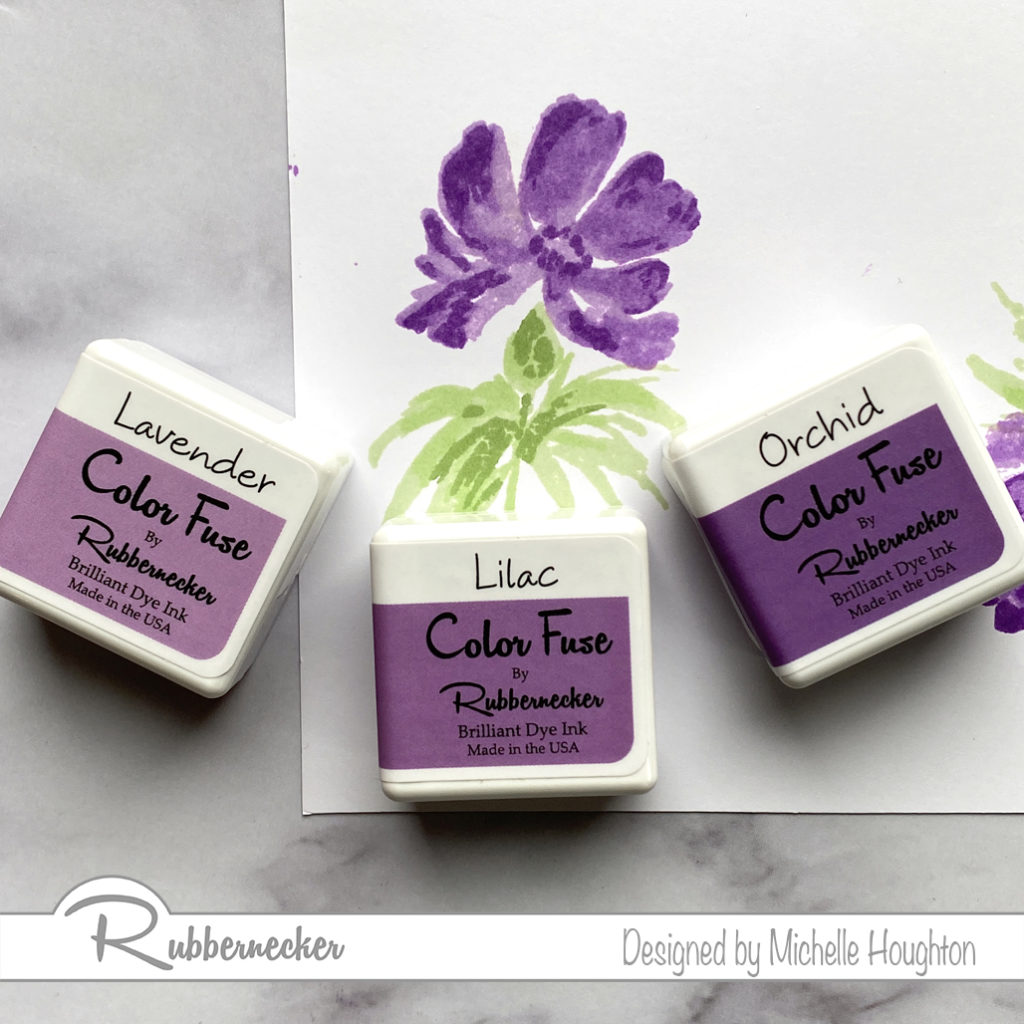
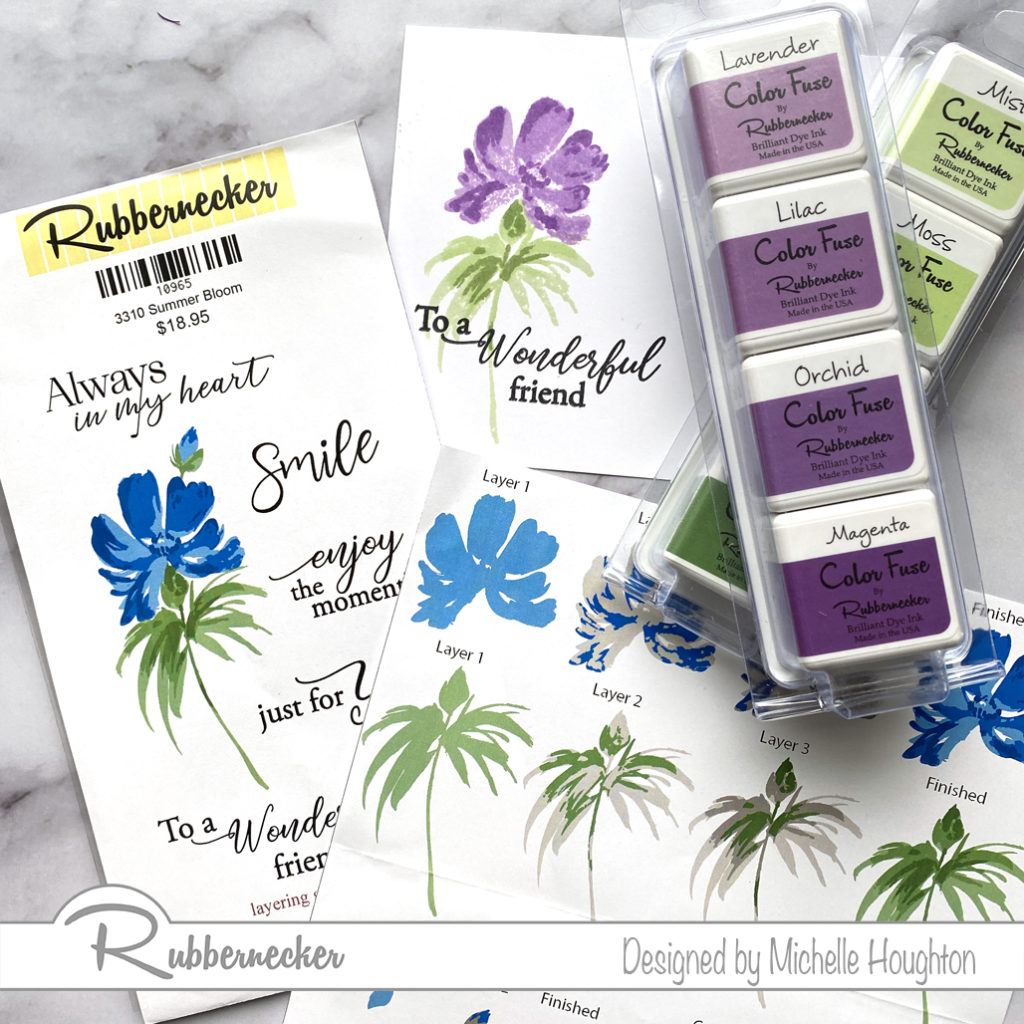
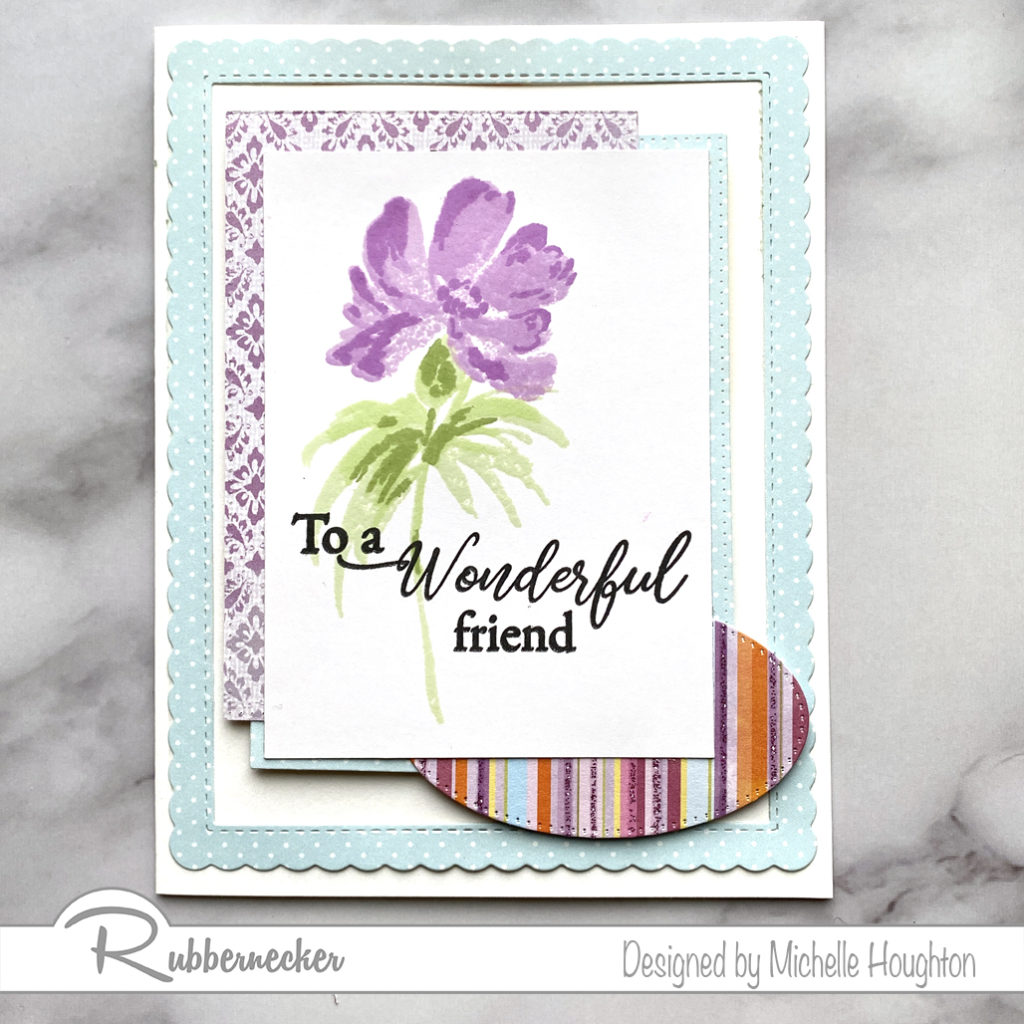
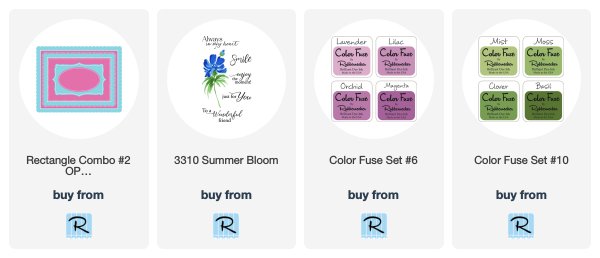
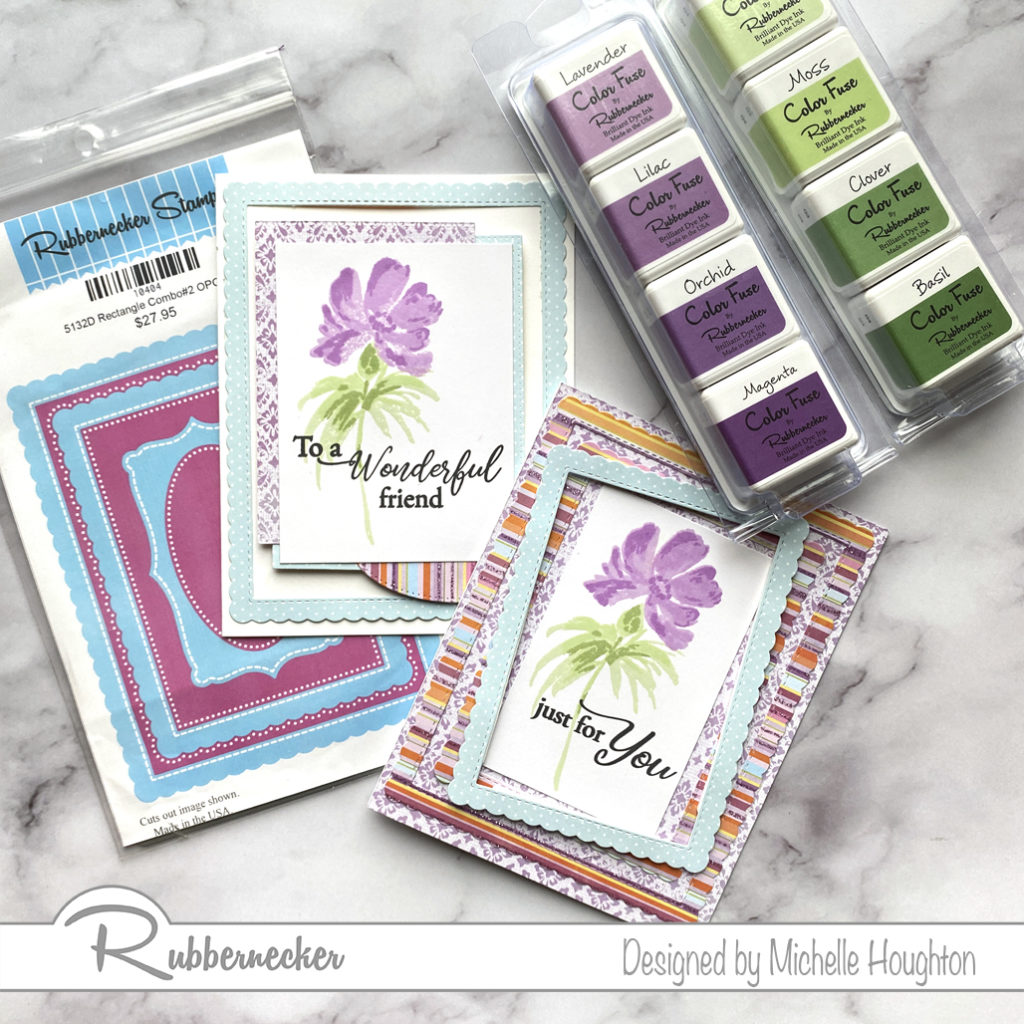
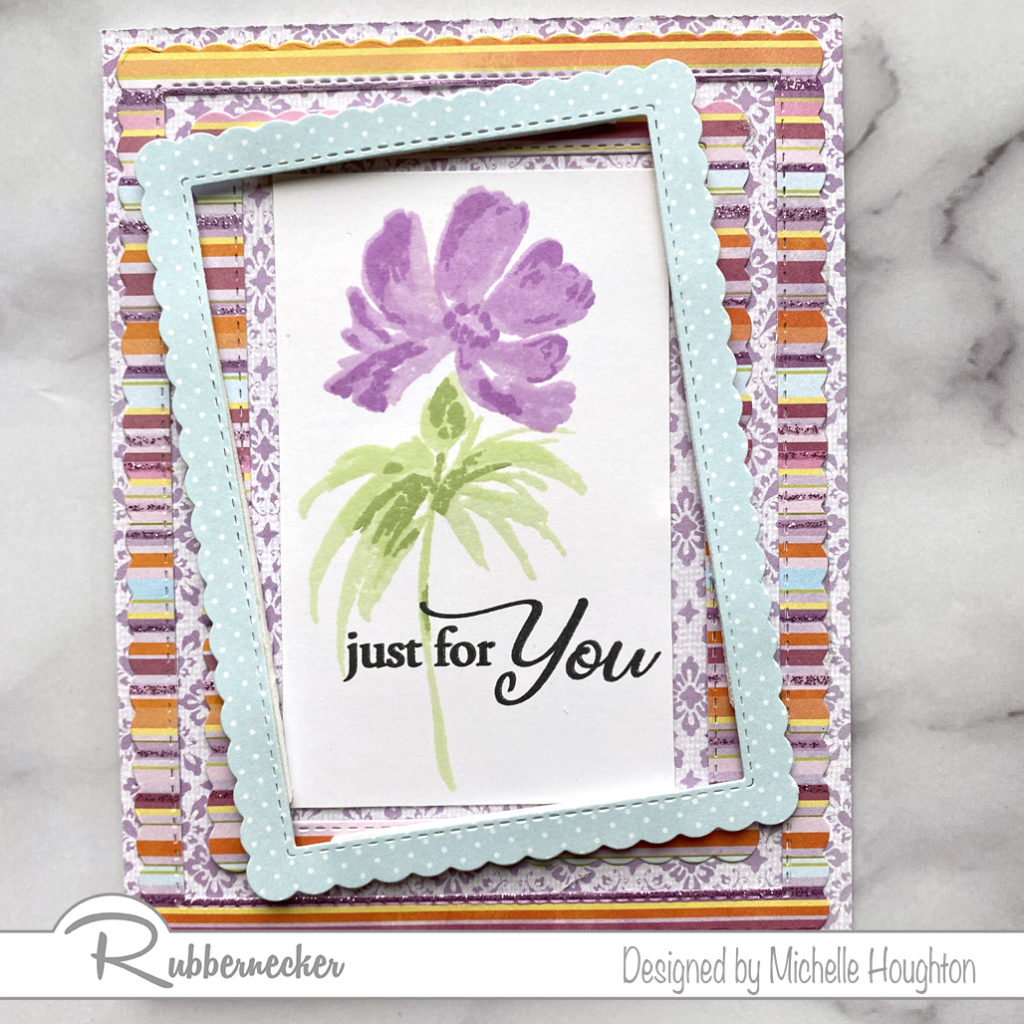
Hellooooo crafty friends. As we all hunker down and do our part to keep our friends and families safe and healthy one thing we can keep doing is crafting. (I’ll be cleaning and packing as well, with breaks of crafty/coloring goodness.) Today I have a simple card using some of the NEW Color Fuse Inks from Rubbernecker and one of their new stamp sets as well Summer Bloom.

Rubbernecker created several new stamp sets that are layering sets to use in tandem with their Color Fuse stamp sets. Those of you who watch my posts regularly know I am not an expert stamper, but Rubbernecker makes it very easy including instructions with the stamps so you know exactly what order to do your stamping. Here are the instructions:

  • Layer the three stem and leaf stamps using Mist, Moss and Clover inks
  • Layer the three petal stamps using the Lavender, Lilac and Orchid inks
  • Add a sentiment with black ink
  • Use the Rectangle Combo #2 OPC die to cut two different patterned papers, one of mine is double sided adding to the variety of paper frames cut
  • Using all the die frames from the two different patterned papers layer the images frames to create two cards
  • Pop up one or two elements on each card for interest

Thank you so much for stopping by today! Below you will find affiliate links to all the Rubbernecker products I used in today’s projects.

Have a Happy Colorful Day!
Posted on

Copic Coloring Darker Skin Tones Part 3

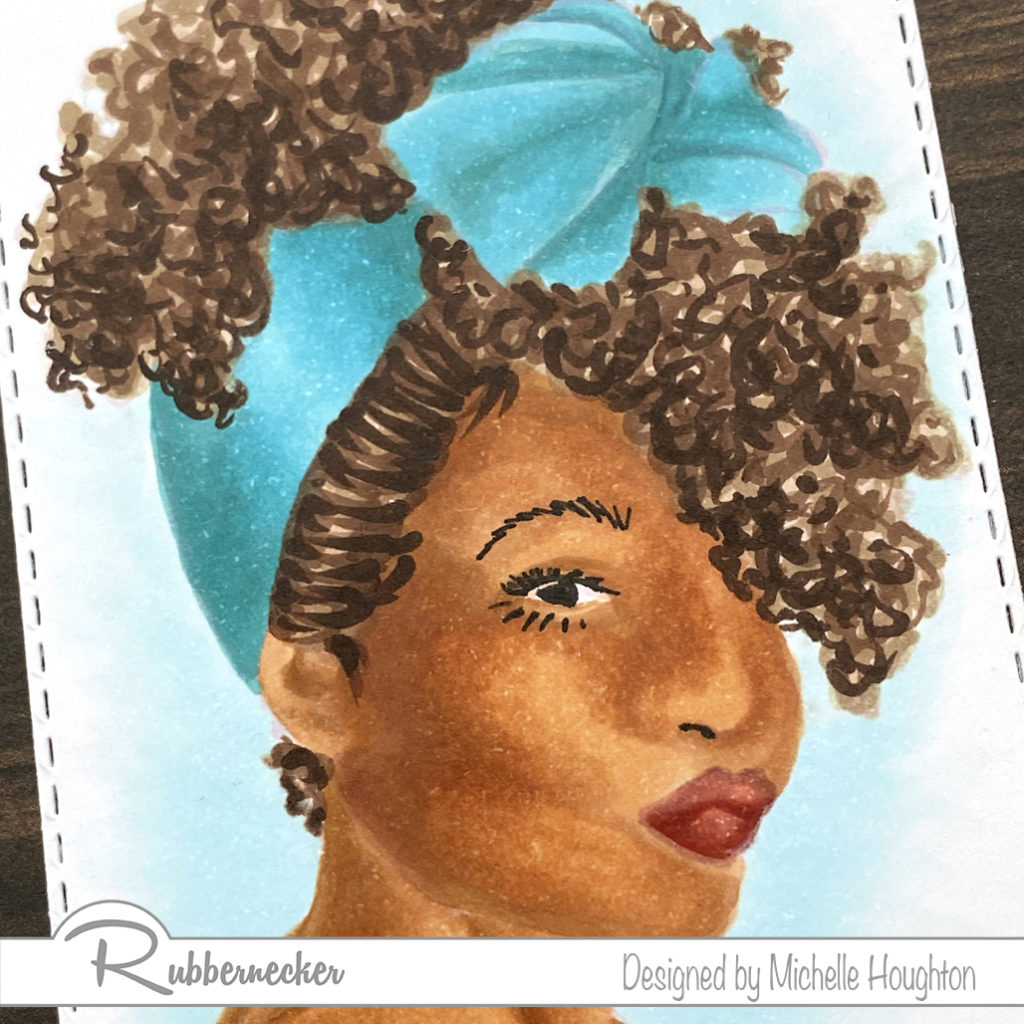
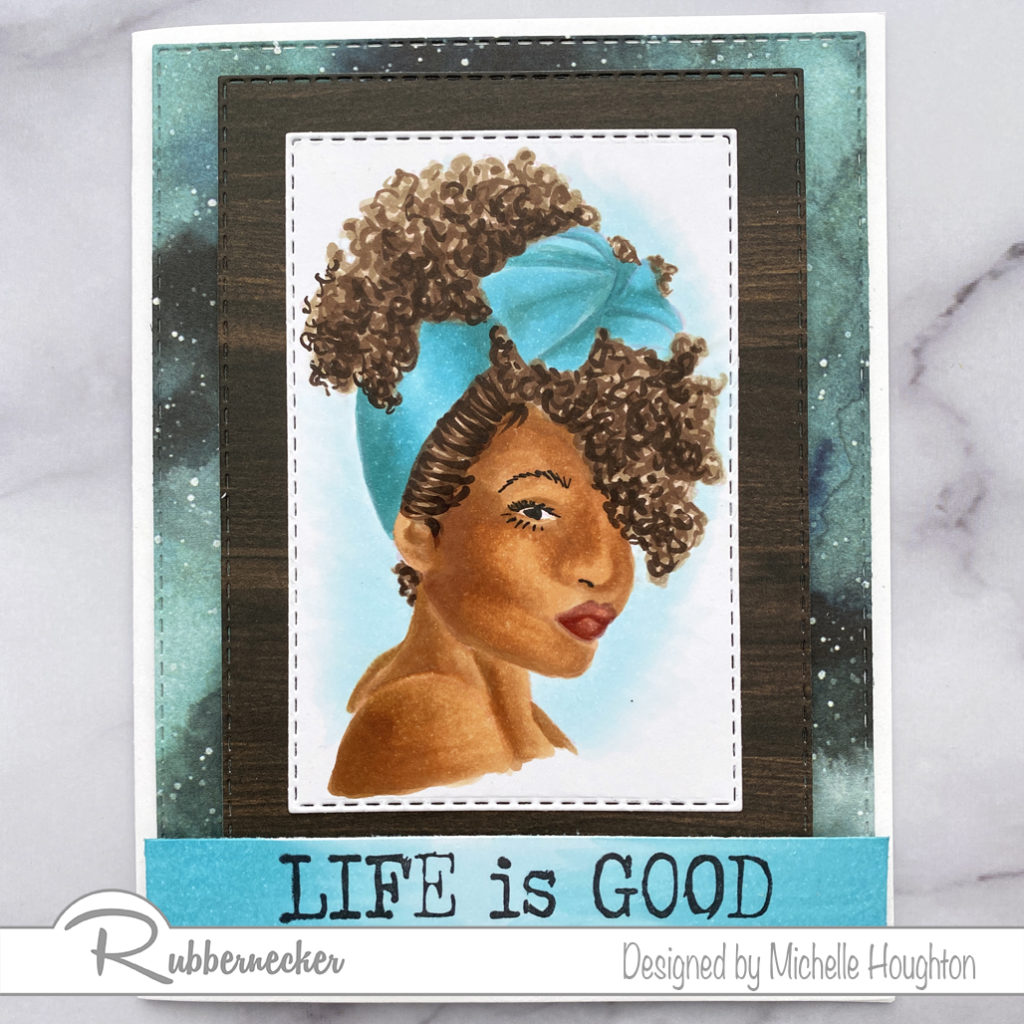
Good morning creative friends! Today I have for you the third installment of looking at darker skin tones with Rubbernecker Stamps. If you missed the first two I have been looking at coloring darker skin tones on a series of new stamps released by Rubbernecker. I have been trying to share a variety of tones so that you can see some variation. For this third installment I added another challenge, no-line coloring. Now I will admit of the three I have shared this one has some areas I need to do again. So I am challenging myself to tackle one or more of these images a second, third and possibly more times with no-line coloring. I know it would be a great challenge to push my skills! I will point out a few areas I want to improve on as I walk you through the steps.

  • After stamping in a light Memento pink ink use a Copic Multiliner .1 or smaller to add back in eyelash, pupil and eyebrow detail ** this is one spot I would do differently, I would use a smaller Multiliner, I would also wait and do the eyebrow and nostril with Copic
  • Base the skin in a light Earth Tone E21
  • Use 2 more Earth tones to add shape to the face E35, E33
  • Blend these areas smooth working back and forth between the 3 colors ** I will often work in one section at a time with no-line coloring like the face, then the neck lastly the shoulder and chest, this allows me to hold onto the edges as the lines disappear getting covered in ink
  • Add deeper shades with E04 into the shadow areas
  • Use E93 to add a slight blush to the cheek bones and fill the lips
  • Edge the lips with E09
  • Fill the lips with E04 blending the edge of the E09 as you go
  • Use squiggles and small flicks of E43 to base the hair
  • Using 3 more colors repeat the process, as you get darker use less and less ink with few strokes focusing into darker areas E44, E47, E49
  • Using a series of BG’s color the bow, I worked darkest to lightest so I could see all the detail in the folds BG54, BG52, BG000
  • Finish coloring with a light background of BG000 fading to white
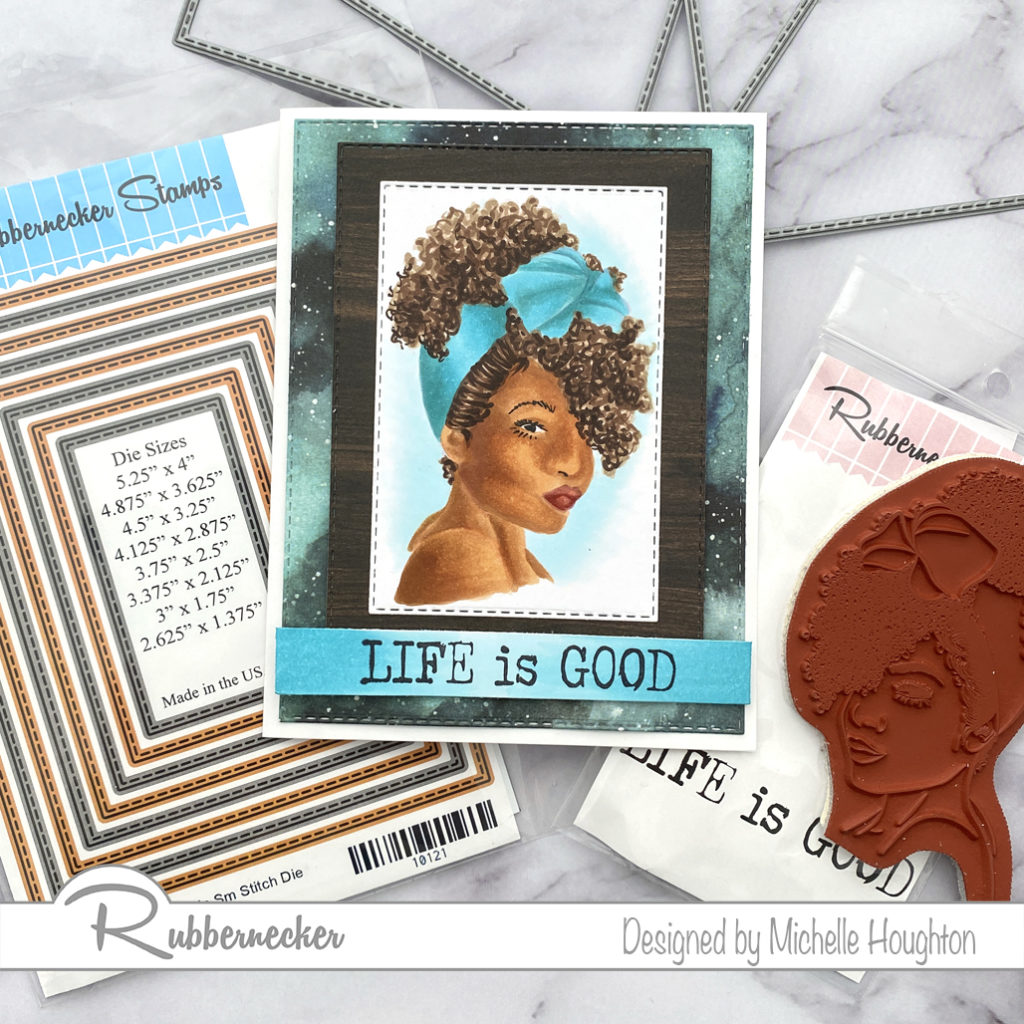
  • Stamp “Life Is Good” on a strip of white cardstock
  • Color the strip with the series of BG’s BG54, BG52, BG000
  • Use rectangle nesting dies to cut the image, and two patterned papers
  • Adhere the largest patterned paper to the card base
  • Adhere the image onto the smaller patterned paper and use foam tape to adhere both to the card
  • Use foam tape to adhere the sentiment to the card

Thanks for stopping in today, if you have questions make sure to ask! And keep practicing, I know I need to keep working and challenging myself. Below you will find links to all the Rubbernecker products I used to create this card.

Have a Happy Colorful Day!
Posted on

Copic Coloring Darker Skin Tones Part 2

Good morning all, I have my second installment featuring darker skin tones on another beautiful image by Rubbernecker Stamps. This image is considerably darker than the first. I am OK with how the skin turned out, I have used this combo before with better results, but I LOVE how her hair turned out so I am sharing!

  • Base the entire skin area with E21
  • Using a series of three more Earth Tones add shape to the face, E23, E25, E27
  • Blend the colors together going in reverse, E25, E23
  • After blending the edge of the E25 with the E23 slightly wash over the rest of the skin with E23
  • If needed bring back highlights with the E21
  • Use E04 and E09 to add fullness to the lips
  • Use YR24 and E23 to add a golden color to the pupils
  • Use a series of Copics in long squiggly lines to emphasize the direction and shape of the hair, this will also warm up and separate the solid black from the stamp E43, E47, E49, C9

Here is a closer look at the hair:

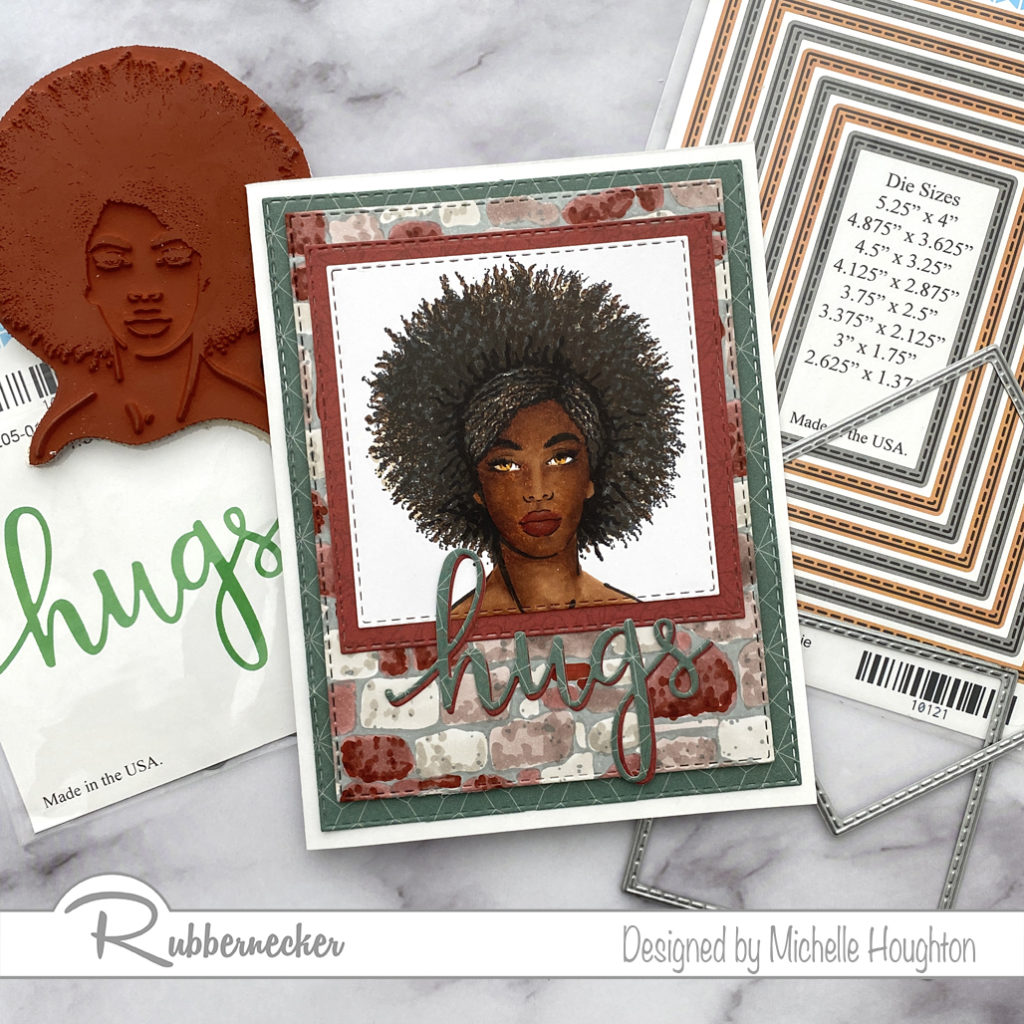
  • Stamp the background image in a light gray ink
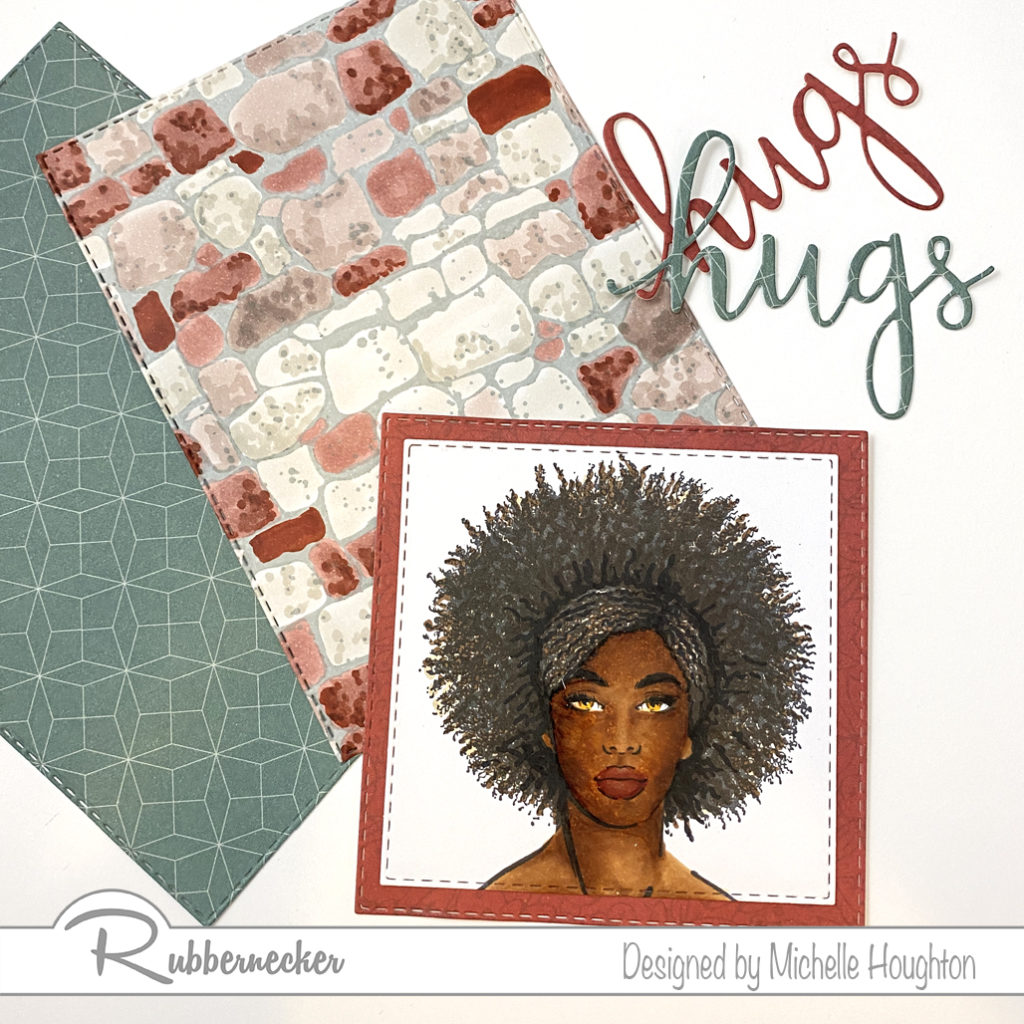
  • Color the rock wall with a variety of Copic natural tones adding texture as you go
  • Use a sentiment die cut to create 2 layers of a simple greeting
  • Use square nesting die cuts to frame the face and one size larger on patterned paper
  • Use rectangle nesting die cuts to cut the rock wall paper and a second patterned paper
  • Attach the largest patterned paper to a card base
  • Use foam tape to pop up the rock wall paper onto the base
  • Attach both the square patterned paper and image onto the base
  • Using a liquid glue attach the 2 sentiments together off setting them just a bit
  • Use liquid glue to attach the sentiment to the card

Thank you for stopping by for today’s post! I have at least one more in this series and then I hope to get a video done with darker skin tones as well. Below you will find links to the Rubbernecker products used on today’s card.

Have a Happy Colorful Day!