Posted on

Tangled Kitty with Glowing Lights

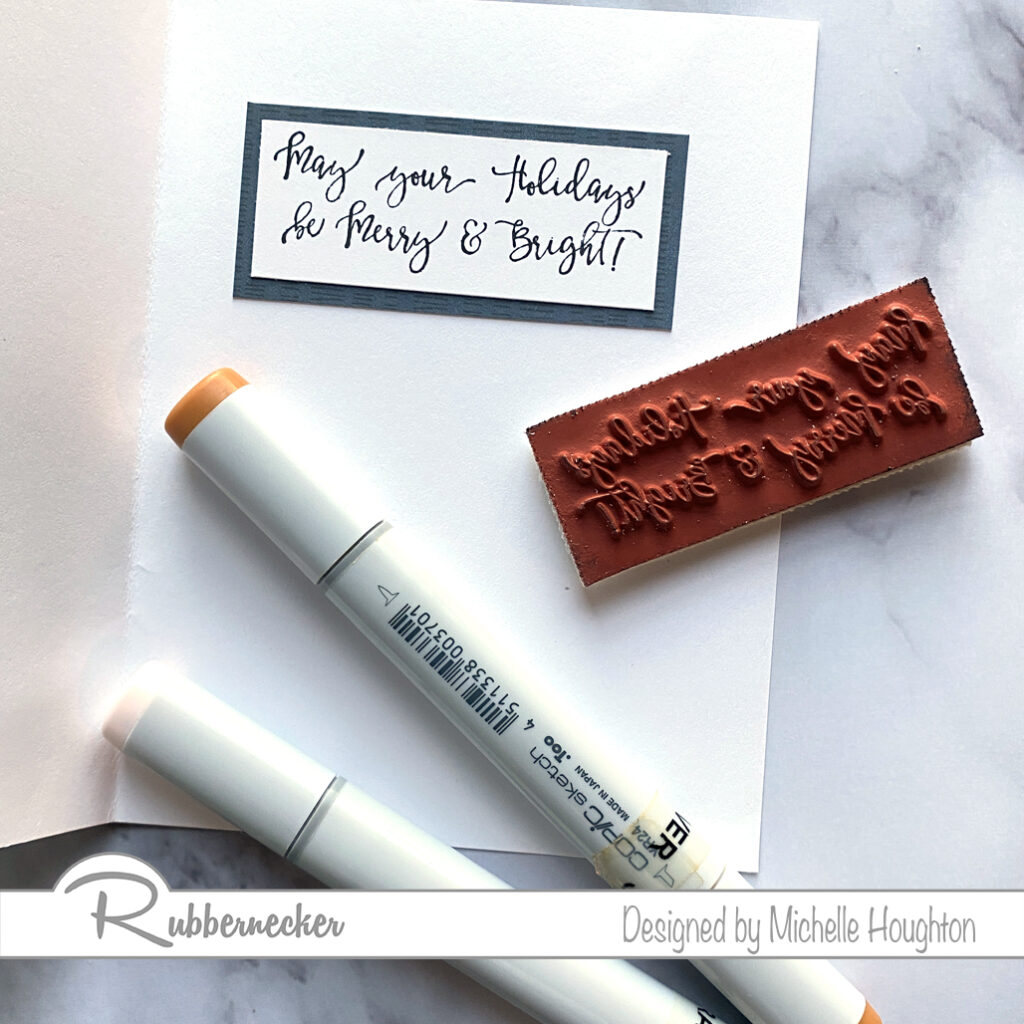
Ready for some holiday cheer? I have a quick holiday Copic coloring tutorial for you with a fun Rubbernecker Stamp. Tangled Kitty is an image that allows you to make the kitty your own and use colors that remind you of your favorite 4 legged friend. Here are the steps I took to create the look of glowing Christmas lights all tangles around this kitty.
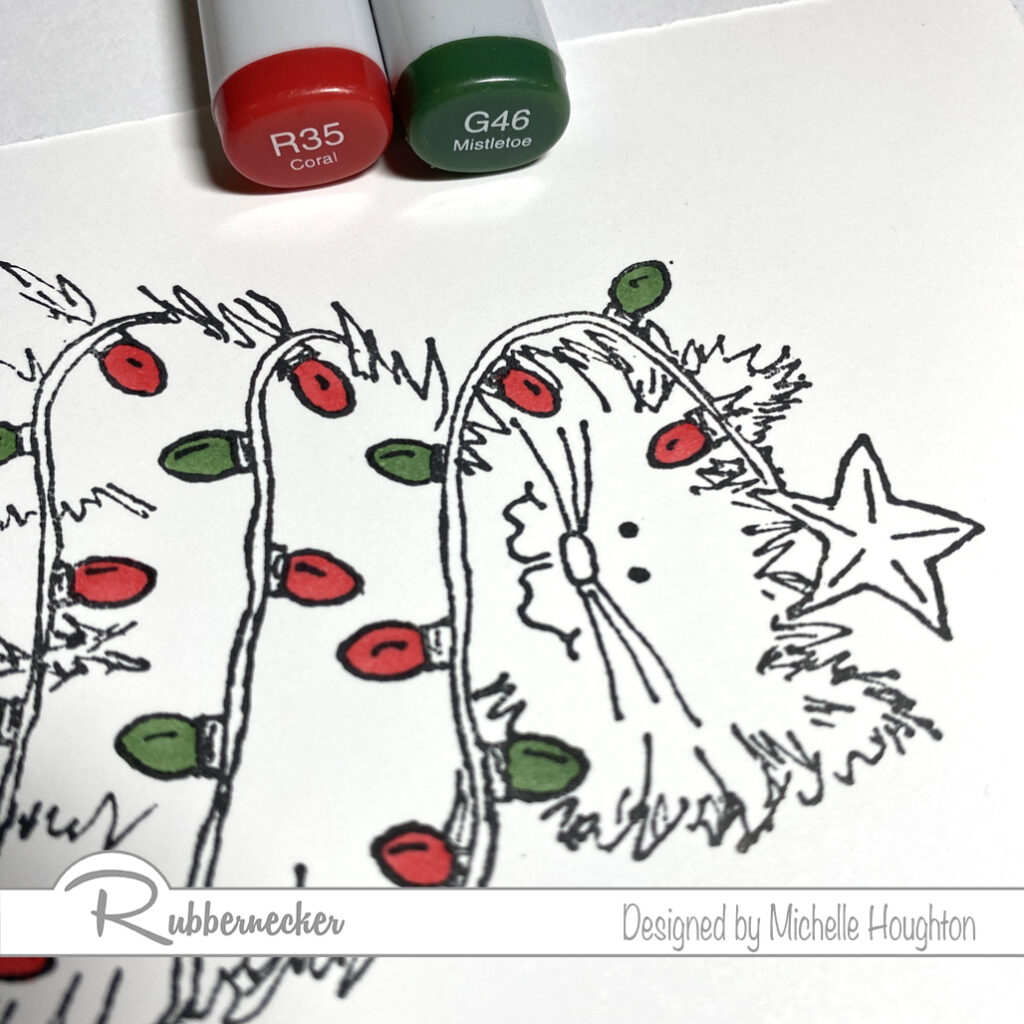
  • Color in the lights with bright saturated colors. (R35, G46)
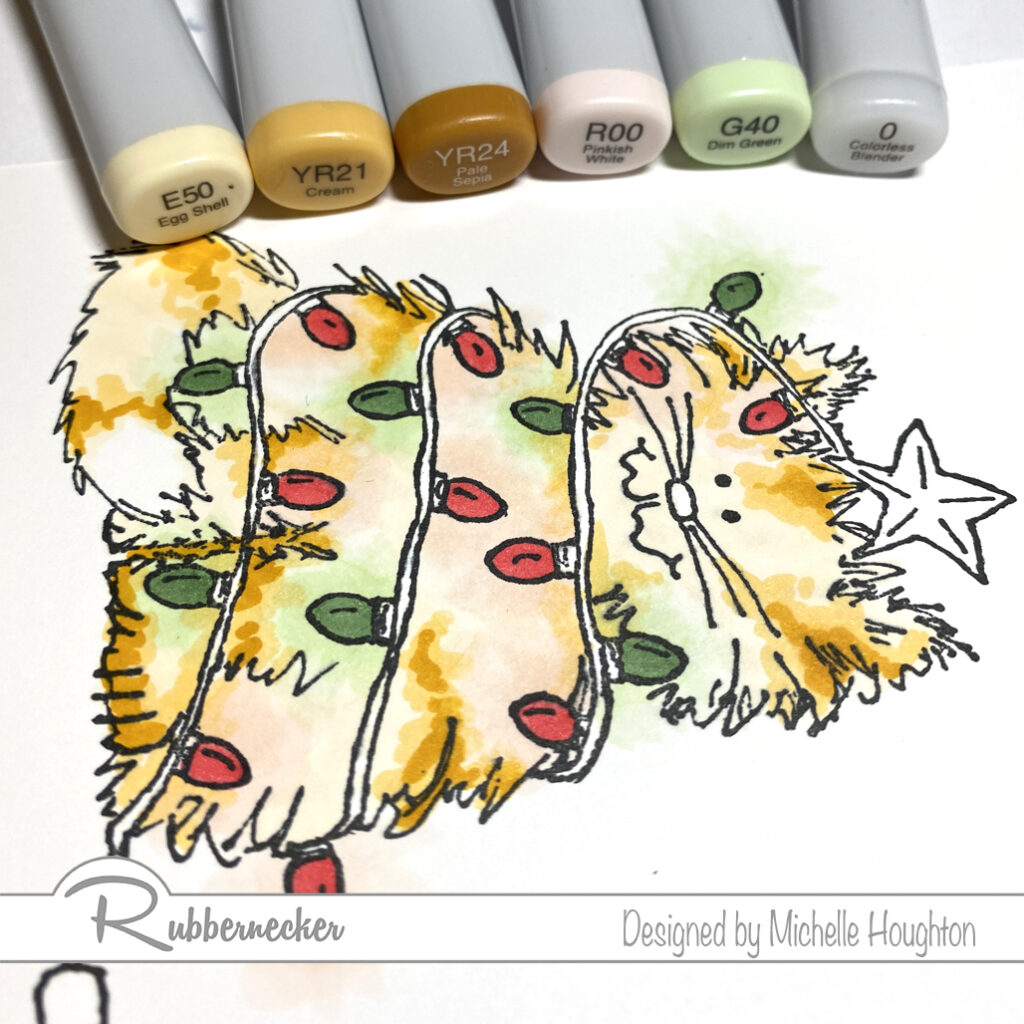
  • Use a lighter color of each of the lights to create a halo of color around each bulb. (R00, G40)
  • Use a series of colors to color the kitty. As you approach the light halos lighten the colors of the kitty. (Base color – E50 Tabby stripes – YR21, YR24)
  • Use the Colorless Blender to further lighten the halo around each bulb. (0)
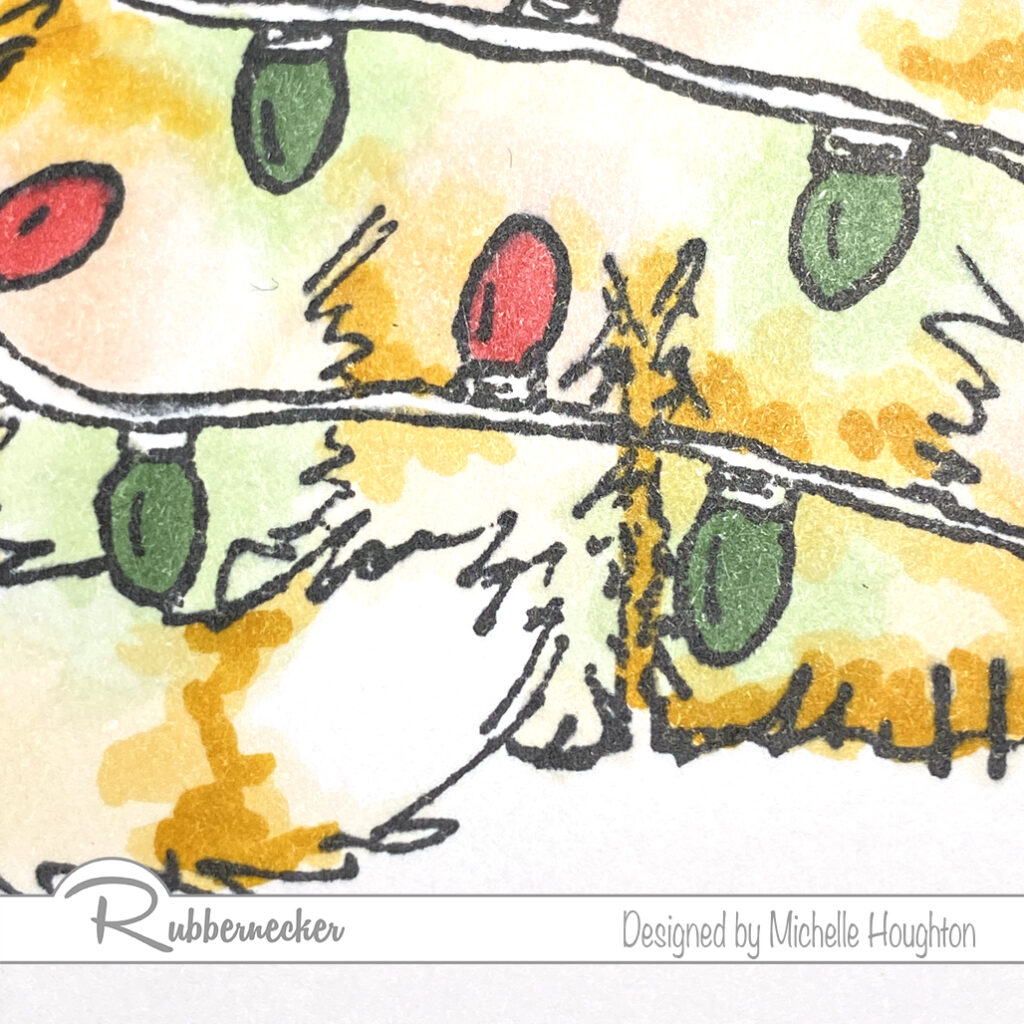
  • Work back and forth with the fur colors, halo color and colorless blender to get the desired effect. (E50, YR21, YR24, R00, G40, 0)
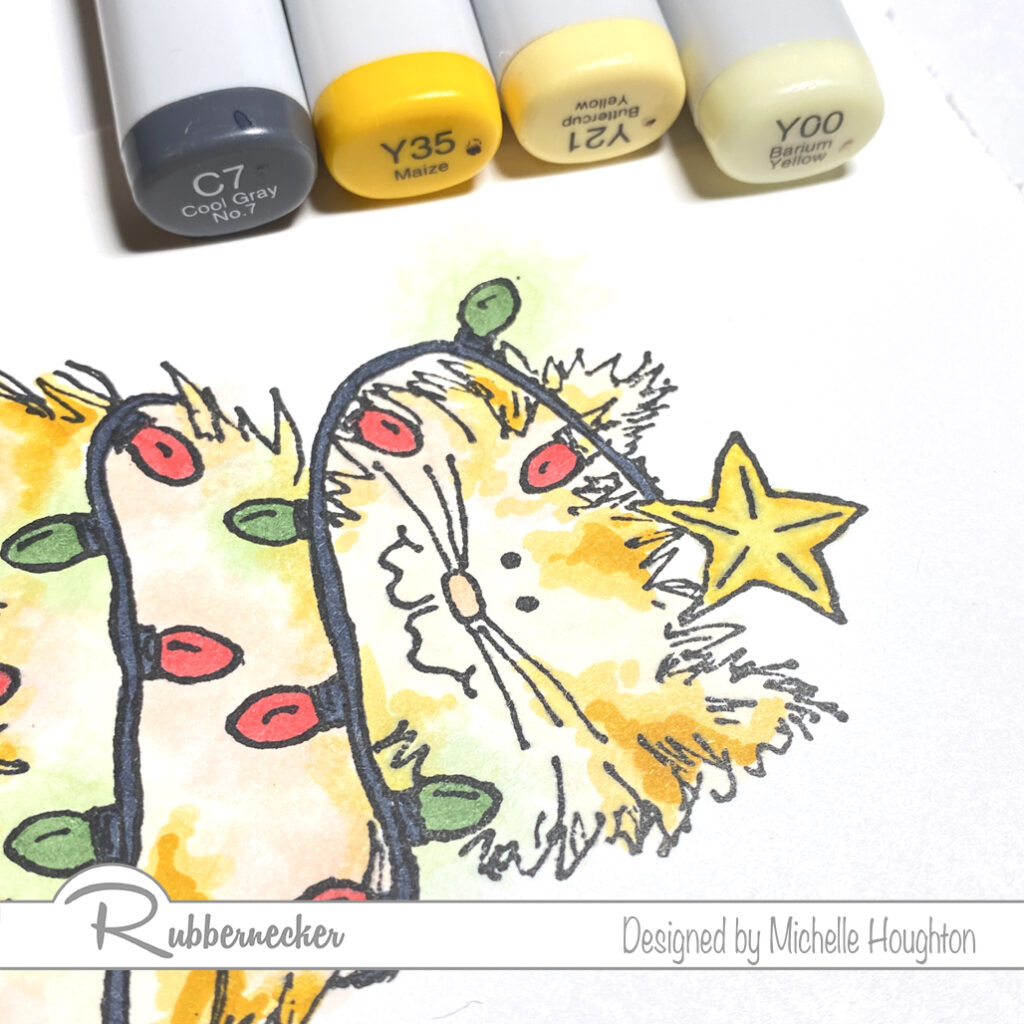
  • Fill the cord and bulb bases with a dark gray. (C7
  • Use a series of yellows to light up the star. (Y35, Y21, Y00)
  • Use the colorless blender in a small dot on each bulb base. (0)
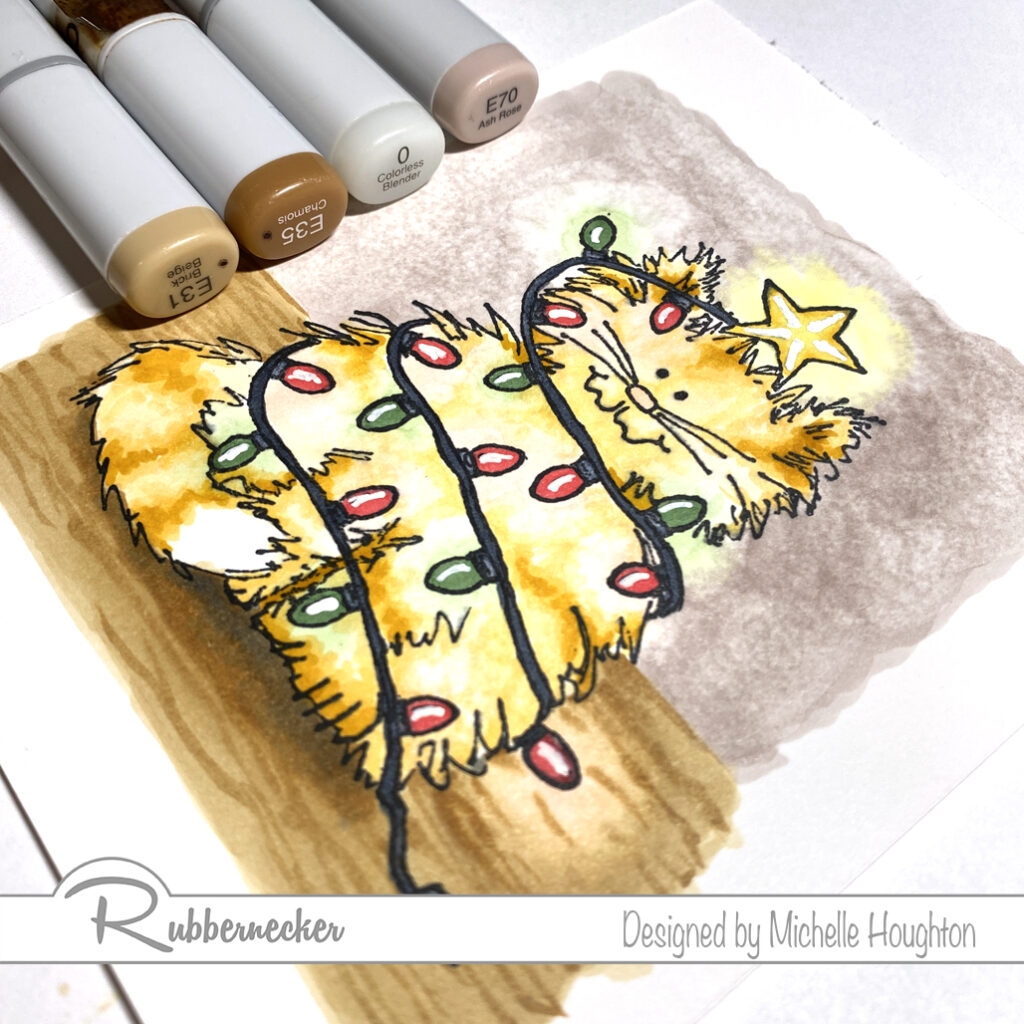
  • Base the floor in a light earth tone. (E31)
  • Use a darker earth tone to create wood grain texture. (E35)
  • Soften the wood grain with the lighter earth tone. Then use the Colorless Blender to lighten the area around the lower bulb. (E35, 0)
  • Color in the wall behind the kitty with a light earth tone. (E70)
  • Use the Colorless Blender to lighten the wall color further and create a glow around the upper bulb and star. (0)
  • Use an opaque white pen to add small highlights on the bulbs and star.
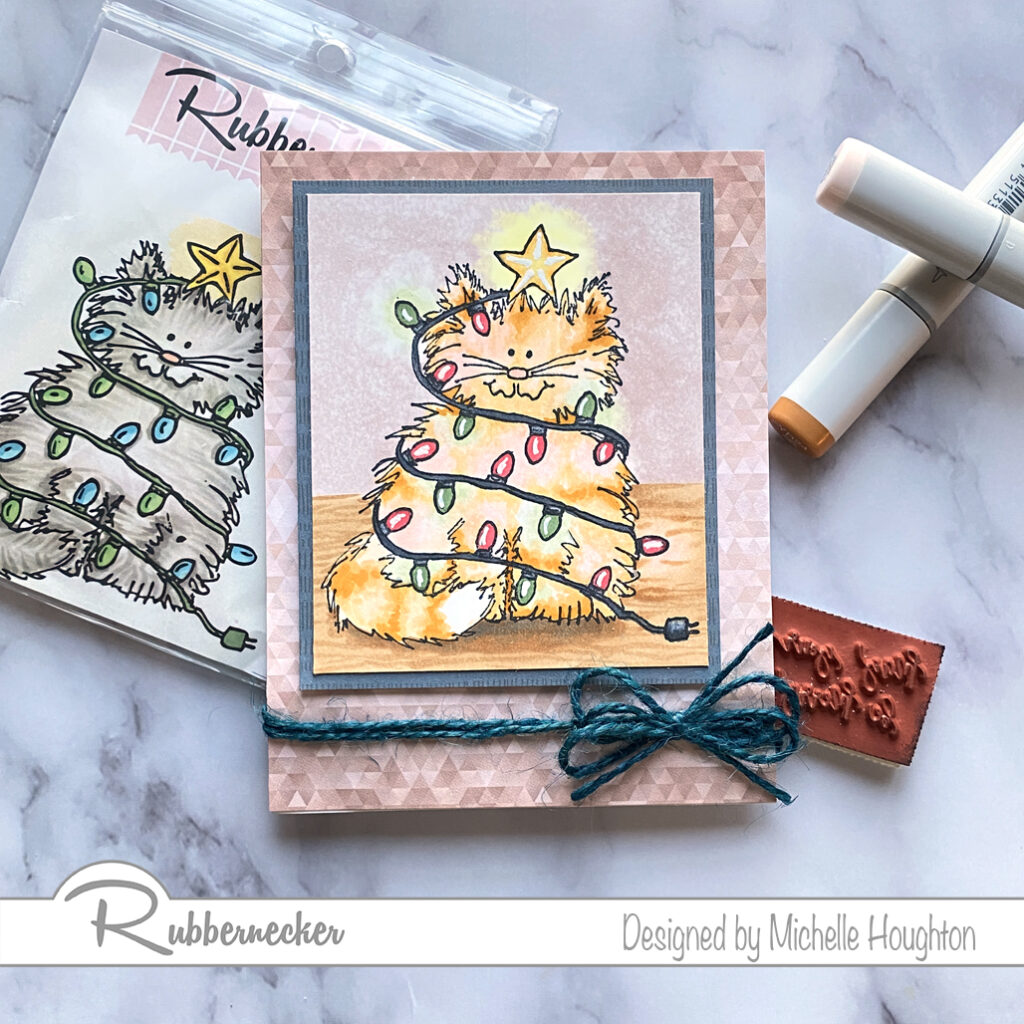
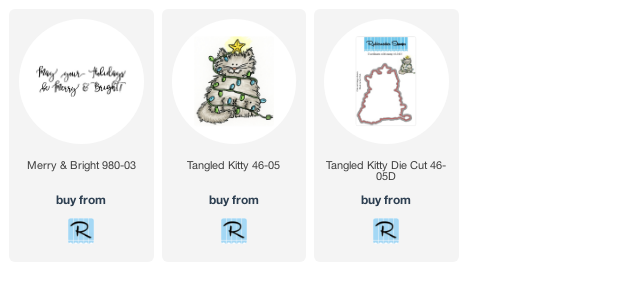
Thank you as always for stopping by. You will see links to the Rubbernecker Stamp products below. I am so looking forward to the holidays this year! It feels good to be headed that way!

Have a Happy Colorful Day!


Posted on

Copic College Going On-Line!

I am over the moon excited to share that I am bringing Copic College 2020 on-line! This is my first attempt at putting this all together in one place and having a full weekend of curriculum on-line.

I am learning as I go and I have more than half of the curriculum uploaded! There will be mistakes and bumps in the road especially with the technology I am sure there will be many e-mails to and from students as we get it all sorted out!

This first venture into teaching on-line is a one time experience. I have the entire curriculum from the Copic College 2020 weekend all in one class. This class will be available to purchase for one year. It will no longer be for sale after December of 2021. The materials will have lifetime access for those who purchase them, but there will be no way to purchase the class after that time.

Included in the class:

  • 20 plus hours of video lecture
  • PDF copy of the manual – 116 pages, full color step out instructions for all images in the class
  • 4 live question/answer sessions that will occur in late January and early February. These will be recorded for later viewing
  • Images to use with class mailed directly to you at purchase of class
  • Optional class add on – private coaching sessions

Once you register for class I will be mailing you one of two things. If you register for just the class for 199.00 I will be mailing you an envelope containing a single copy of all of the images used in class. These are NOT TO BE COPIED. Each of the companies I am using are allowing me to send you a single hard copy with the understanding that it is for the one time class use.

There is an optional add on for the first 65 interested. For an additional $50.00 you will get a different mailing. This mailing will include a single hard copy of the images used in class and a bound copy of the manual. The manual is 116 pages of full color step outs of all the images colored in class as well as an introductory section of all the beginner Copic information shared in the class. The mailing will also include 3 stamp sets from participating stamp companies (one of these sets is included in the class the other two are gifts from the stamp companies) as well as two enamel pins and a mechanical pencil. I only have 65 of these sets to share so if you are interested sign up early for this. *** If you use the link below it will say you are signing up for “Copic College”. The 50.00 fee is ONLY for the add on it does not include the actual on-line class. You must sign up separately for the two.***

Copic College 2020 Add On

The classroom is getting ready and will open on January 4th. To give people the opportunity to share the class as a holiday gift AND for me to get the mailings to everyone who registers you will be able to purchase the class and the add on if you wish today, Friday November 27th.

Copic College 2020

Posted on

Spinning a “Yarn”

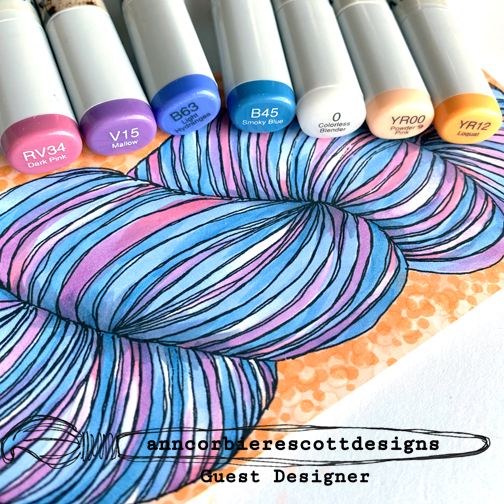
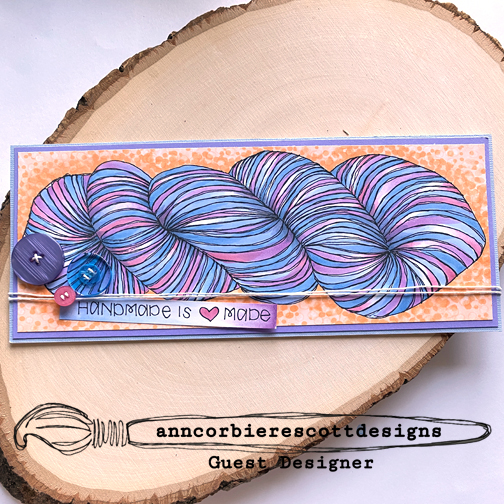
Another Copic coloring adventure with Ann Corbiere-Scott Designs. I fell in love with this new image, Joyce Ann, from Ann. I like all of her designs but this one is so stinking fun to color! I decided to try for a multicolor yarn effect with some favorite colors. Surprisingly it was A LOT easier than it looks. And lucky for you I filmed it!

There is one more marker that is not photoed and that is a BV23. I used that one to give a little more dimension to the skien.

I pulled out buttons and twine to finish the slimline card. I can’t remember when I glue dotted a button on a card! I adore buttons. Anyway super fun! Check out the coloring in the real time video! Then hop over to Ann Corbiere-Scott Designs to pick up an image or two.

Have a Happy Colorful Day!

Posted on

Coffee and Tea Slimline

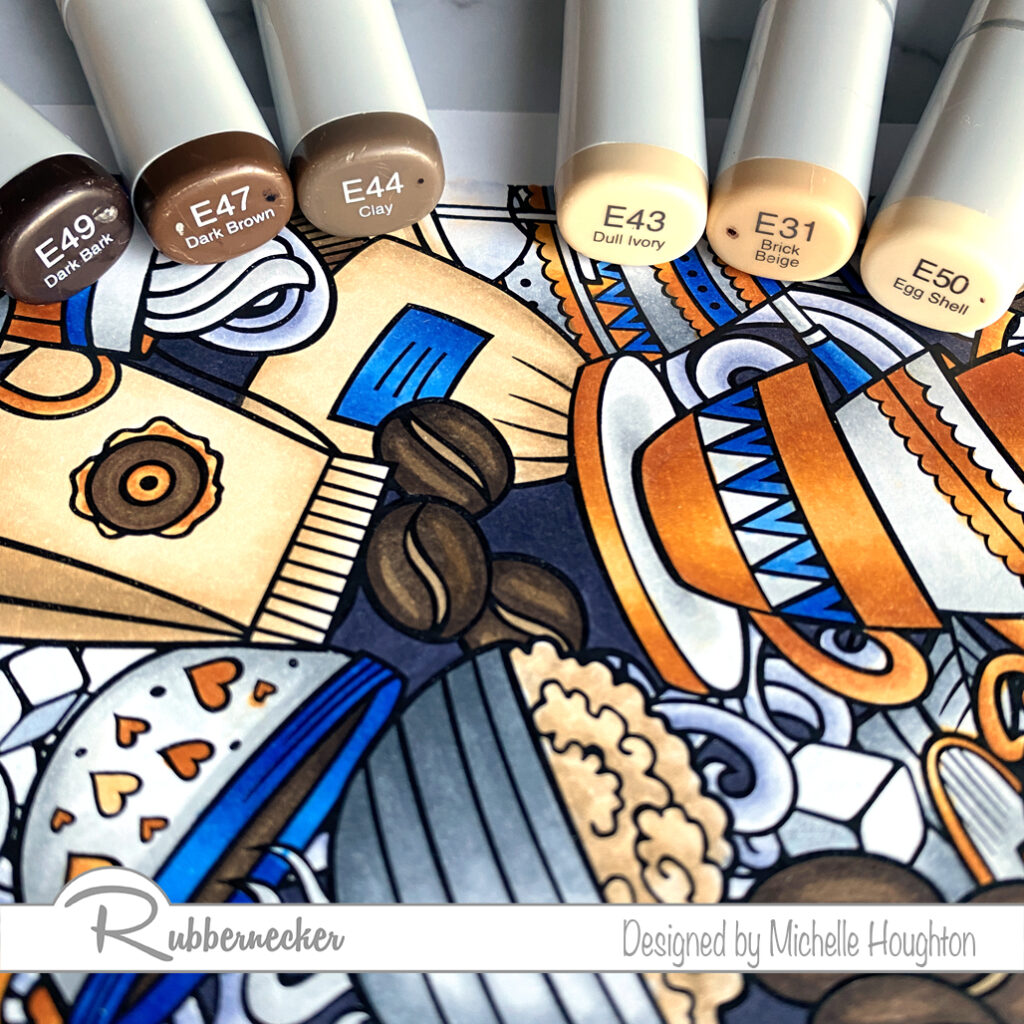
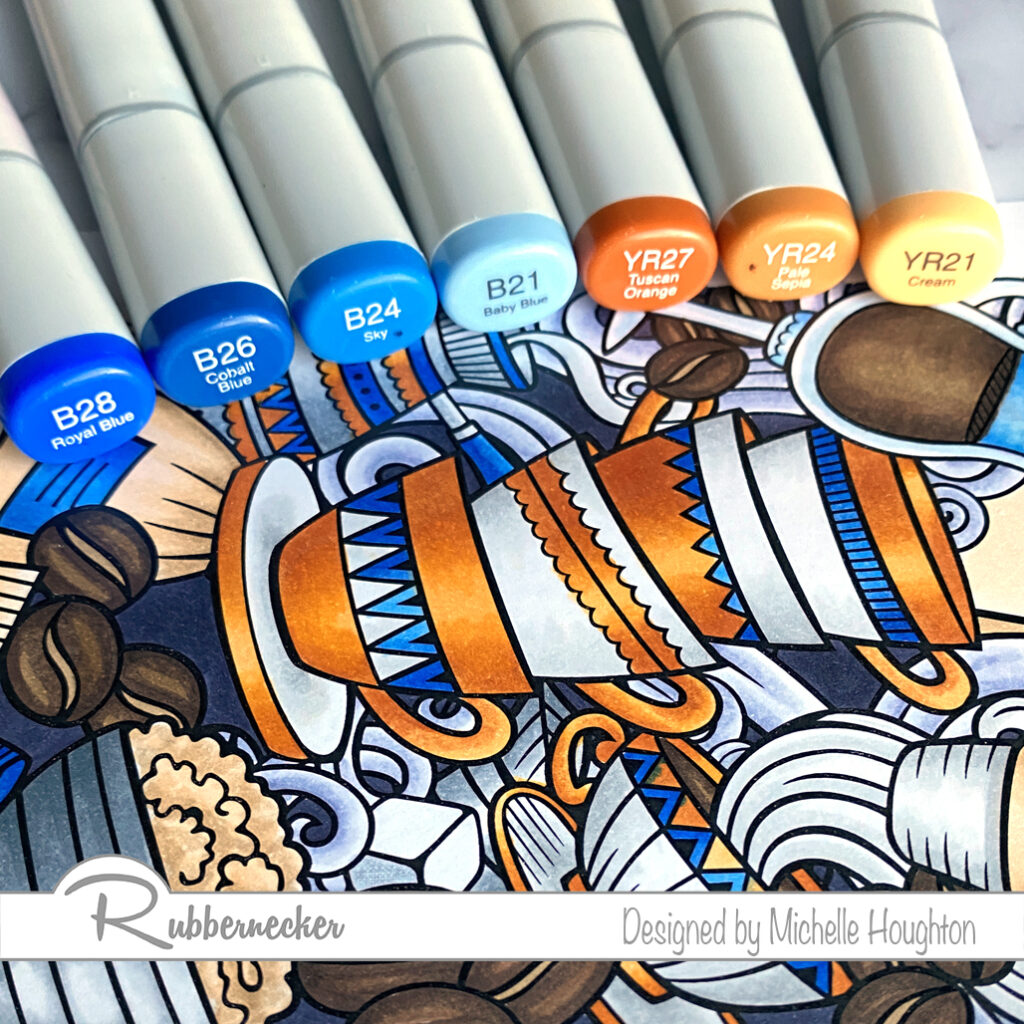
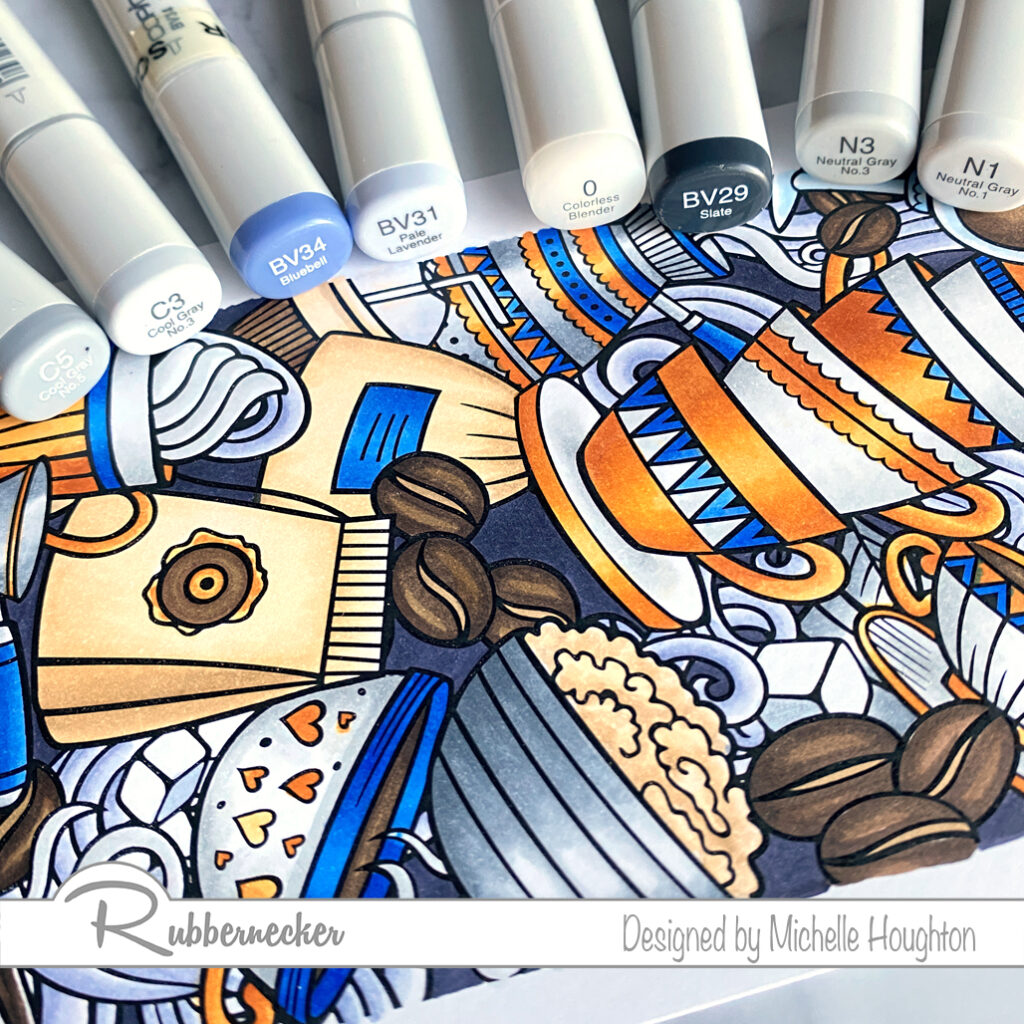
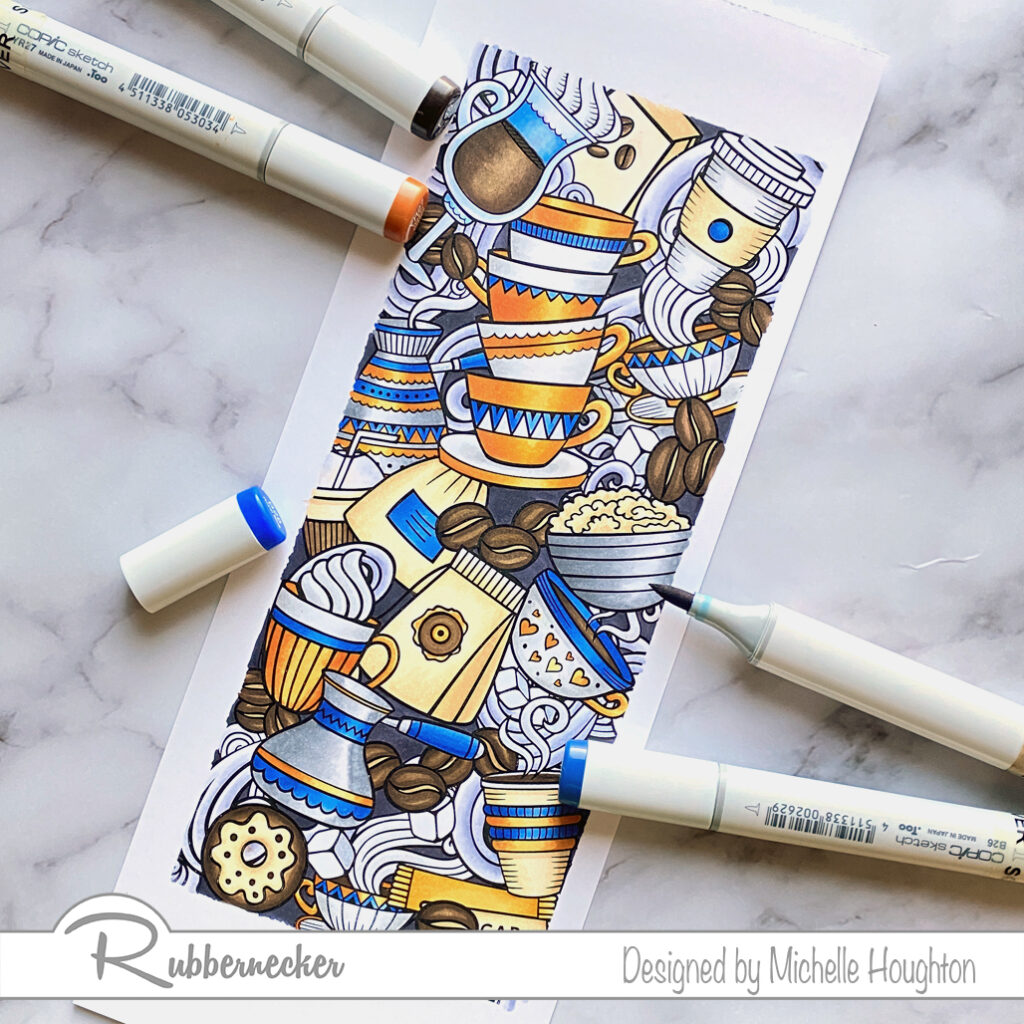
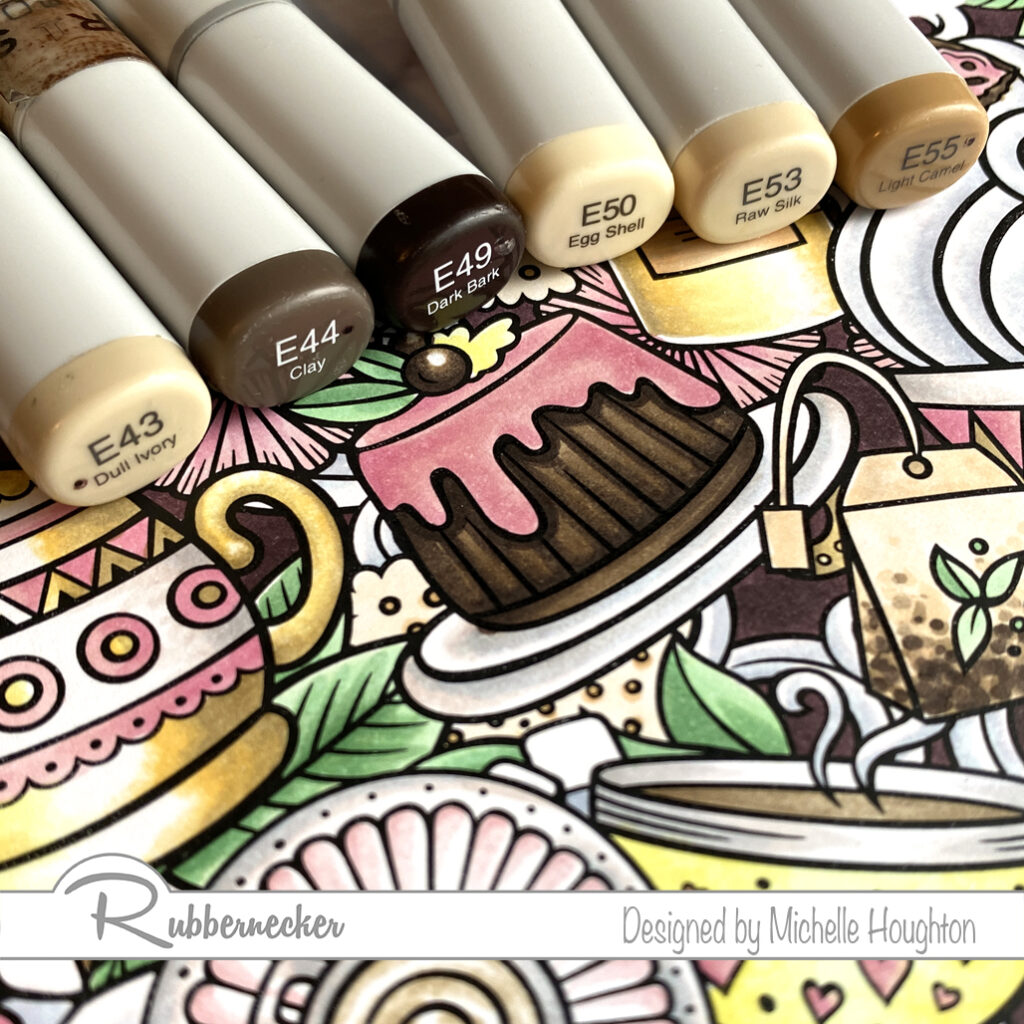
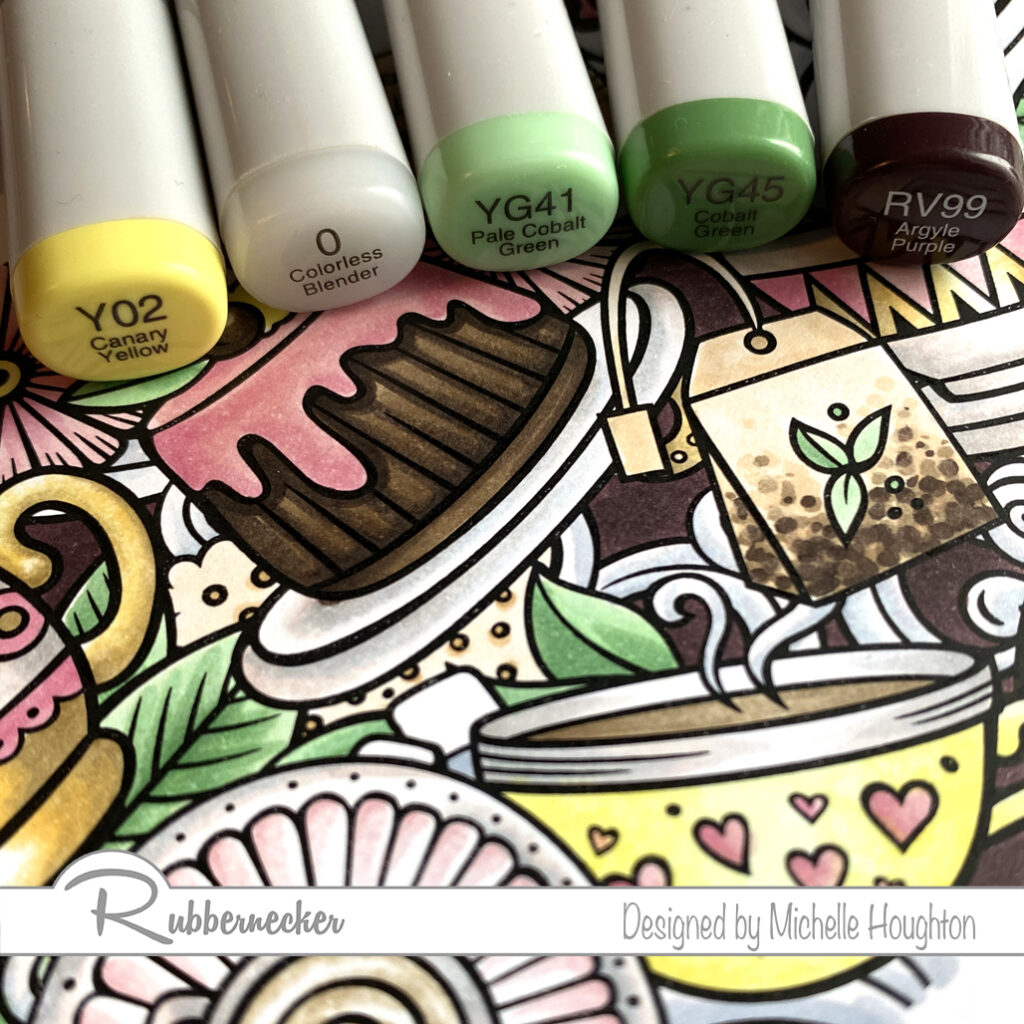
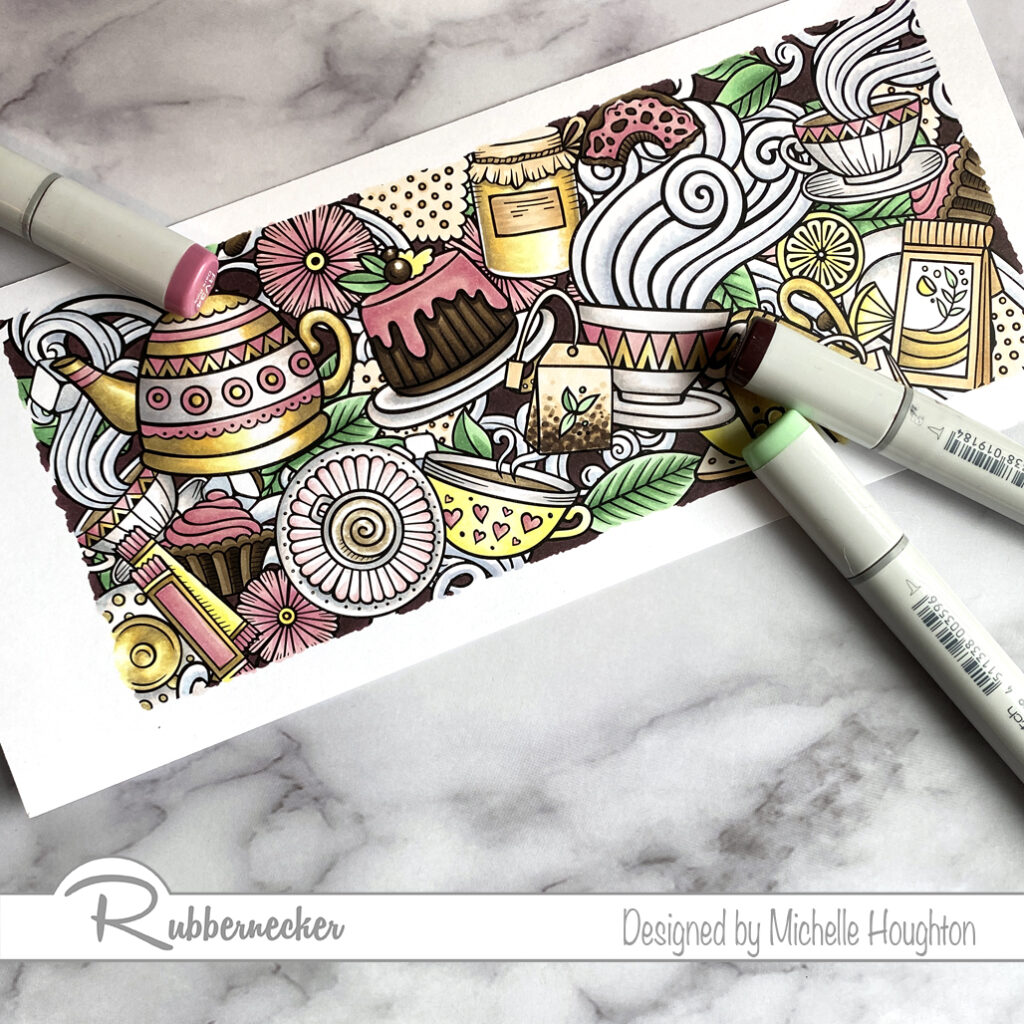
A very quick post today to share two more gorgeous slimline stamps from Rubbernecker. It has truly been a pleasure coloring all of these up for Rubbernecker Stamps. The images and all their detail just scream for coloring. I love both the coffee and tea images. Both have a lot of earth tones and I added a few accent colors to each and I am loving the result on both.

  • For coffee beans, coffee in mugs and other dark brown details use a series of 3 dark earth tones. (E49, E47, E44)
  • For bags, oatmeal and other light brown details find a series of 3 lighter earth tones. (E43, E31, E50)
  • For the first of the accent colors use a series of bright saturated blues. (B28, B26, B24, B21)
  • To brighten the image with pops of a second accent color find a series of 3 yellow reds. (YR27, YR24, YR21)
  • For white objects on this image use a series of 2 grays and the Colorless Blender. (N3, N1, 0)
  • On silver areas use two mid-tone grays. (C5, C3, 0)
  • Color the steam with two blue violets and the Colorless Blender. (BV34, BV31, 0)
  • Finish the image filling in the background with a darker blue violet. (BV29)
  • For the tea and lighter brown areas use a series of lighter earth tones. (E55, E53, E50)
  • For the deep browns in the image color with 3 darker earth tones. (E49, E44, E43)
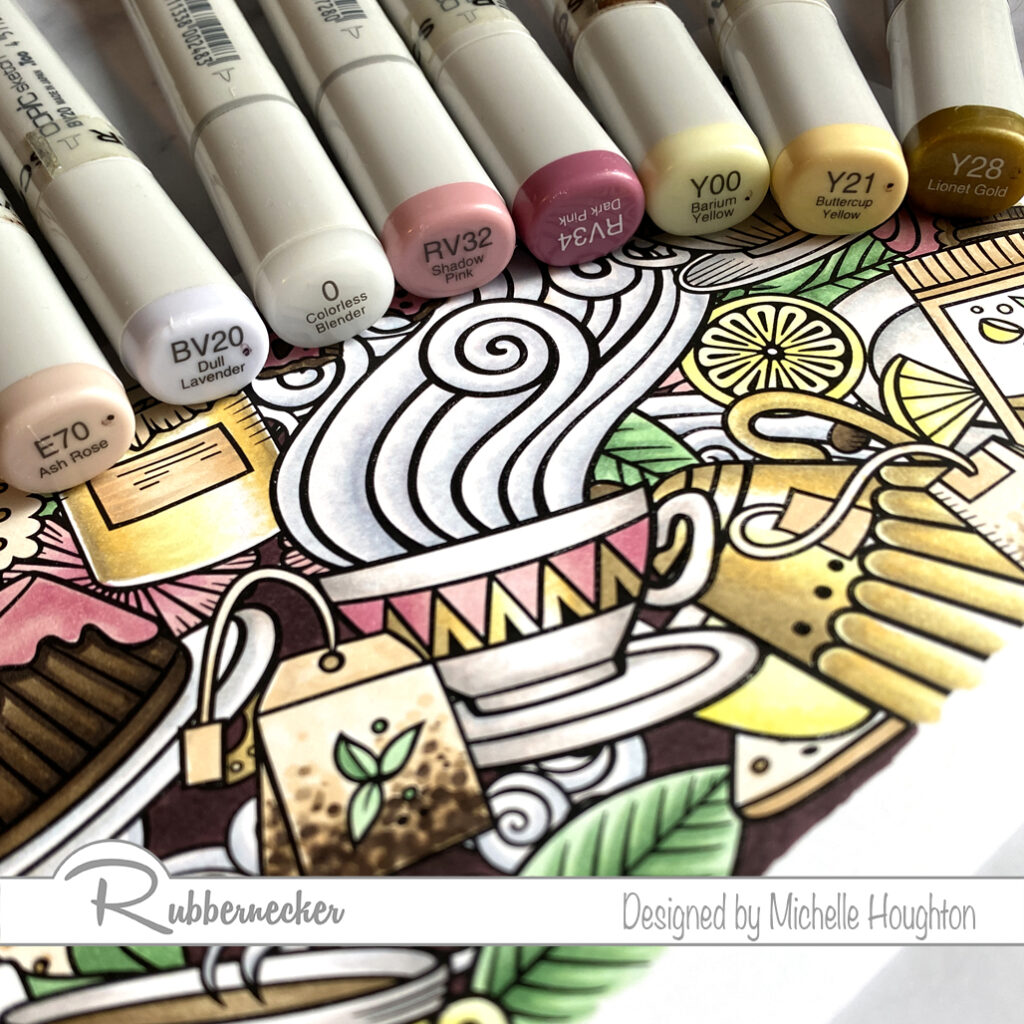
  • For the first accent color on the tea stamp create a gold effect with 3 yellows and the Colorless Blender. (Y28, Y21, Y00, 0)
  • Use 2 red violets for a pop of color on the image. (Rv34, RV32)
  • Color the white areas with a blue violet an earth tone and Colorless Blender. (BV20, E70, 0)
  • Use a light blue violet to color the steam. (BV20, 0)
  • For the leaves throughout the image use two yellow greens. (YG445, YG41)
  • Color a few small details left with a light yellow and Colorless Blender. (Y02, 0)
  • Finish the image with a dark red violet to push the background to the back. (RV99)

Both images were truly a pleasure to color! There are so many ways to use the slimline stamp collection from Rubbernecker Stamps and if you have time coloring all the little details is well worth it. Thank you for stopping by, links to the Rubbernecker products used can bee found below.

Have a Happy Colorful Day!


Posted on 2 Comments

Kraftin’ Kimmie Release!

Woohoo!!!

Today we are celebrating all the new fabulous holiday goodies in our November Release that are NOW available in the Kraftin’ Kimmie Stamps shop! All three of our new stamp sets, plus two new stencils, a new hybrid ink colour SOFT SAGE and new DREAMY DOTS were released yesterday and we’re excited to share it ALL with you in a fabulous krafty HOP! So let’s check everything out as we hop around the Krafty Design Team’s blogs today! Grab a nice hot beverage, sit back and relax while we take you on the krafty tour!The entire release of stamp sets this month was designed by artist,Melissa Baker-Nguyen! The first is called SAVE MY PLACE!and the second is HANDMADE SENTIMENTS!The last stamp set is PLANNER DOODLES! Available now is our stunning new yummy green hybrid ink colour called SOFT SAGE! As always it’s available in large ink pad, ink cube and ink refill!We have two new AMAZING stencils called….STUDY BUDDY and SPLISH SPLASH!And lastly we have the perfect finishing touch for all your creations with our new Krafty Dots called……DREAMY DOTS!Now head on out on today’s celebration blog hop and check out all the new products in action as the Krafty Team shares their incredible designs! Then jump on over to the Kraftin’ Kimmie Stamps shop and grab some of these fabulous goodies for yourself!Happy kraftin’!

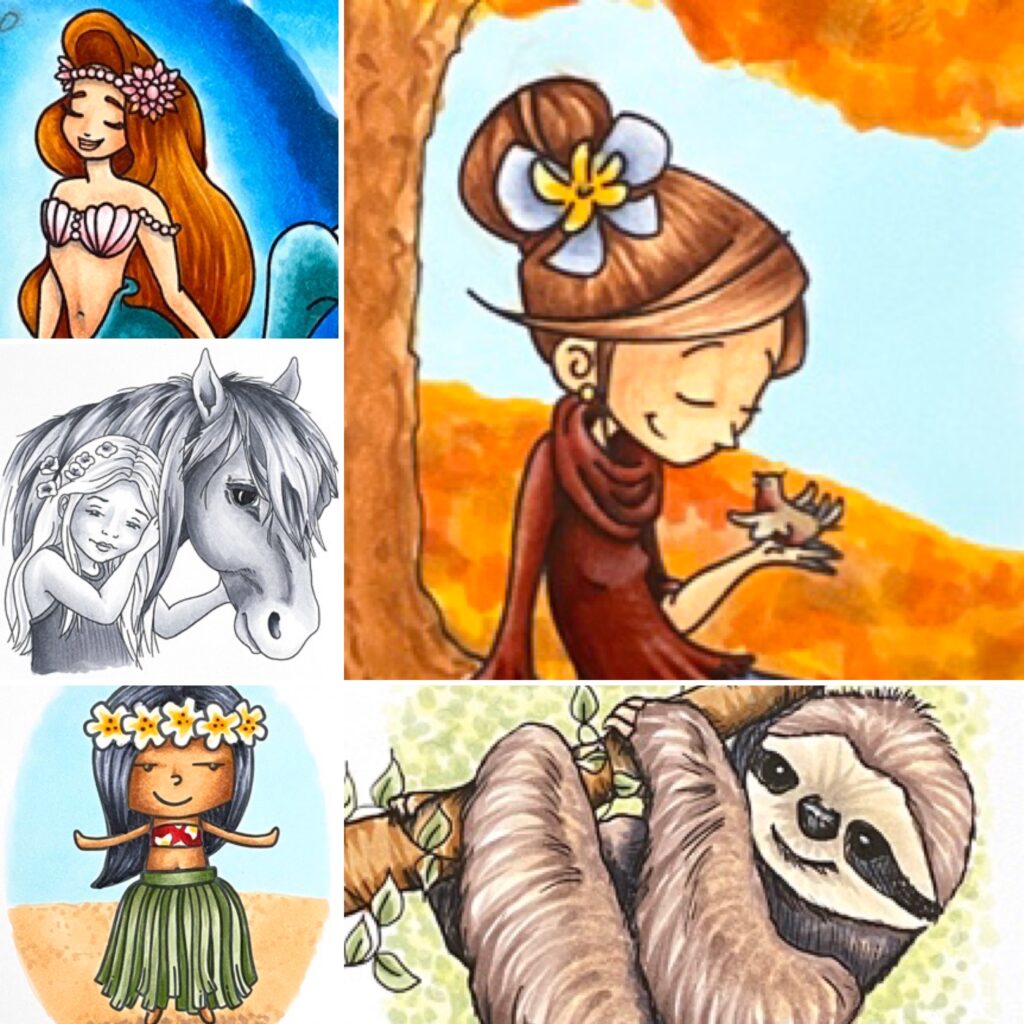
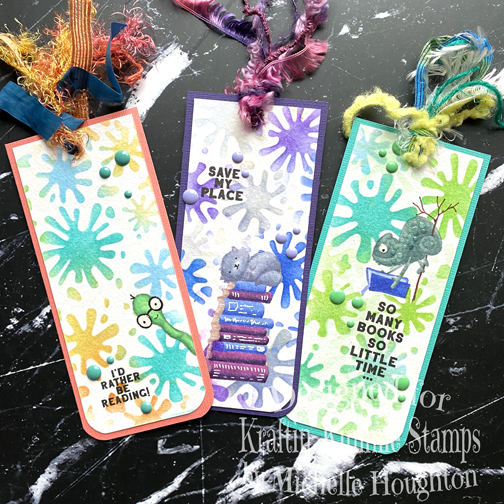
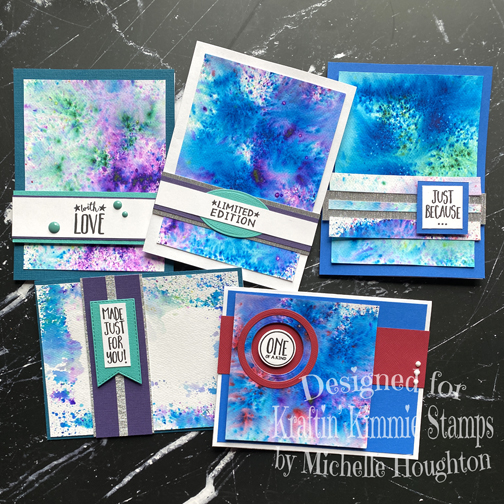
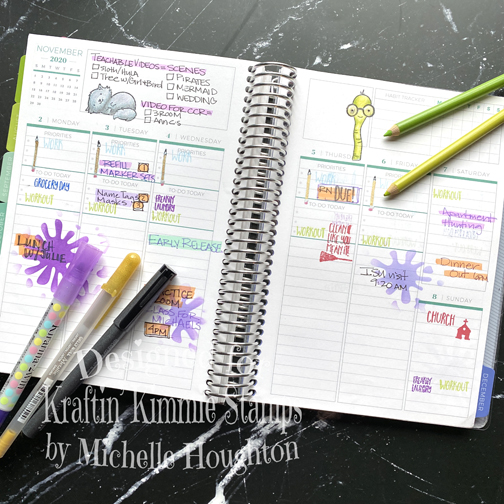
So glad you are hopping around on the Krafty release day! All the new goodies are available in the shop and ready to add to your Krafty tool bags. I have a little collection from the images I have been sharing the past couple days!

Thank you so much for coming by! Keep hopping with the link below!

Have a Happy Colorful Day!
You are invited to the Inlinkz link party!

Click here to enter