Posted on

Gingerbread! Copic Coloring Tutorial

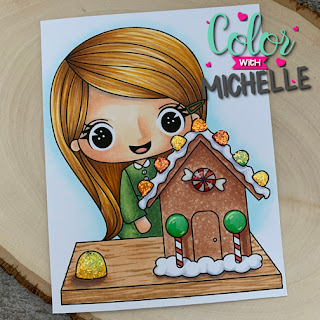
Hello  friends! Yesterday over on the Stamp AnnieThing Facebook fan page I did a live coloring tutorial of a new SAT digital image, Gingerbread!

You say you missed the live tutorial?! How can that be? I know you all have 7:30pm Eastern wide open on your planners, ha ha. Actually I know all of us are crazy busy and this time of year often gets even more frantic than normal. Luckily for ALL of us when we teach a live tutorial on Facebook it get’s recorded and now it is on the Facebook page for those small moments here and there that you manage to catch for yourself. I enjoy watching tutorials when I am doing other things like folding laundry or prepping dinner. I can’t color along, but I get lots of info just listening and watching when I can. Hope you will have the chance to take a peek later if you did not get to join me yesterday.

Here is a peek at the finished card.

One of the things that is unique about this particular SAT digital image is the size. Now with digital images you have control over the size so you can change this if you want, but if you use the Gingerbread! stamp as is it is a full card front. Yep, fills your 4.25 x 5.5 card front. Now because I use Copics I still place this on a card base, remember that Copics will bleed through your cardstock. You could also fussy cut her out and put her on a different colored base or patterned paper, but I like letting the coloring shine and this image just fits the card front so well it doesn’t need anything else.

Here is a close up of our gingerbread master. If you notice a little or a lot of shine I added Stickles on the gumdrops and Glossy Accents on the peppermint and lollipops. 

Thanks for stopping by today! If you did not have time last night to check out the live FaceBook tutorial head over there when you have a chance to check out the coloring. And make sure to take a peek at all the fun digital images Ann has in the store!

Have a Happy Colorful Day!

Posted on

New Video over at Dare 2B Artzy YouTube

Hello friends and family, I have a new video tutorial today over on the Dare 2B Artzy YouTube channel. This technique is as easy as they come and produces amazing results that you can use in a whole variety of ways!

This is what the final cards look like from the technique I used in the video.

And here are close ups of that embossed inkiness:

Sorry I do not have photos of each of the individual steps but here is a link to the video!

If you have not had a chance to stop by the D2BA YouTube Channel make sure to go by and like the channel, that way you will know each time we add a new video!

Make sure you get your entry in for this month’s challenge “Thanks”. Someone will win some D2BA goodies and it might as well be you!

Thanks so much for stopping by today,

Have a Happy Colorful Day!

Products used for these D2BA Cards:

Posted on

Day #3 Stamp AnnieThing November Release


Hi and welcome to our November Release!
We have 3 new cuties for you this month! Sit back, relax and enjoy!
This release we also have some new products in our line. 
 Stencils &  Dies!
Stamp Club members get a 15% discount!


`~*~*~*~*~*~*~*~*~*~*~*~*~*~*~*~*~*~*~*~*~*~*~*~*~*~*~*~*~*~*~*~*~
 
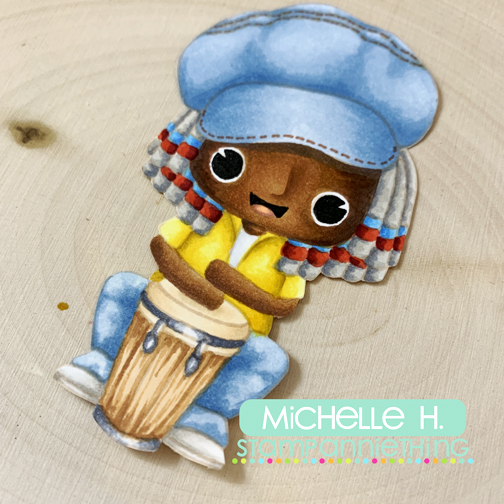
Today’s card is more about the coloring, I stamped Marcus with a light brown ink and used Copic markers to color him up:
 
 
Here he is all colored up:
 
 
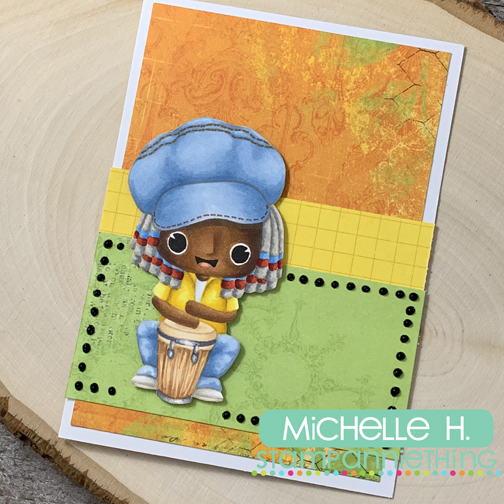
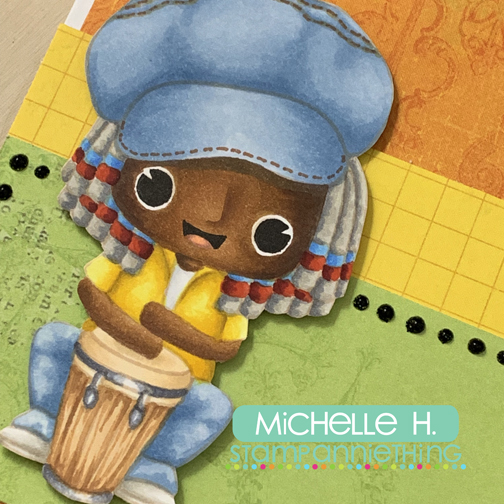
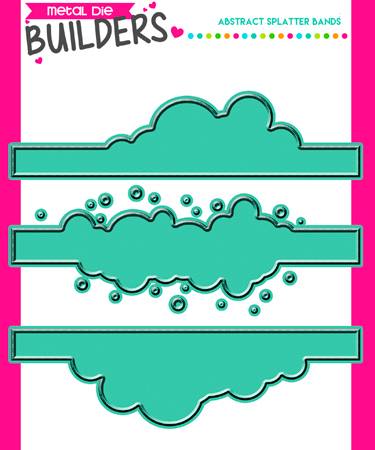
The card is a simple base of three bands of paper, looking at it now I wish I used the new die cut to create a splatter with that yellow and green band:
 
 
But I do like the colors and how he turned out!


Thank you for stopping by today!

Have a Happy Colorful Day!
Posted on

Day #2 Stamp AnnieThing November Release


Hi and welcome to our November Release!
We have 3 new cuties for you this month! Sit back, relax and enjoy!
This release we also have some new products in our line. 
 Stencils &  Dies!
Stamp Club members get a 15% discount!


`~*~*~*~*~*~*~*~*~*~*~*~*~*~*~*~*~*~*~*~*~*~*~*~*~*~*~*~*~*~*~*~*~
 
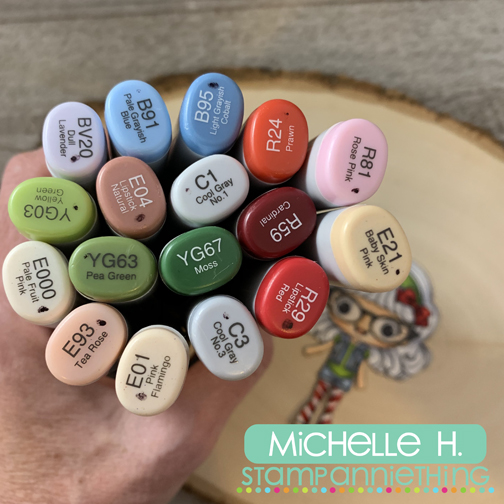
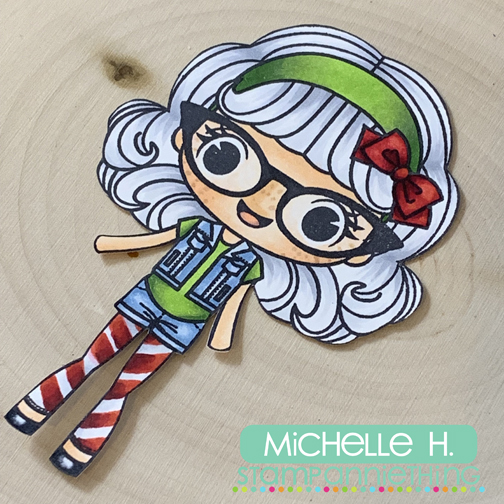
How cute is “Taylor”? Love her glasses and her style! I decided to go holiday all over her ?. I started with my Copic markers:
 
Here is Taylor so you can see her in all her green and red!
 
 
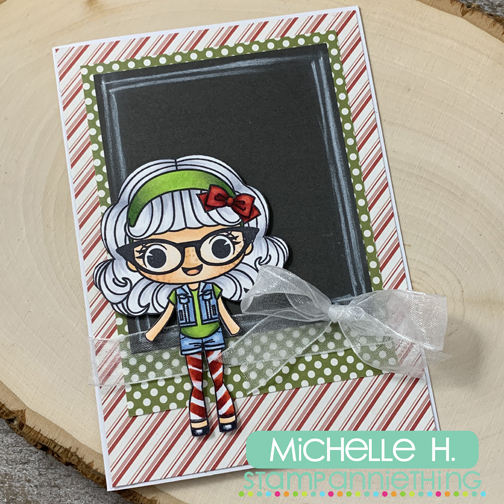
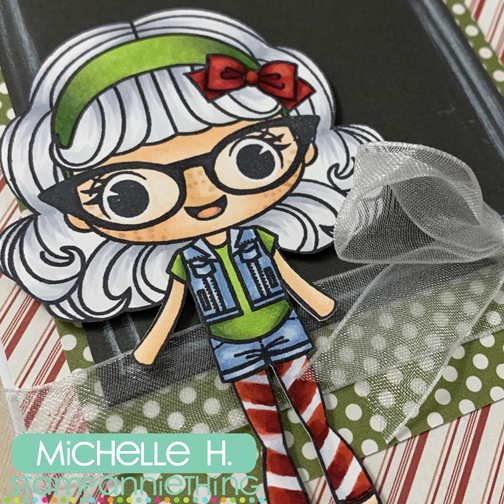
Then I put a simple card together for her to spread holiday cheer.
 
 
As simple as she and her card are I am loving how she turned out!


Thanks fo stopping by today! 

Have a Happy Colorful Day!
Posted on

November Release Time at Stamp AnnieThing


Hi and welcome to our November Release!
We have 3 new cuties for you this month! Sit back, relax and enjoy!
This release we also have some new products in our line. 
 Stencils &  Dies!
Stamp Club members get a 15% discount!


`~*~*~*~*~*~*~*~*~*~*~*~*~*~*~*~*~*~*~*~*~*~*~*~*~*~*~*~*~*~*~*~*~
 
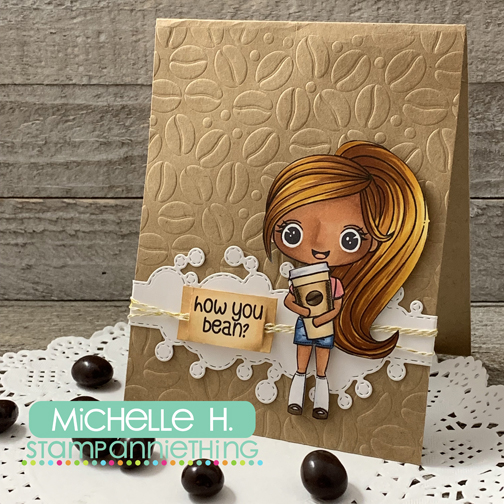
I did a very quick card using a couple of the add on’s today. I colored up Gracie with my Copic:
 
 
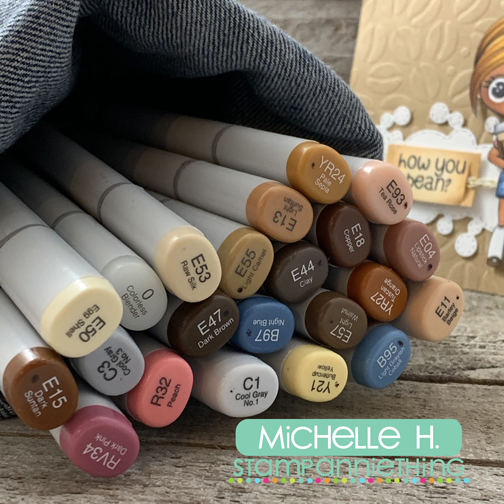
Lots of Earth tones in there! The skin is E11, E13, E15 and E04 with E04 and E93 on the tongue. The hair is Y21, YR24, YR27, E18. The coffee cup is C1, C3, E50 and E53 and the cuff is E53, E55 and E57. I used the same E5 series on the tag with “how you bean?” The coffee bean and her shoes are E44 and E47, shorts are B95 and B97 with Colorless Blender, shirt is RV32 and RV34 sock are C1.
 
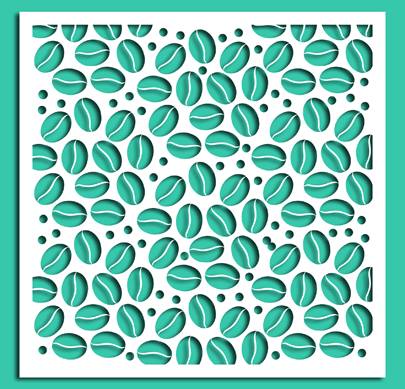
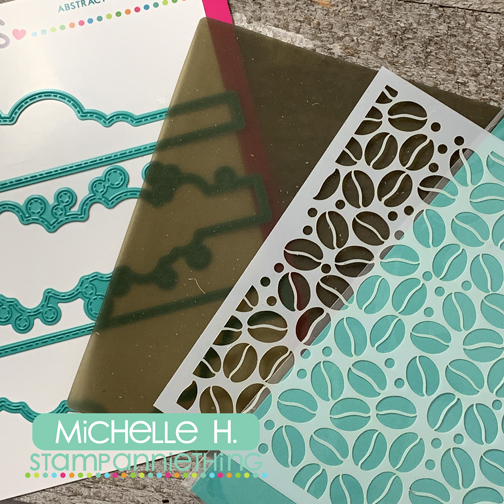
Then I used the coffee bean stencil with my craft matte and ran it through my Big Shot with Kraft yardstick to create that yummy textured base and die cut one of the splatters for a cuff for my card ?
 
 
I know I will be coloring this sweet image up again this is not my best work, BUT I love how the pieces came together!


Have a Happy Colorful Day!